
Note: For safety, the fuel tank must be removed in a well-ventilated area, never over a pit.
1. Disconnect the negative battery cable.
2. Remove the filler cap and, if possible, pump out all the fuel (no drain plug).
3. Block the front wheels, then jack up the rear of the vehicle and support it on axle stands.
4. Disconnect the electrical wiring from the fuel level sensor and the fuel pump, if it is in the fuel tank.
5. Place a suitable container under the fuel tank to catch spilled fuel.
6. Mark supply and return fuel hoses and install clamps on them. Loosen the clamps, disconnect the hoses and plug the open ends.
7. On models with fuel injection, disconnect the valve pipe.
8. On models equipped with a pneumatic rear suspension leveling system, unfasten the pressure line from the fuel tank.
9. Support the fuel tank using a bar and jack.
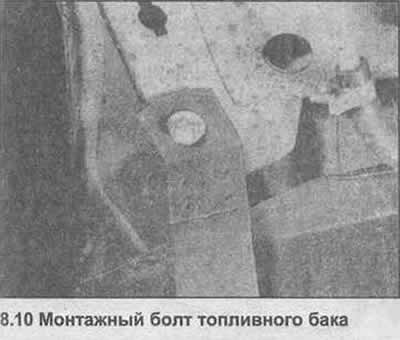
10. Unscrew the two fastening straps from the bottom (photo).
11. Slowly lower the fuel tank.
12. Remove the rubber hose from the fender.
13. Note the location of the ventilation tubes and disconnect them.
14. Remove the fuel level sensor and, where available, the fuel pump (Chapters 9 and 6).
15. Loosen the hose clamps, remove the filler neck, valve container and hose.
16. Drain the remaining fuel from the tank.
17. If the tank is contaminated with sediment or water, flush it with clean fuel. If there are leaks or the tank is damaged, contact a specialist for repair or replace. Do not solder or weld the fuel tank under any circumstances.
18. Check ventilation tubes, hose and clamps, replace if necessary.
19. Installation is carried out in the reverse order, but pay attention to the following additional points:
- (a) Make sure the ventilation tubes and hoses are not kinked or pinched.
- (b) Install the rubber hose «U» at the end.
- (c) Do not clamp the filler hose lower bracket until the filler neck is properly installed.
Visitor comments