


Note: If one of these two elements needs to be replaced, all units of the block must be replaced (piston, piston rings, piston pin and connecting rod) new ones.
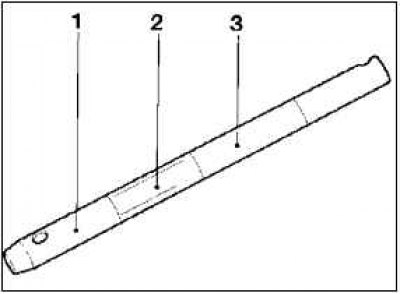
Assemble the guide bolt using special tools KM-634-6 (1), KM-634-7 (2) and KM-634-5 (3).
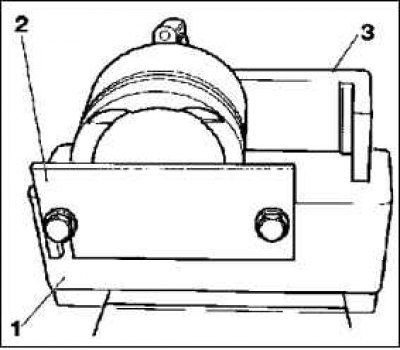
Install the new piston into the KM-634-1 (1) seat.
Note: The piston pin hole must be horizontal.
Install KM-634-4 (3) onto KM-634-1.
Tighten the bolts by hand.
Securely fasten the piston using KM-634-2 (2) so that it cannot move.
Determine the pressing depth of the piston pin.
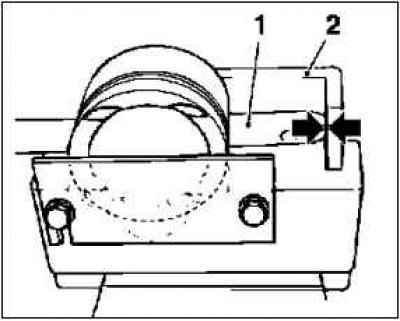
Press the assembly (1) consisting of KM-634-6, KM-634-7 and KM-634-5 into the piston pin bore and connecting rod until KM-634-7 reaches the center position in the piston.
In this position, KM-634-4 (2) should be opposite the edge of the node (arrows).
Tighten the KM-634-4 bolts.
Remove KM-634-7 from guide bolt and replace with new one (greased with oil) piston pin.
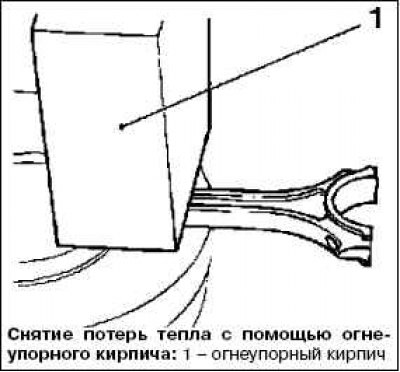
Heat the new connecting rod at the top with a heating plate.
Place the connecting rod top head on the heating plate.
Reduce heat loss with firebricks.
[Original posted on the website opelbook.ru]
Installation temperature: from 280°C to 320°C
Please note: Re-machining of the connecting rod is not possible because it does not have balancing studs.
Attention! Observe the correct positioning of the device.
Attention! The lug on the connecting rod must be opposite the arrow on the piston bottom.
Install the piston crown on the piston with the connecting rod.
Note: A stuck piston cannot be pressed in - install quickly.
Press the assembly consisting of KM-634-6, piston pin and KM-634-5 smoothly and without delay through the piston pin hole and thrust connecting rod into KM-634-4.
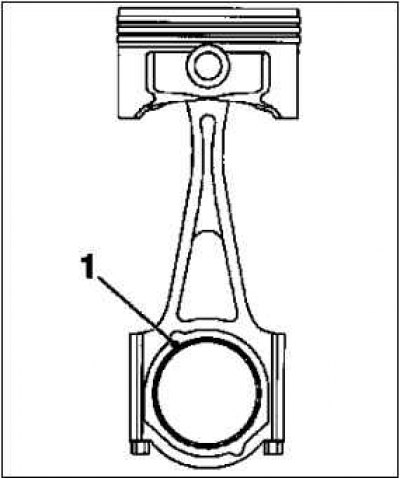
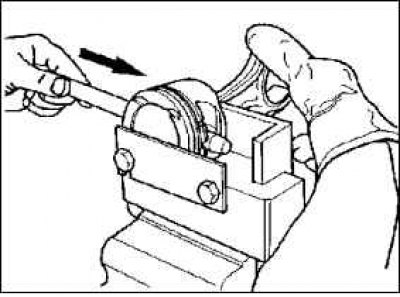
Disconnect KM-634-5 and KM-634-6 from the right and left sides of the piston pin.
Visitor comments