


IN automatic in control mode, do the following.
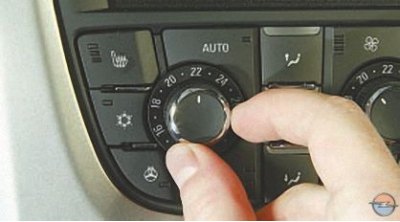
1. Using regulator 3 (Fig. 1), set the desired temperature of the air entering the passenger compartment to the driver's seat, and using similar regulator 7 – to the front passenger's seat.
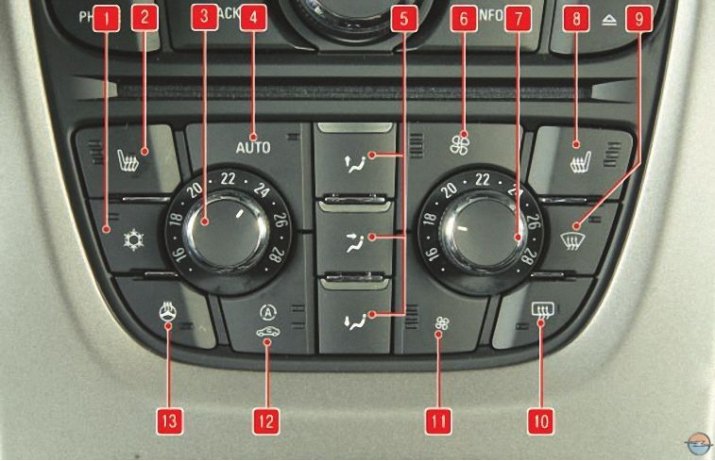
Fig. 1. Automatic control unit of the dual-zone climate control system: 1 – air conditioner switch; 2, 8 – switches for electric heating of front seats; 3 – regulator of the temperature of the air entering the passenger compartment to the driver's seat; 4 – switch for automatic control of the heating, ventilation and air conditioning system; 5 – air flow distribution control buttons; 6, 11 – buttons for switching the operating modes of the electric fan of the air blower; 7 – regulator of temperature of air entering the passenger compartment; 9 – switch for intensive air supply to the windshield and front door windows; 10 – switch for heated rear window and outside rearview mirrors; 11 - switch of the heating, ventilation and air conditioning system; 12 – recirculation mode switch; 13 – Steering wheel heating switch
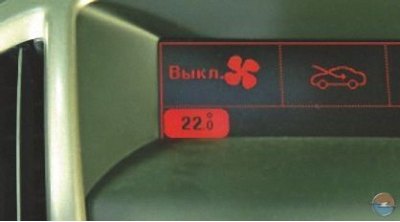
On display 10 (see Instrument panel, Fig. 1) the values of the selected temperature will appear.
Note: When the control knob is set to the extreme left position, the maximum cooling mode is activated.
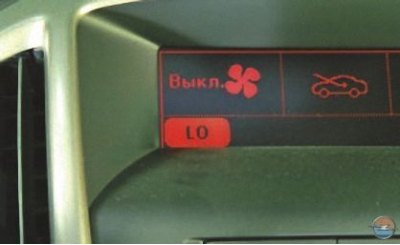
Instead of the set temperature value, the display shows "LO".
When the regulator is set to the extreme right position, the maximum heating mode is activated. The display shows the inscription "HI".
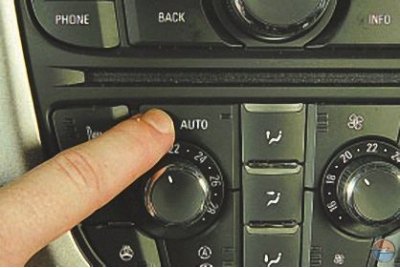
2. Press the "AUTO" button on switch 4 (see fig. 1) automatic control mode for heating, ventilation and air conditioning systems.
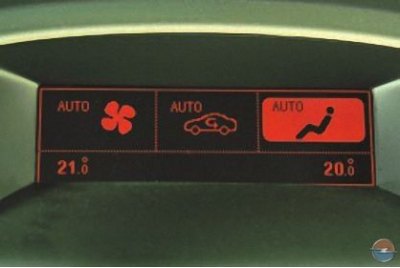
The display will show the inscription "AUTO", the temperature values of the air supplied to the passenger compartment, icons of the intensity of the electric fan of the air blower, the supply and distribution of air flows. Automatic control of the air supply modes through the nozzles in the instrument panel, into the lower part of the passenger compartment and onto the windshield occurs (or through the nozzles in the instrument panel and into the lower part of the cabin), as well as the speed of the air blower fan and air conditioner compressor.
In automatic mode the operation of the climate control is regulated by sensors measuring the intensity of solar radiation and the air temperature in the cabin.
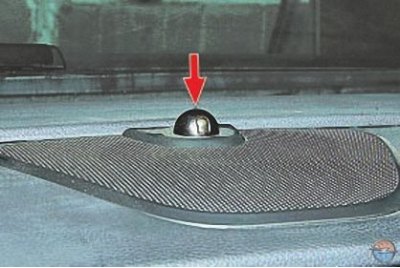
Solar illumination sensor and cabin air temperature sensor (shown in the photo by an arrow) are combined into a common housing located on the upper part of the instrument panel near the windshield glass. Depending on the degree of illumination of the cabin by sunlight, air flows are directed according to the sensor signals to the face or feet of the driver and front passenger. This ensures the most efficient operation of the climate control system and a more comfortable distribution of air flows in the cabin.
To avoid incorrect temperature readings due to the influence of heated panel elements, the temperature sensor is equipped with a forced airflow system that ensures a uniform air flow from the front of the car through the sensor housing. To ensure normal air movement, protect the inlet of the combined sensor housing from any solid particles or liquid. This is especially true for dry cleaning of the interior. When vacuuming the interior, it is strictly forbidden to bring the suction tip of the vacuum cleaner pipe to the inlet of the housing. If air movement through the sensor opening is obstructed, the normal operation of the automatic climate control system is disrupted.
Notes:
- To ensure proper operation of the climate control system, do not cover these sensors with foreign objects and keep the central and side ventilation and heating system vents open.
- When the outside temperature is low, if the climate control system is in AUTO mode, the air flow will be directed to the windshield and side windows until the engine reaches operating temperature.
- To prevent the glass from fogging up in rainy weather, turn on the blowing mode with the heater turned off, since the difference in temperature between the glass surface and the supplied air can cause condensation of moisture.
3. To turn off the air conditioner, press the "AUTO" button on switch 4 again.
In manual mode the HVAC system operates sequentially in accordance with the order in which the switches and controls are selected. Control of the functions of the controls and switches that are not in use is performed automatically.
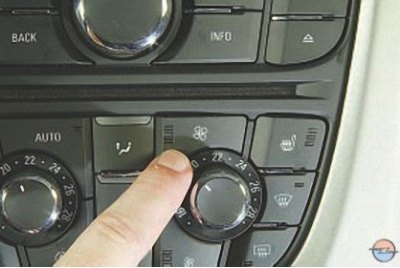
1. The keys 6 and 11 of the air blower electric fan operating mode switch change the rotation speed of the electric fan. When key 6 is pressed, the rotation speed smoothly increases; when key 11 is pressed, it decreases.
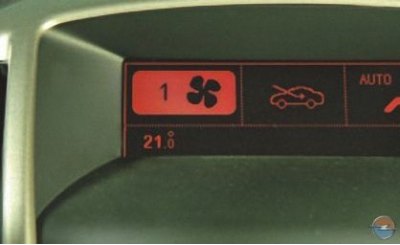
The display shows the operating speed in numbers – from the minimum value...
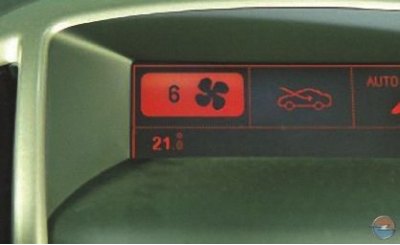
...to the maximum.
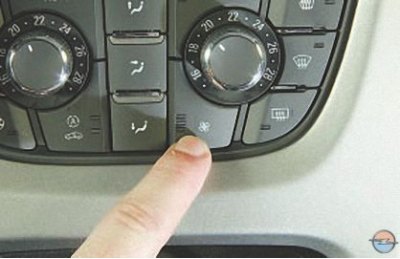
2. By pressing and holding switch key 11 for several seconds, the air blower electric fan is switched off.
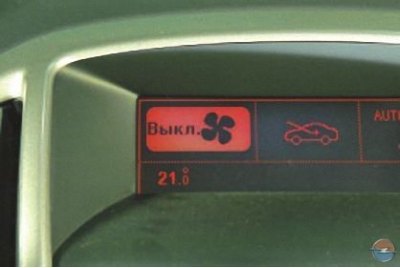
The corresponding message appears on the display.
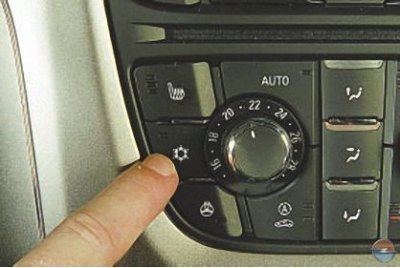
3. To cool the air entering the car interior, press the air conditioner switch button 1 – the indicator lamp in it will light up.
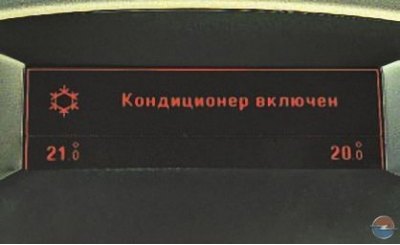
The display will show the message "Air conditioner on" and a snowflake icon.
Note: The air conditioner will not turn on if the fan mode switch button 11 is turned off or the ambient temperature is below 0°C. This is not a malfunction, but is provided for by the design.
Warning! Switching on the air conditioner while the engine is running in severe conditions (long climbs, heavy city traffic, etc.) may cause the engine to overheat. Monitor the coolant temperature gauge: if the temperature exceeds the permissible value, turn off the air conditioner.
During long trips in city traffic conditions, the efficiency of the air conditioner may decrease due to the intense thermal conditions of the engine. This is not a sign of a malfunction; when driving in normal road conditions, the air conditioner will work effectively.
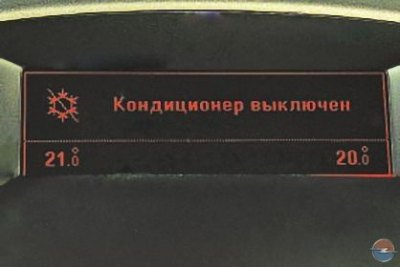
To turn off the air conditioner, press the button again; the control lamp will go out and the display will show the message "Air conditioner off" and an icon with a crossed-out snowflake.
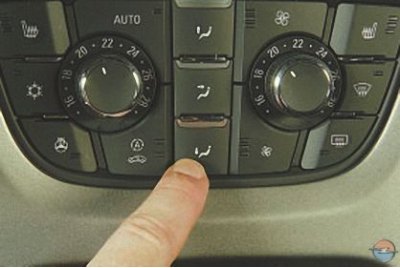
4. By successively pressing the air flow distribution control keys 5, select the air flow direction options.
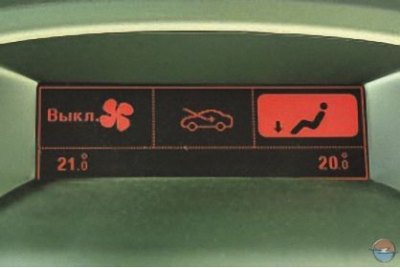
The icon for the selected feed direction will appear on the display.
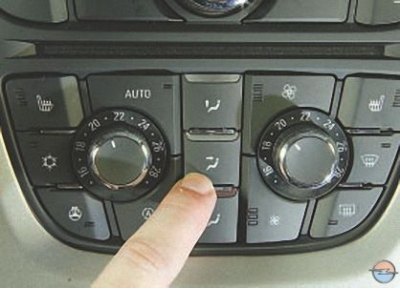
Combined options for supplying air flows by simultaneously pressing two keys are also possible...
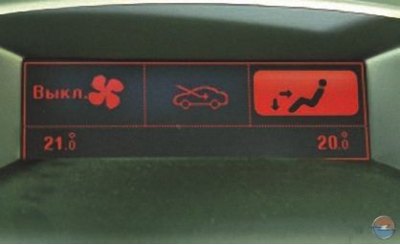
...and the corresponding combination icons will appear on the display.
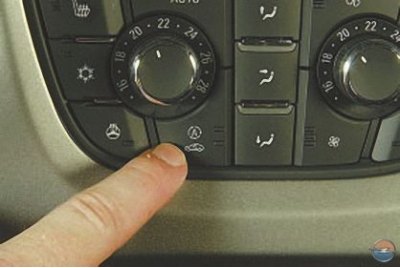
5. The recirculation mode switch button 12 selects the outside air supply or recirculation modes. When the switch button is pressed once, the recirculation mode is switched on, outside air does not enter the passenger compartment, and the air blower fan ensures air circulation inside the passenger compartment. At the same time, the lower control lamp in the switch button lights up.
Note: When the outside and inside air temperatures are high, recirculation is automatically switched on in AUTO mode to quickly cool the interior.
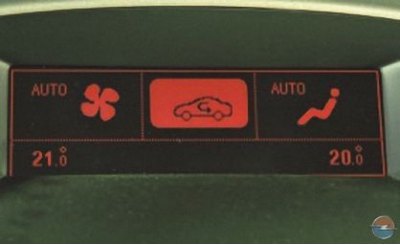
The corresponding icon will appear on the display.
Pressing the key again activates the automatic recirculation mode with air quality detection using a special sensor. At the same time, the upper control lamp in the switch key lights up.
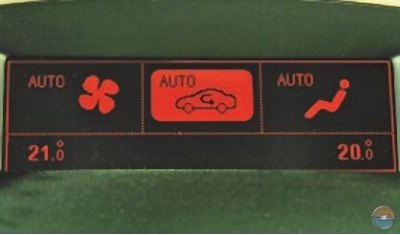
The corresponding icon will appear on the display.
This mode is used to quickly warm up the interior in cold weather, as well as in conditions of increased dustiness and gas pollution of the surrounding air. When the button is pressed for the third time, the recirculation mode is switched off and the indicator lamp goes out.
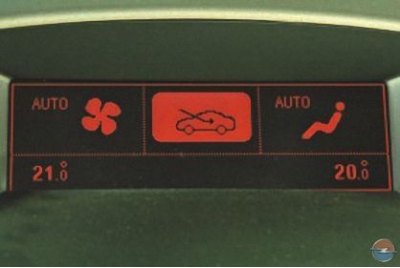
The corresponding icon will appear on the display.
Attention! It is not recommended to keep the recirculation mode on for a long time while the car is moving, as this usually leads to fogging of the windows.
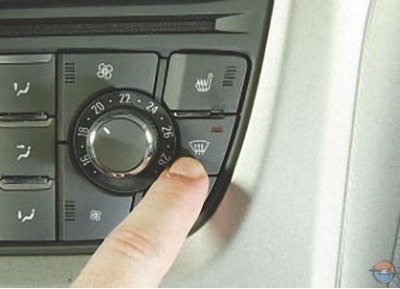
6. To quickly remove moisture or frost from the windshield and front door windows when the air humidity is high, press the switch 9 for intensive air supply to the windshield and front door windows.
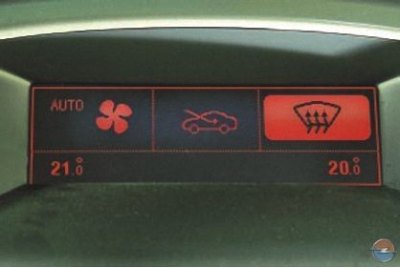
The corresponding icon will appear on the display.
If the outside temperature is above 2°C, the air conditioner automatically starts to cool it.
7. When pressing switch button 10 with the engine running, the electric heating of the rear door glass and outside mirrors is switched on, and at the same time the control lamp in the button lights up.
When you press the key again, the heating is switched off - the control lamp goes out. If you do not switch off the electric heating manually, it will switch off automatically after a while.
Warning! The heating element consumes very high current. To avoid excessive battery discharge, turn on the electric heating with the engine running and only for the time required to eliminate fogging of the tailgate glass.
To avoid damaging the heater threads, do not use scrapers or other sharp objects, or cleaning agents containing abrasives, to clean the inside of the glass.
8. When pressing the switch keys 2 or 8, the electric seat heating is switched on for the driver or front passenger, respectively. The lower control lamp in the key lights up. When pressing the keys two more times, the heating intensity increases stepwise and the middle and upper control lamps in the key are additionally switched on one after the other. When pressing the keys again, the electric heating is switched off and the control lamps in the key go out.
Warning! The heating element consumes very high current. To avoid excessive battery discharge, turn on the electric heating when the engine is running and only for the time required to warm up the seats.
People with sensitive skin are not recommended to use the maximum heating mode.
9. When you press switch button 13, the electric heating of the steering wheel is switched on. At the same time, the control lamp in the button lights up. When you press it again, the electric heating is switched off and the control lamp in the button goes out.
Visitor comments