


2. Drain the coolant.
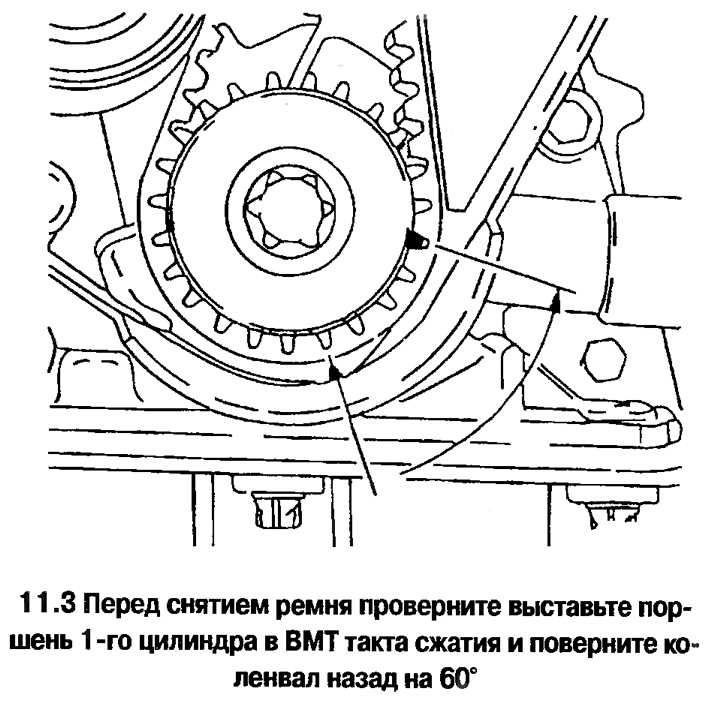
3. Remove the camshaft belt (see photo) in the order discussed above. Then follow the description for the corresponding engines.
Engines 1.4, 1.6 and 1.8 l
4. Remove the intake and exhaust manifolds (Chapter 4A). The cylinder head can be removed without dismantling the manifolds by doing the following.
- a. Disconnect the exhaust pipe from the manifold.
- b. Disconnect the oxygen sensor and engine speed sensor connectors.
Original posted on the website (www.OPELBOOK.ru)
5. Remove the cylinder head cover, camshaft sprockets and timing belt idler rollers.
6. Loosen the bolts securing the upper belt cover to the cylinder head.
7. Disconnect the connectors from the engine processor unit on the left side of the cylinder head.
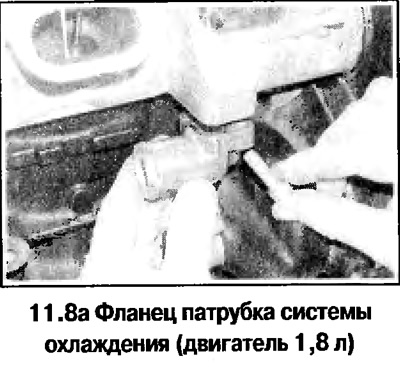
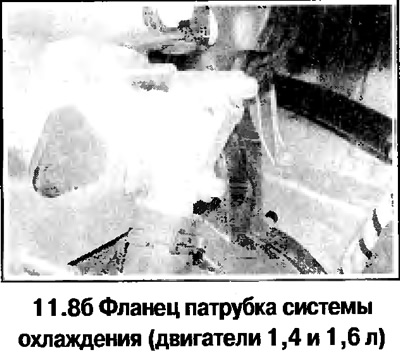
8. Disconnect the hoses from the thermostat housing and the heater hoses. Unscrew the bolts and disconnect the cooling system pipe from the cylinder head (see photo).
9. On 1.4 and 1.6 L engines, remove the crankcase ventilation hose from the processor unit bracket; on 1.8 L engines, unscrew the bolt and remove the oil level indicator pipe.
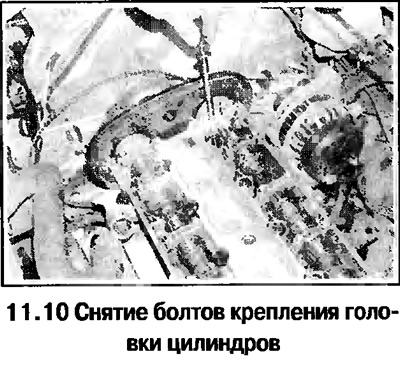
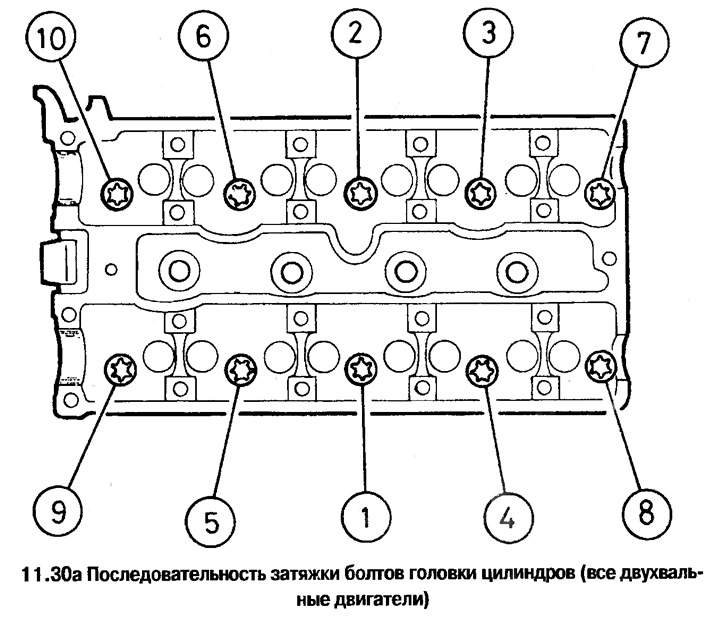
10. In the reverse order of the indicated (see photo below) gradually loosen the bolts (doing ⅓ of a turn per reception). Remove the bolts with washers (see photo).
11. Remove the cylinder head. Dislodge the stuck head with light blows of a soft-faced hammer. Remove the guide pins and gasket.
Engine 2.0 l
12. Remove the intake and exhaust manifolds (Chapter 4A). The cylinder head can be removed without dismantling the manifolds by disconnecting the wires and hoses.
13. Remove the cylinder head cover, camshaft sprockets and timing belt idler rollers.
14. Unscrew the bolts securing the upper belt cover to the cylinder head.
15. If the intake manifold will not be removed, then unscrew the bolts and nuts and move the generator to the side, removing the brackets from the manifold.
16. Disconnect the throttle cable from the throttle pipe, the brake booster hose from the manifold, and disconnect the fuel lines from the fuel pressure regulator.
17. Disconnect the heater hoses from the cylinder head, as well as the hose from the throttle body.
18. Disconnect the wires from the injectors.
19. Remove the exhaust camshaft.
20. In the reverse order of the indicated (see photo below) gradually loosen the bolts (doing ⅓ of a turn per reception) until the bolts start to turn away by hand. Remove the bolts with washers.
21. Remove the cylinder head. Dislodge the stuck head with light blows of a soft-faced hammer. Remove the guide pins and gasket
Preparing for assembly
22. Clean the separating surfaces of the head and block, closing all openings to prevent dirt from getting in. Cover the gaps in the pistons with grease, which is then removed.
23. Check for damage on the separating surfaces of the cylinder head and block (deep scratches, chips, etc.). Minor defects are removed with a file, serious damage is removed by grinding the block and head.
24. Check the deformation of the separating surfaces of the head and block using a gauge and feeler gauge.
25. Clean the threads in the cylinder head and tap them with a tap.
26. Replace the cylinder head bolts.
Installation
27. Set the piston of the 1st cylinder to TDC of the compression stroke and turn the crankshaft back by 60°.
28. Wipe dry the separating surfaces of the cylinder head and block. Make sure the guide pins are present.
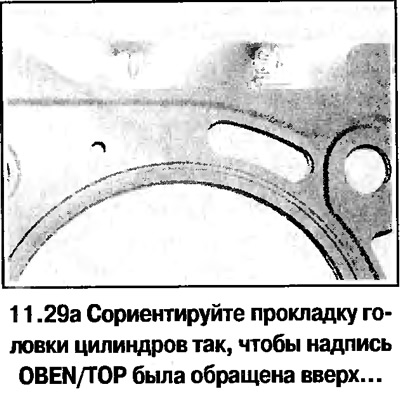
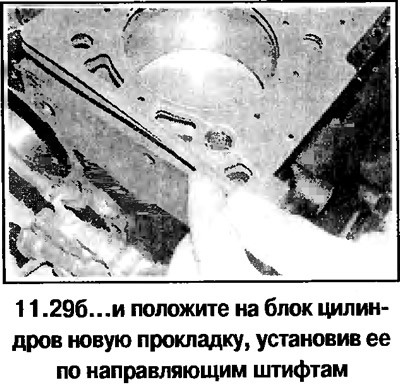
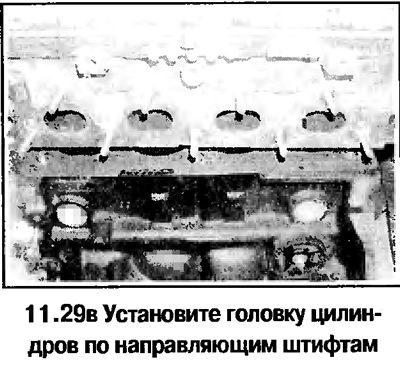
29. Place a new gasket on the cylinder block (the inscription OBEN/TOP must be facing up - photo). Install the cylinder head on the guide pins (see photo).
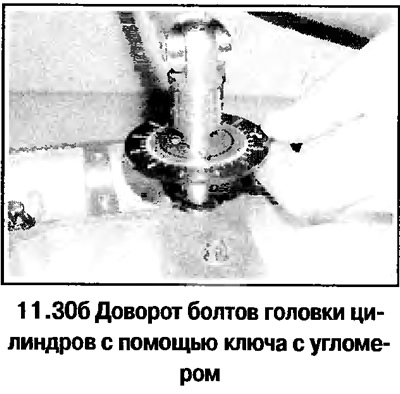
30. Tighten the cylinder head bolts in the sequence shown (see photo) with the torque of the 1st stage of tightening. Tighten the bolts in the same sequence first to the angle of the 2nd stage, then to the angles of the 3rd, 4th and 5th stages.
31. Install the removed parts in reverse order, following the description for the corresponding engines.
Visitor comments