


Contents: Engines 1.4, 1.6 and 1.8 l ⬇ 2.0L Engines ⬇
Engines 1.4, 1.6 and 1.8 l
Top cover
1. Remove the air filter housing (see Chapter 4A).
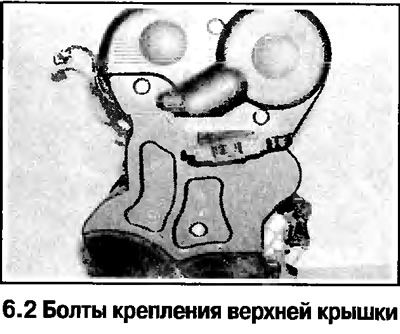
2. Disconnect the wires from the camshaft angle sensor, unscrew the 3 mounting bolts and remove the cover from the latches (see photo).
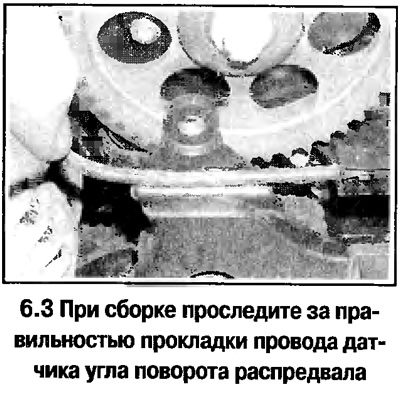
3. Installation is carried out in reverse order (see photo).
Bottom cover
4. Remove the top cover, remove the drive belt.
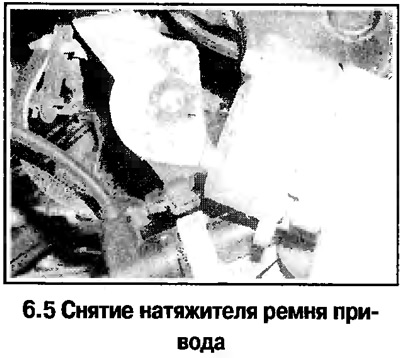
5. Raise the front of the car, remove the right fender protection panel. Unscrew the bolts and remove the drive belt tensioner (see photo).
6. Remove the crankshaft pulley.
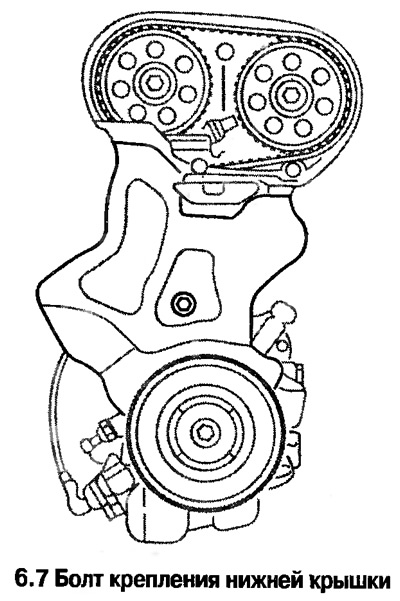
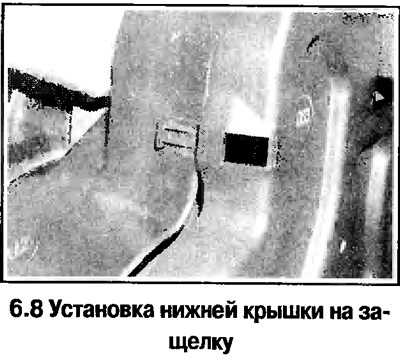
7. Loosen the bolt and remove the bottom cover from the latch (see photo).
8. Installation is carried out in reverse order (see photo).
Back cover
9. Remove the camshaft drive belt.
10. Remove the cylinder head cover, camshaft sprockets, crankshaft sprocket, belt tensioner and tension rollers.
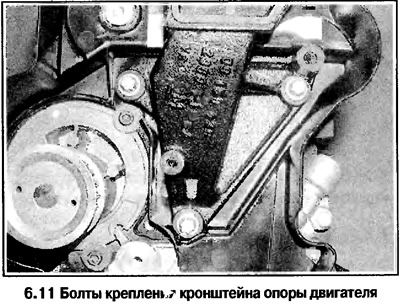
11. Unscrew 3 bolts and disconnect the engine support bracket from the cylinder block (see photo).
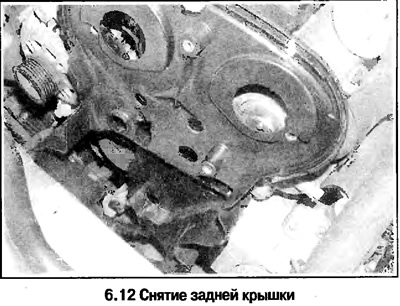
12. Loosen the bolts and remove the back cover (see photo).
13. Installation is carried out in reverse order.
2.0L Engines
Top cover
14. Remove the air filter housing (see Chapter 4A).
15. Unscrew the 2 mounting bolts and remove the top cover.
16. Installation is carried out in reverse order.
Bottom cover
17. Remove the top cover, remove the drive belt.
18. On models with air conditioning, raise the front of the vehicle, remove the right wheel and the right fender guard: Remove the bolts and remove the drive belt tensioner from the alternator bracket.
19. Remove the crankshaft pulley.
20. Unscrew 2 bolts, remove the brackets and remove the top cover with the seal (see photo).
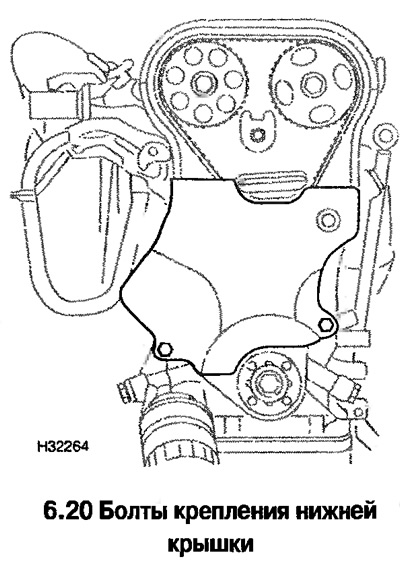
21. Installation is carried out in reverse order (see photo).
22. Remove the camshaft drive belt.
23. Remove the cylinder head cover, camshaft sprockets, crankshaft sprocket, belt tensioner and tension rollers.
24. Remove the camshaft angle sensor from the cylinder head.
25. Loosen the bolts and disconnect the engine support bracket from the cylinder block.
26. Loosen the bolts and remove the back cover (see photo).
27. Installation is carried out in reverse order.
Visitor comments