
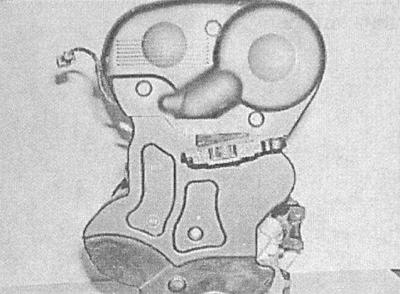
Removing
Upper section
Engines 1.4, 1.6 and 1.8 l
1. Remove the air cleaner assembly (see chapter Power and exhaust systems).
2. Release the wiring of the camshaft position sensor from the latches of the top cover (CMP). Remove the three fixing screws, release the upper section of the lower cover from their docking clips and remove it from the engine.
Engines 2.0 l
1. Remove the air cleaner assembly (see chapter Power and exhaust systems).
2. Turn out two fixing bolts and remove the top section of a cover, having pulled it up.
Bottom section
Engines 1.4, 1.6 and 1.8 l
1. Remove the top section (see above).
2. Overcoming the resistance of the spring, turn the tensioner, and remove the loose accessory drive belt from the pulley (see chapter Current service).
Before removing, mark the original direction of the belt in order to enable its further use (if condition permits).
3. Apply the parking brake, then jack up the front of the vehicle and place it on jack stands. Remove the right front wheel and the arch protection locker (see chapter Body).
4. Turn out a fixing bolt and remove a belt tensioner of a drive of auxiliary units.
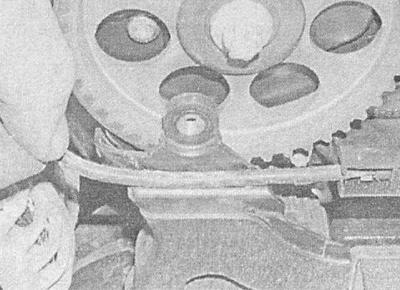
5. Remove the crankshaft pulley (see Removal and installation of the crankshaft pulley).
6. Turn out a fixing bolt, release the bottom section of a cover from docking clamps on the back and remove it from the engine.
Engines 2.0 l
1. Remove the top section of the cover (see above).
2. Overcoming the resistance of the spring, turn the tensioner, and remove the loose accessory drive belt from the pulley (see chapter Current service).
Before removing, mark the original direction of the belt in order to enable its further use (if condition permits).
3. On models equipped with air conditioning, apply the parking brake, then jack up the front of the vehicle and place it on jack stands. Remove the right front and the arch protection locker (see chapter Body).
4. Turn out a fixing bolt (s) and remove the accessory drive belt tensioner from the support bracket.
5. Remove the crankshaft pulley (see Removal and installation of the crankshaft pulley).
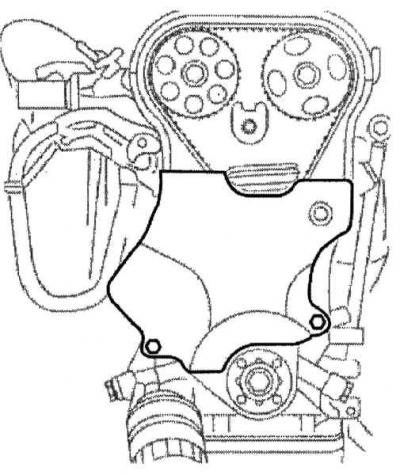
6. Turn out two fixing bolts, release two clamps and a cover from the engine complete with a sealing lining.
Back cover
Engines 1.4, 1.6 and 1.8
1. Remove the timing belt (see Removing and installing timing belt).
2. Remove the timing cover (see Removal and installation of a cover of the gas-distributing mechanism).
3. Remove the camshaft and crankshaft gears, timing belt tensioner, and front and rear idlers (see Removal and installation of gear wheels crankshaft / camshafts and intermediate rollers).
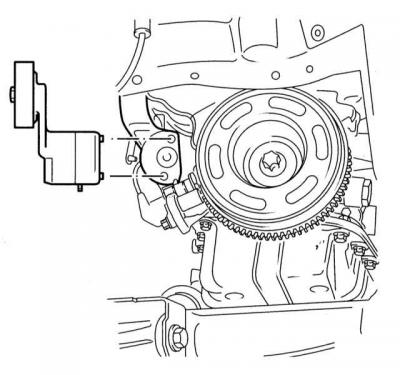
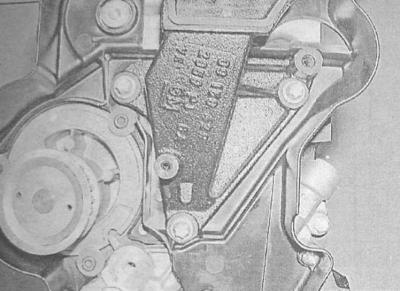
4. Turn out three fixing bolts and remove from the block of cylinders an arm of fastening of a support of a suspension bracket of the power unit.
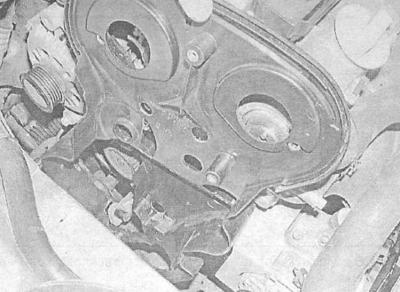
5. Turn out four fixing screws and, having pulled upwards, remove the back cover from the engine.
Engines 2.0 l
1. Remove the timing belt (see Removing and installing timing belt).
2. Remove the timing cover (see Removal and installation of a cover of the gas-distributing mechanism).
3. Remove the camshaft and crankshaft gears, timing belt tensioner, and front and rear idlers (see Removal and installation of gear wheels crankshaft / camshafts and intermediate rollers).
4. Remove the mounting bolts and remove the camshaft position sensor from the cylinder head (CMP).
5. Turn out fixing bolts and remove an arm of a suspension bracket of the power unit from the block of cylinders.
6. Turn out four fixing bolts and remove a back cover from the engine.
Installation
1. Installation is carried out in the reverse order of the dismantling of the components - make sure that the required tightening torques of the fasteners are observed (see Specifications), as well as for the reliability of the latches snapping into place and the correct wiring.
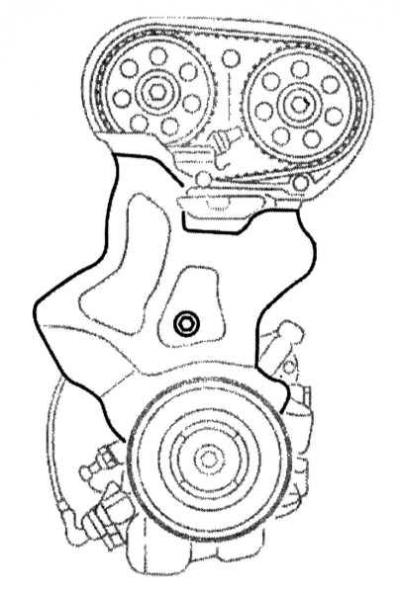
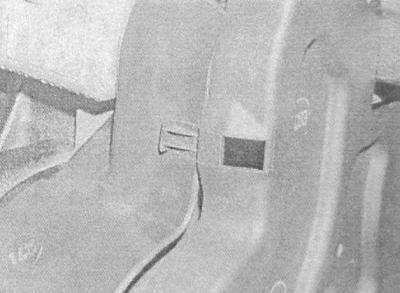
A - Retainer for fastening the lower section of the timing cover (engines 1.4, 1.6 and 1.8 l)
B - When installing the upper section of the timing cover, ensure that the wiring for the CMP sensor is correctly laid (engines 1.4, 1.6 and 1.8 l)
Visitor comments