
Engines 1.4, 1.6 and 1.8 l
Removing
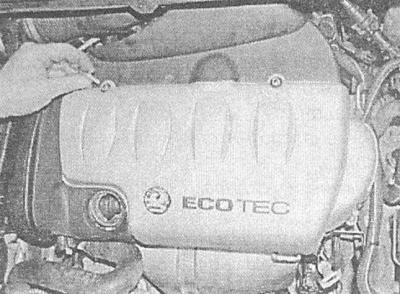
1. Remove the oil filler cap, remove the mounting bolts and remove the engine guard.
2. Disconnect the electrical wiring, remove the fixing screws and remove the ignition module (see chapter Engine electrical equipment).
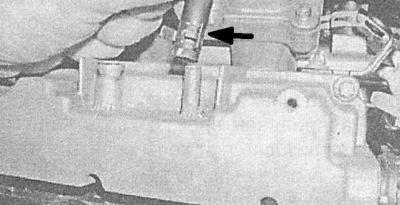
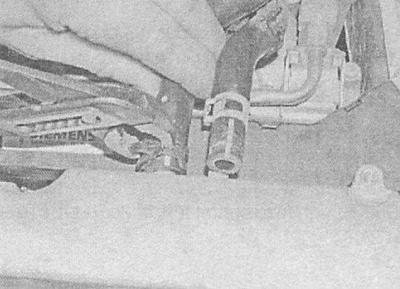
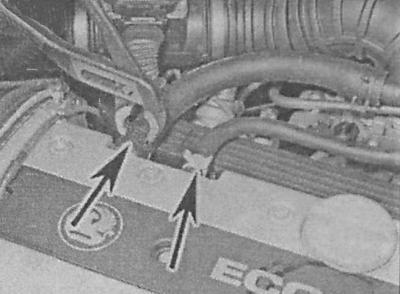
3. Loosen the mounting clamps and disconnect the crankcase ventilation hoses from the left edge of the timing cover.
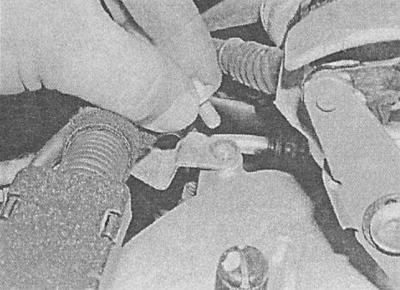
4. Gradually and evenly loosen the cover fixing screws.
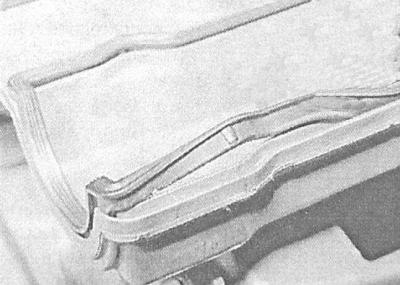
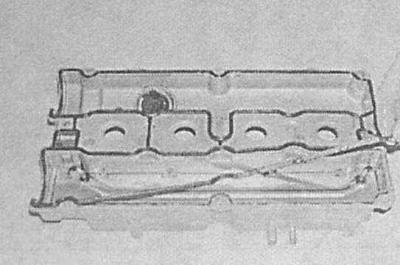
5. Remove the timing cover from the cylinder head. Remove the sealing rings and gasket from the cover, check their condition, replace if necessary.

Installation
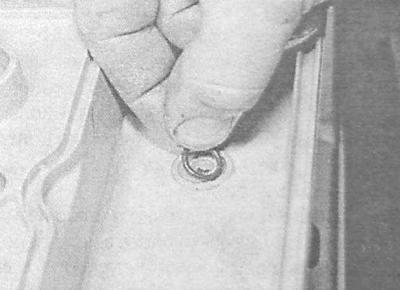
1. Make sure that the mating surfaces of the cover and head are absolutely clean and dry. Lay the seals in the cover, temporarily fixing them with grease.
2. Apply a layer of suitable sealant to the mating surface of the cylinder head in the region of the right camshaft covers and in the semicircular cutouts on the left side of the casting.
3. Carefully place the timing cover in place, making sure that the seals are properly positioned. Screw in the mounting bolts and, moving in a spiral from the center to the edges, evenly tighten them with the required force.
4. Restore the original connection of the crankcase ventilation hoses - monitor the reliability of tightening the mounting clamps.
5. Replace the ignition module (see chapter Engine electrical equipment).
6. Install the motor guard.
Engines 1.8 l
Removing
1. Remove the engine guard (see above Engines 1.4, 1.6 and 1.8 l — Withdrawal).
2. Loosen the mounting clamps and disconnect the crankcase ventilation hoses from the left edge of the timing cover.
3. Disconnect the electrical wiring, remove the mounting screws and remove the ignition module (see chapter Engine electrical equipment).
4. Disconnect the wiring connector from the coolant temperature sensor.
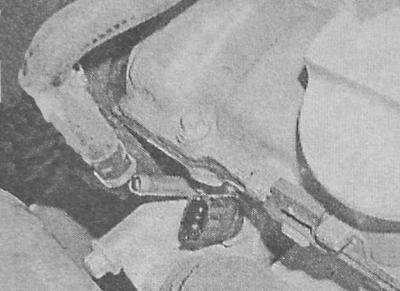
5. Disconnect the cooling path hose from the thermostat housing. Remove the bolts securing the hose support bracket to the timing cover and intake manifold. Loosen the clamp and move the hose to the side - get ready to collect the spilled coolant.
6. Loosen and remove the cover bolts evenly in several steps.
7. Having lifted up, separate a cover from a head of cylinders, remove a sealing lining. Check the condition of the gasket, prepare a replacement if necessary.
Installation
1. Make sure that the mating surfaces are absolutely clean and dry, place a new gasket in the dry wiped receiving groove of the cover.
2. Carefully place the timing cover in place, making sure the seals are properly positioned. Screw in the mounting bolts and, moving in a spiral from the center to the edges, evenly tighten them with the required force.
3. Connect the hose of the cooling path to the thermostat housing, fix the hose in the bracket on the roof and inlet pipeline. Check coolant level, correct if necessary (see chapter Current service).
4. Connect the electrical wiring to the temperature sensor.
5. Restore the original connection of the crankcase ventilation hoses - monitor the reliability of tightening the mounting clamps.
6. Install the ignition module (see chapter Engine electrical equipment).
7. Install the motor guard.
Engines 2.0 l
Removing
1. Remove the air cleaner assembly (see chapter Power and exhaust systems).
2. Remove the upper section of the timing cover (see Removing and installing timing cover).
3. Loosen the mounting clamps and disconnect the crankcase ventilation hoses from the gas distribution mechanism cover.
4. Turn out fixing bolts and remove a protective casing of spark plugs. Remove the protective caps from the candles, disconnect and take the wires to the side of the BB.
5. Disconnect and lay aside the electrical wiring from the camshaft position sensor (CMP).
6. In several steps, evenly loosen and unscrew the bolts securing the timing cover.
7. Separate a cover from a head of cylinders, remove a lining and take sealing rings from apertures under fixing bolts. Carefully inspect the sealing elements, if necessary, replace them.
Installation
1. Make sure that the mating surfaces are absolutely clean and dry, then place the gasket in the receiving groove of the cover. After lightly lubricating with grease, fit the O-rings into the mounting bolt holes.
2. Apply a layer of suitable sealant to the surface of the cylinder head mating with the cover in the area of the right covers of the camshaft beds and in the semicircular cutouts on the left side of the casting.
3. Carefully place the timing cover in place, making sure that the seals are properly positioned. Screw in the mounting bolts and, moving in a spiral from the center to the edges, evenly tighten them with the required force.
4. Restore the original connection of the crankcase ventilation hoses - monitor the reliability of tightening the mounting clamps.
5. Gently fit the BB wire terminals onto the spark plugs.
6. Connect the electrical wiring to the CMP sensor, reinstall the protective casing of the BB electrical wiring, screw in and securely tighten the bolts of its fastening.
7. Reinstall the wiring harness and securely tighten the mounting nut.
8. Install the upper timing belt cover (see above Engines 1.4, 1.6 and 1.8 l - Installation).
9. Install the air filter housing - see Supply system.
Visitor comments