
Removing
1.7L engines
1. Loosen the clamps and remove the intake port from the air filter housing.
2. Unscrew the nuts securing the air filter housing, disconnect the housing from the air intake and remove it from the engine compartment.
2.0L engines
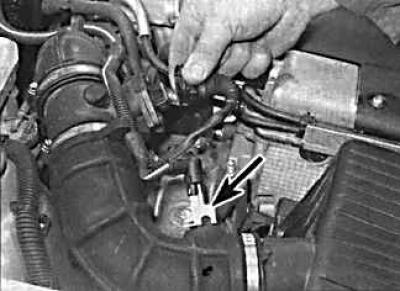
3. Remove the ground wire from the battery and disconnect the electrical connectors from the air flow meter and intake air temperature sensor (indicated by an arrow).
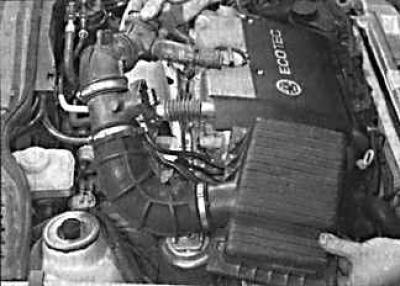
4. Disconnect the crankcase ventilation hose from the intake duct, loosen the clamps and remove the air duct along with the air flow meter.
5. Remove the air filter cover and remove the filter element, marking its location. Unscrew nuts and remove the case of the air filter.
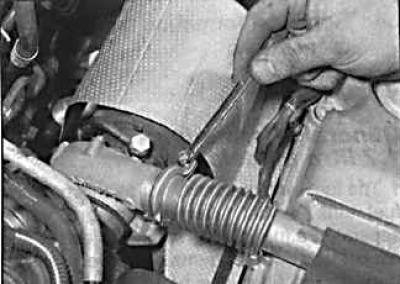
6. On low pressure turbo engines, to remove the air pipes connecting the turbocharger and the intake manifold, unscrew the screws and remove the plastic cover from the top of the engine. Loosen the clamp securing the air supply pipe to the manifold.
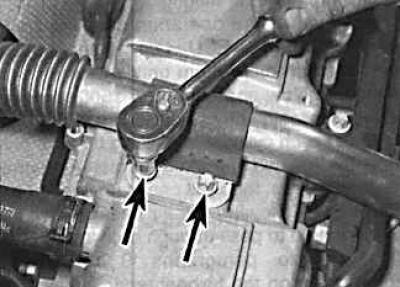
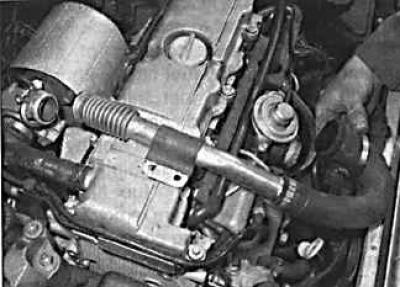
7. unscrew the bolts (indicated by arrows), fastening the air supply pipe to the head cover, then disconnect the air supply pipe from the turbocharger. Remove the air supply pipe (photo on the right).
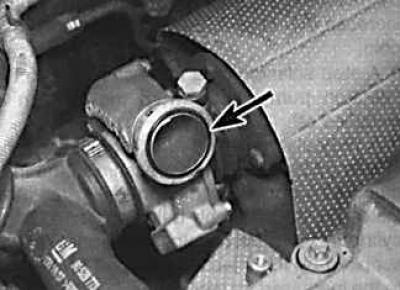
8. Remove the O-ring (indicated by an arrow), which is installed between the pipe and the turbocharger.
9. On high pressure turbo engines, the pipes connecting the heat exchanger and manifold and turbocharger pipes can be removed after loosening the clamps. To remove the metal pipe, loosen the clamp and remove the pipe from the turbocharger. Remove the O-ring that is installed between the pipe and the turbocharger.
Installation
Installation is carried out in the reverse order of removal, while it is necessary to replace the sealing ring on the turbocharger.
Visitor comments