


Contents: Front wheel sensor ⬇ Rear wheel sensor ⬇
Note: See. Chapter 2 before you start work.
Front wheel sensor
Removal
1. Disconnect the negative cable from the battery.
2. Where applicable, remove the front wheel caps, then loosen the wheel bolts and apply the handbrake. Jack up and support the front of the vehicle on axle stands. Remove the wheel.
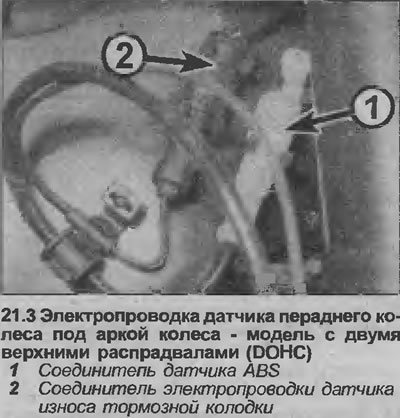
3. Release the sensor wiring connector from the mounting bracket under the wheel arch, then separate the two halves of the connector with a screwdriver (see illustration).
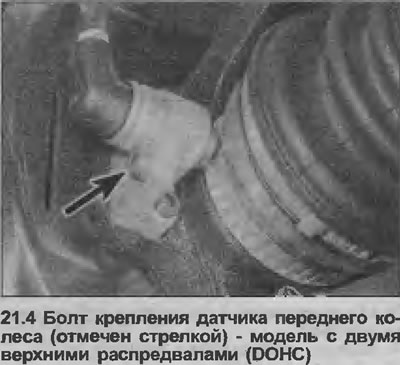
4. Using a socket wrench, loosen the bolt securing the sensor to the bracket, then gently lift the sensor off the bracket using a screwdriver (see illustration). Remove the O-ring.
Installation
5. Inspect the O-ring and replace if necessary.
6. Perform installation in reverse order, paying attention to the following.
7. Apply a small amount of grease to the sensor body before installing it on the bracket.
8. Do not fully tighten the wheel bolts until the vehicle is lowered onto the wheels.
9. Check that the ABS warning lamp goes out when the engine is first started after the sensor has been removed. Have the ABS system tested by an Opel dealer at the earliest opportunity using the appropriate special equipment.
Rear wheel sensor
Removal
10. Disconnect the negative cable from the battery.
11. Where applicable, remove the rear wheel cover, then loosen the wheel bolts and block the front wheels. Jack up and support the rear of the vehicle on axle stands. Remove the wheel.
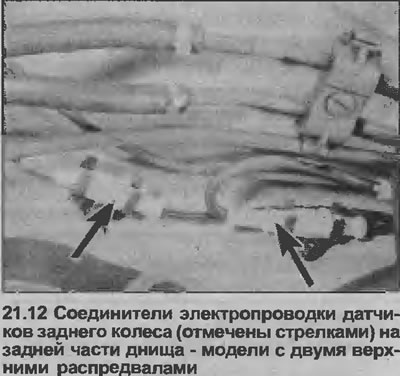
12. Release the sensor wiring connector from the mounting bracket on the rear of the underbody, then pry the halves of the connector apart using a screwdriver as a lever (see illustration).
13. Remember the location of the sensor wiring and where it is used, release it from the brackets on the bottom.
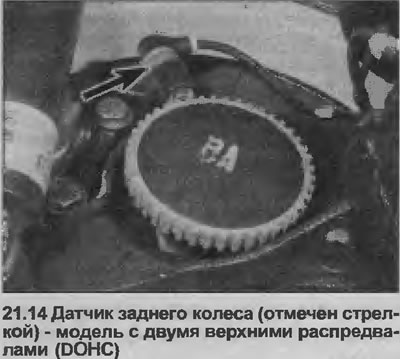
14. Use a socket wrench to unscrew the bolt that secures the sensor to the longitudinal suspension arm (or the mounting bracket for models with two overhead camshafts (DOHC)), then carefully remove the sensor with a screwdriver (see illustration). Remove the O-ring.
Installation
15. Proceed as described in points 5-9.
Original source is on the website (OpelBook.ru)
Visitor comments