
Maintenance
Carburetor models
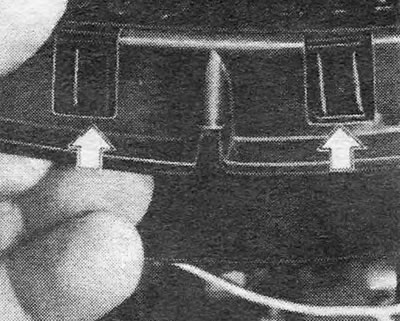
Pic. 3.1. Tabs securing the air cleaner cover (shown by arrows) — engine 1.3
1. To remove the air filter, remove the air cleaner cover, which is secured with a central nut or bolt or three screws (see photos). In addition, you should loosen the clamps on the edges of the cover or, if there are no clamps, carefully pry the bottom of the cover with your fingers and remove it.
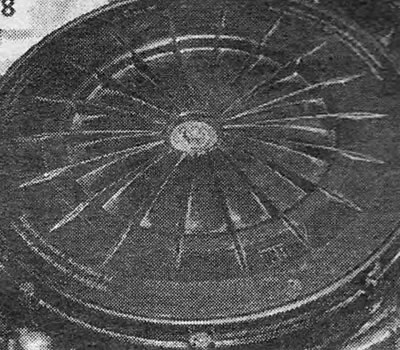
Photo 4.1A. Air cleaner cover center bolt and spring clips (engine 1.6).

Photo 4.1B. Three screws securing the air cleaner cover (engine 1.3).
2. Remove the air filter (see photo).
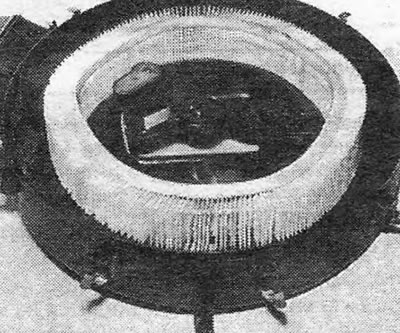
Photo 4.2. Replacing the air filter.
3. Wipe the inside surface of the air cleaner, being careful not to introduce dirt into the carburetor neck. It is advisable to completely remove the carburetor. Wipe the inside of the air cleaner cover.
4. Install a new filter. Replace and secure the cover, aligning the alignment marks (see photos).
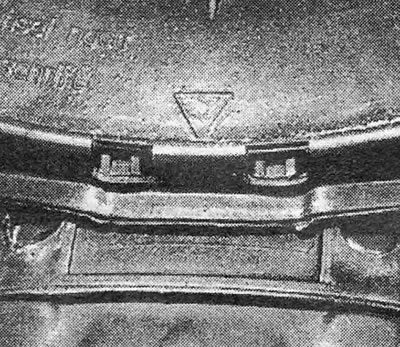
Photo 4.4A. Installation mark on air cleaner cover (engine 1.3).
Photo 4.4B. Installation slot on air cleaner cover (engine 1.6).
Injection models
5. On injection models, the air cleaner is located in the air flow sensor housing.
6. Release the retaining clip and disconnect the plug from the air flow sensor (see photos). Disconnect the air line.
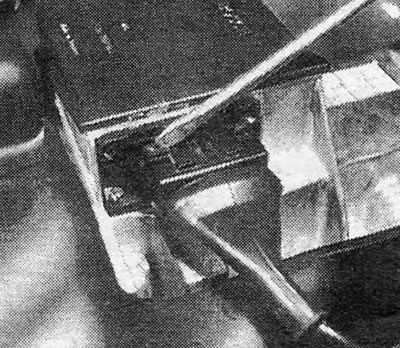
Photo 4.6A. Removing the clamp securing the air flow sensor plug.

Photo 4.6B. Disconnecting the air flow sensor plug.
7. Loosen the spring clips and remove the air cleaner cover along with the air flow sensor located on it. Most likely the filter will be removed along with the cover. Be careful not to drop or hit the sensor.
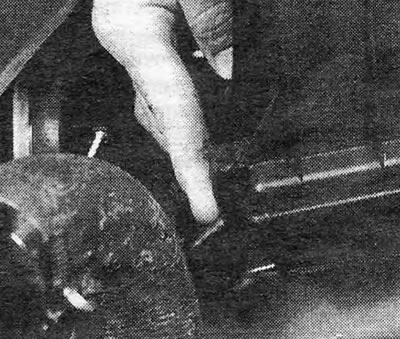
Photo 4.7A. Air cleaner cover spring clip.
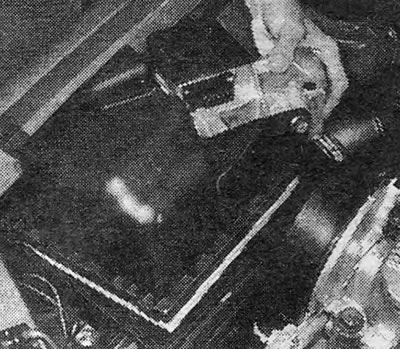
Photo 4.7B. Removing the air cleaner cover, air filter and air flow sensor.
8. Install a new filter on the cover by inserting its sealing rim into the groove on the cover (see photo). Install and secure the cover and reconnect the air flow sensor plug. Connect the air line.

Photo 4.8. Installing a new filter on the air cleaner cover.
Removal and installation
Carburetor models
9. Remove the central fastening nut (or bolt) or remove the 3 screws securing the air cleaner cover.
10. Disconnect the hot air intake from the manifold housing and remove the air cleaner from the carburetor along with the breather hose and vacuum hose (see photos).
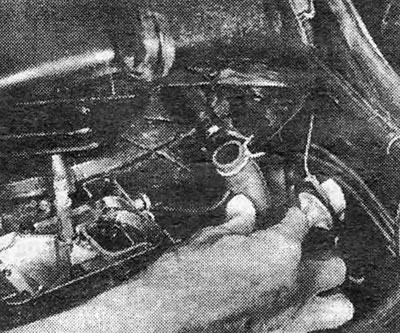
Photo 4.10A. Disconnect the breather hose from the air cleaner...
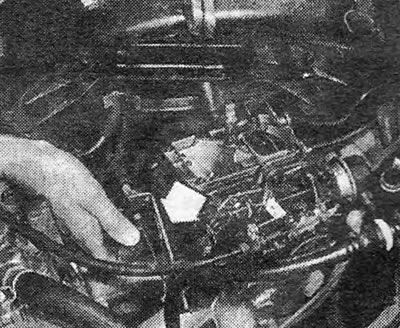
Photo 4.10V - and vacuum hose from the carburetor (shown by arrow).
11. Install the air cleaner in the reverse order. Check that there is a gasket or O-ring between it and the carburetor.
Injection models
12. Remove the air filter (see above), unscrew the mounting screws, disconnect the air intake tube and remove the air flow sensor housing together with the air cleaner.
13. Install the sensor housing in the reverse order.
Visitor comments