
2. On carbureted models, remove the air filter (Section 3).

3. Mark the position of the high voltage wires, then disconnect them from the spark plugs. The ends are equipped with special bushings that completely enclose the spark plugs (photo).
4. Using a spark plug wrench, unscrew the spark plugs from the cylinder head.
5. By the condition of the spark plugs, you can judge the condition of the engine.
6. If the nose of the spark plug insulator is clean and white with no coating, this indicates a weak mixture, or overheating of the spark plug. Recommended candles are listed in Specifications at the beginning of this Section.
7. If the top and nose of the insulator are covered with a hard black coating, this indicates a too rich mixture. If the spark plug is black and oily, the engine is likely to be worn out or the mixture is too rich.
8. If the nose of the insulator has a slight brown coating, the mixture is correct and the engine is probably in good condition.
9. The gap of the spark plug is of great importance, if it is too large or too small, the size of the spark and its effectiveness will be greatly weakened. The spark plug gap must match the value given in Specifications.
10. To install it, measure the gap with a feeler gauge, then bend the exposed outer electrode of the spark plug until you get the correct gap. The center electrode must not be bent as this may split the insulation and cause breakage.
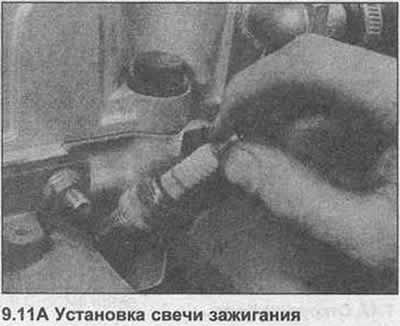
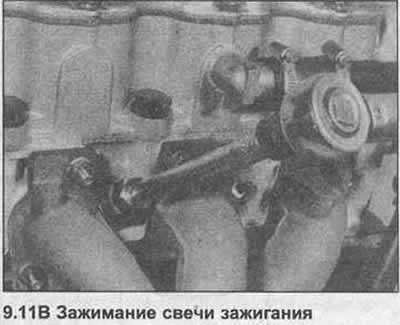
11. To install the candle, screw each of them by hand (photo). Clamp the spark plugs with the tightening torque regulated specification. If a torque wrench is not available, tighten them by hand until they stop and then further by about 1/8 turn.
12. When connecting high voltage wires, make sure they are installed in the correct order.
13. Install the air filter on carbureted models.
Visitor comments