


2. Unscrew the two clamps and remove the armrest (see photo 12.2 A). On later models equipped with an armrest with small parts storage, release the plug to gain access to the rear mounting screw, then release and remove the lower portion of the interior door handle to gain access to the three front mounting screws (see photo 12.2 B and C). Remove the interior door handle cover.
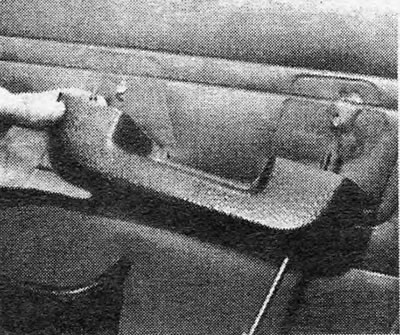
Photo 12.2A Removing the armrest from the door (earlier models)
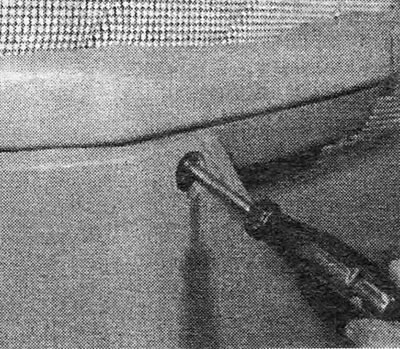
Photo 12.2B Unscrewing the mounting screw of the armrest combined with a compartment for small parts (later models)
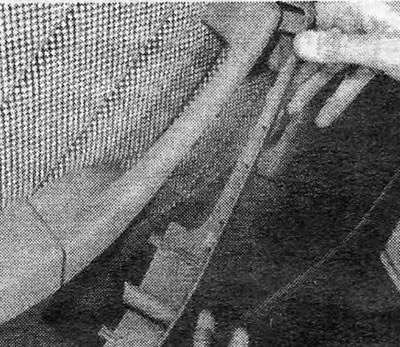
Photo 12.2C Removing the inner door handle cover (later models)
3. Unscrew and remove the plunger button of the lock (see photo 12.3).
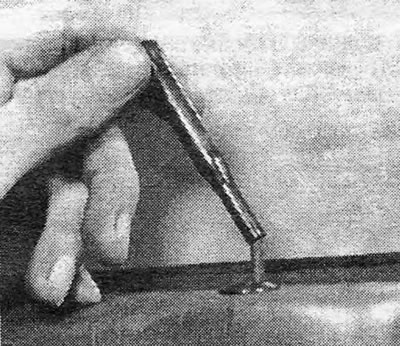
Photo 12.3 Removing the door lock plunger
4. Insert your fingers or a wide blade between the decorative interior panel and the door and pry the panel away from the door. This must be done with a jerk to release the plastic fastening clips from the holes in the door panel. The clamps are very tight and break easily, so it is recommended to purchase spare clamps in advance in case the existing ones break during work (see photo 12.4).
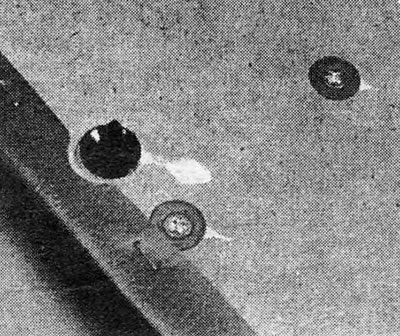
Photo 12.4 Inner door panel clamp
5. Once the interior trim panel has been removed, the door lock remote control trim socket can be released (see photo 12.5).
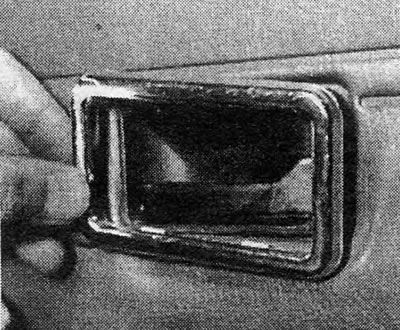
Photo 12.5 Remote control door handle cover
6. Reinstallation is accomplished by reversing the above steps, but note that the window lift handle spring clip is installed in place before the handle itself is reinstalled. Then the handle together with the clamp is simply placed on the cotter-pinned shaft of the mechanism and tapped into the final position by hand (see photo 12.6).
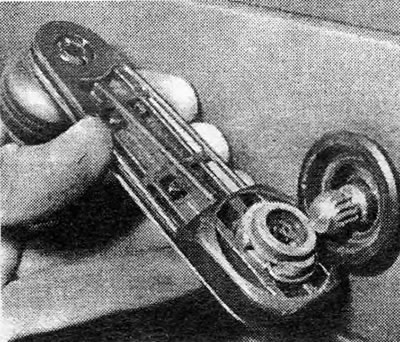
Photo 12.6 Window lift handle ready for installation
Visitor comments