OpelBook.ru
Cars AvtoVAZ Cars Mitsubishi Cars BMW Cars Mercedes Cars Nissan Cars Toyota Cars Chevrolet
English Русский
Български
Беларускі
Український
Српски
Hrvatski
Română
Polski
Slovenský
Magyar
 |  Sitemap  |  Contacts  |    


Main Astra Corsa Insignia Kadett Omega Vectra Zafira Others Articles
Astra F (1991-1998, petrol) Astra G (1998-2004, petrol) Astra G (1998-2004) Astra H (2004-2009) Astra J (2009-2015, petrol)
  • Main
  • Astra
  • Astra G
  • Body
  • Interior
  • Front Interior Trim Panel — Removal and Installation

Front Interior Trim Panel — Removal and Installation (Opel Astra G)

            0

Contents: Model Astra ⬇ Model Zafira ⬇

Model Astra


1. Disconnect the battery from ground and wait 1 min.

2. Remove the ashtray by unscrewing the screw.

3. Remove the small item storage tray (see photo).
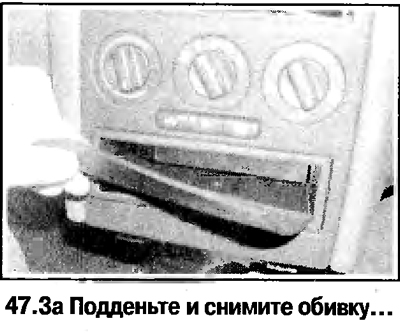
3. Remove the small item storage tray (see photo).
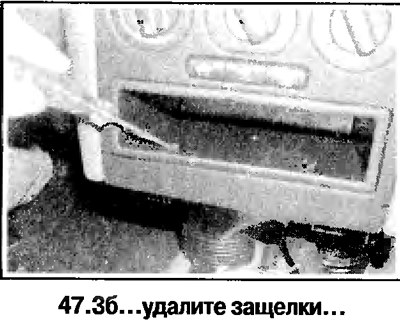

3. Remove the small item storage tray (see photo).
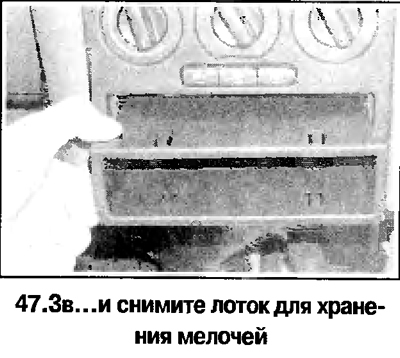

3. Remove the small item storage tray (see photo).


4. Remove the receiver and chassis, on some vehicles remove the navigation unit (Chapter 12).


5. Remove the heater control panel (see photo).
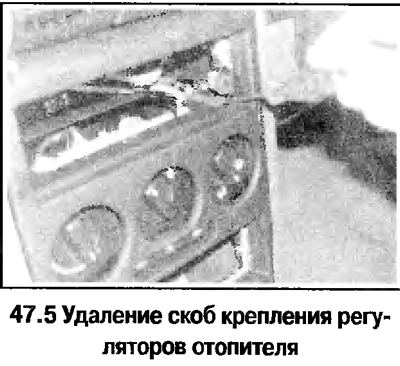
5. Remove the heater control panel (see photo).


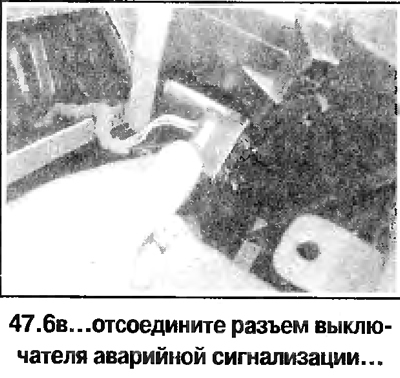
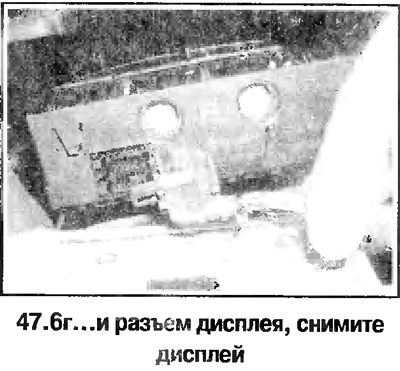
6. Remove the display from the panel (see photo).
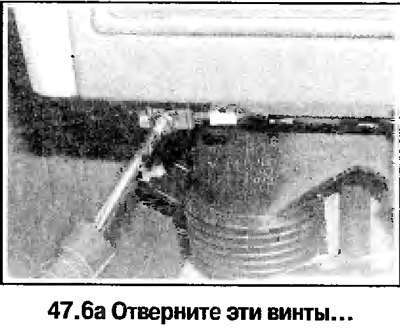
6. Remove the display from the panel (see photo).


[Material copied from this resource www.OPELBOOK.ru]
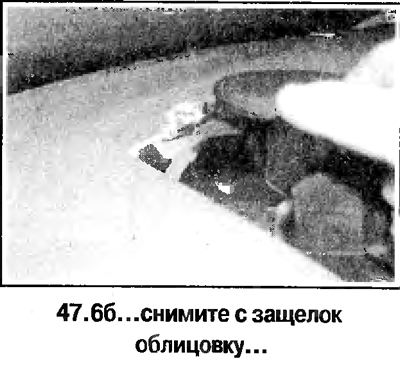
6. Remove the display from the panel (see photo).


6. Remove the display from the panel (see photo).


6. Remove the display from the panel (see photo).


7. Remove the driver's side air vent (see photo). To access the screws, move the nozzle grille to the stop and turn it further, overcoming the force of the limiter. If this does not work, then unscrew the screws by inserting a long screwdriver into the grille and press the side latches (see photo).
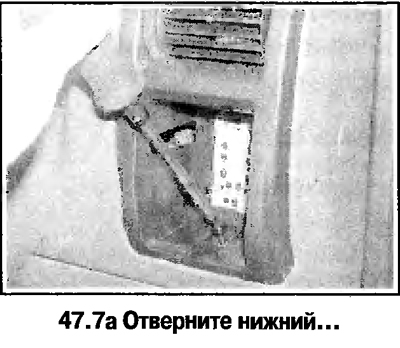
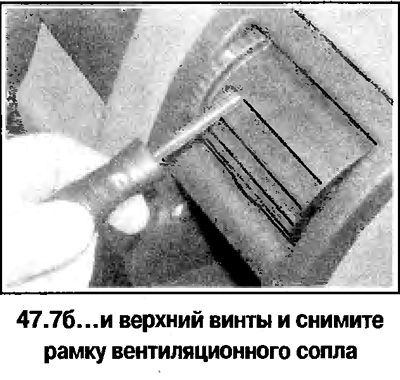
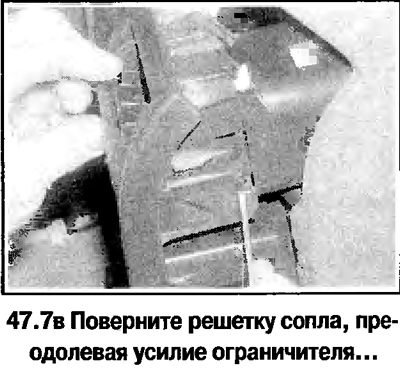
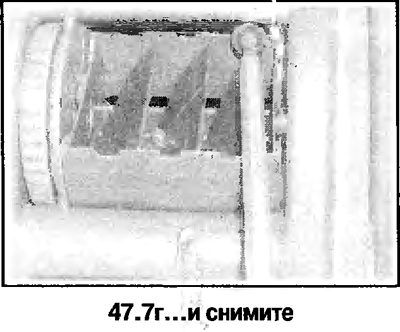
7. Remove the driver's side air vent (see photo). To access the screws, move the nozzle grille to…


7. Remove the driver's side air vent (see photo). To access the screws, move the nozzle grille to…


7. Remove the driver's side air vent (see photo). To access the screws, move the nozzle grille to…


7. Remove the driver's side air vent (see photo). To access the screws, move the nozzle grille to…


8. Disconnect the connector from the headlight switch frame (see photo).
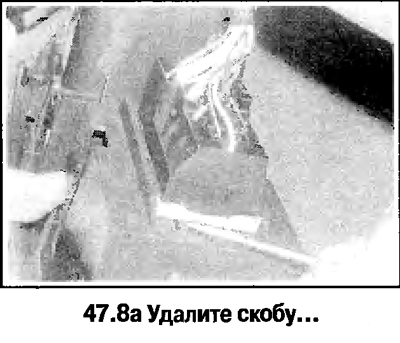


8. Disconnect the connector from the headlight switch frame (see photo).
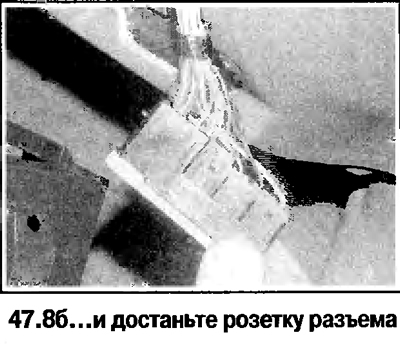

8. Disconnect the connector from the headlight switch frame (see photo).


9. Remove the glove box.

10. Remove the passenger side air vent (see photo). To access the screws, move the nozzle grid to the stop and press, overcoming the force of the limiter. Unscrew the screws and the lower mounting bolt and remove the nozzle (see photo).
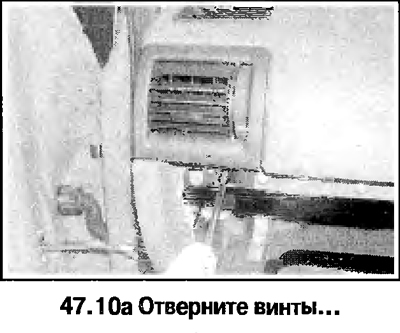
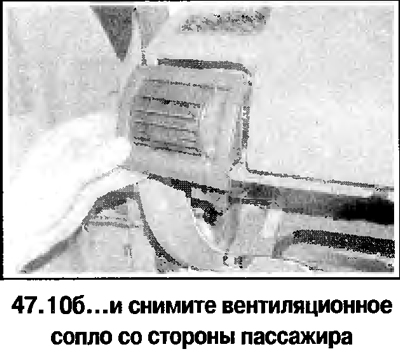
10. Remove the passenger side air vent (see photo). To access the screws, move the nozzle grid to…


10. Remove the passenger side air vent (see photo). To access the screws, move the nozzle grid to…


11. Through the glove box opening, disconnect the connector from the airbag module, being careful not to tear the wiring from the connector.


12. Remove the steering wheel, then remove the lower trim panel of the front panel above the driver's feet (see photo).
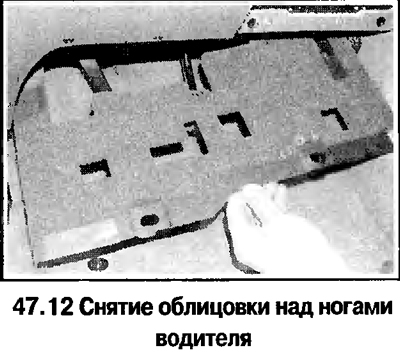
12. Remove the steering wheel, then remove the lower trim panel of the front panel above the…


13. Remove both steering column covers.

14. Remove the turn signal and wiper switches (Chapter 12).

15. Remove the instrument panel (Chapter 12).

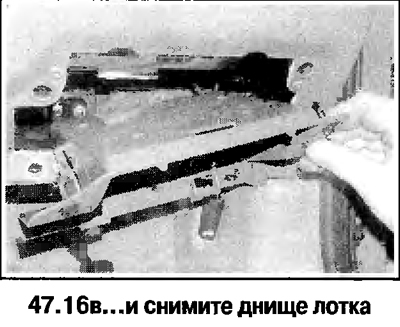
16. Remove the driver's side storage tray, unscrew the 4 screws and remove the bottom of the tray (see photo).
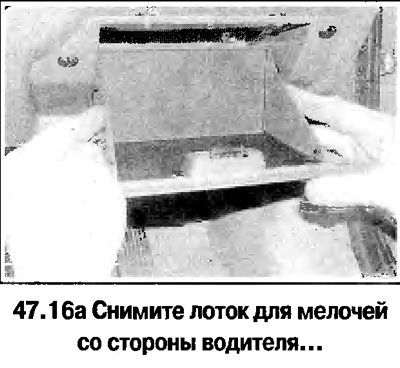
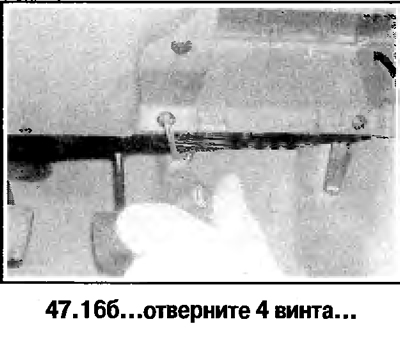
16. Remove the driver's side storage tray, unscrew the 4 screws and remove the bottom of the tray…


16. Remove the driver's side storage tray, unscrew the 4 screws and remove the bottom of the tray…


16. Remove the driver's side storage tray, unscrew the 4 screws and remove the bottom of the tray…


17. Remove the front seats.


18. Remove the threshold trims, unscrew the screws and remove the side panels in the footwells (see photo).
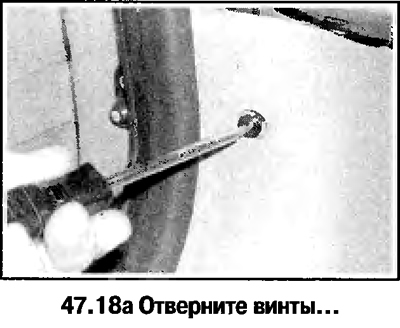
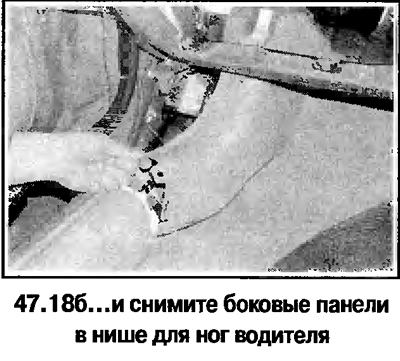
18. Remove the threshold trims, unscrew the screws and remove the side panels in the footwells (see…


18. Remove the threshold trims, unscrew the screws and remove the side panels in the footwells (see…


19. Remove the wiring from the brackets behind the front trim panel (see photo).
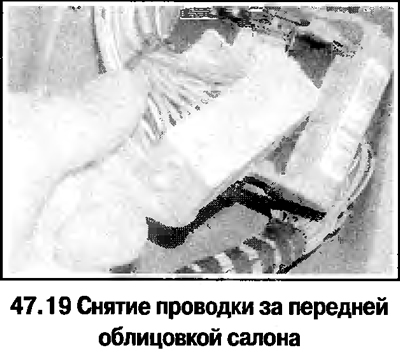
19. Remove the wiring from the brackets behind the front trim panel (see photo).


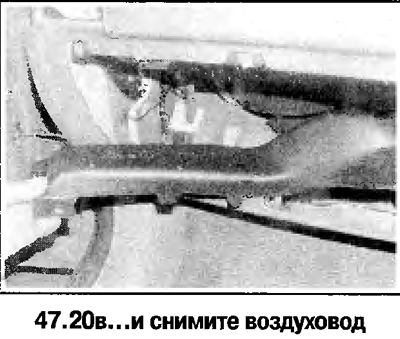
20. Remove the trim above the passenger's feet, remove the clips and remove the air duct (see photo).
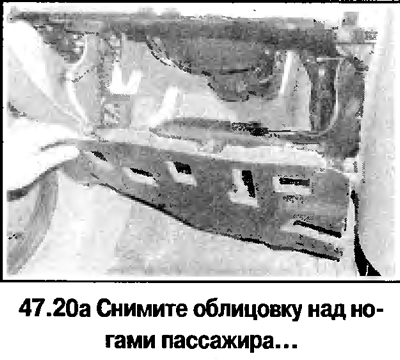
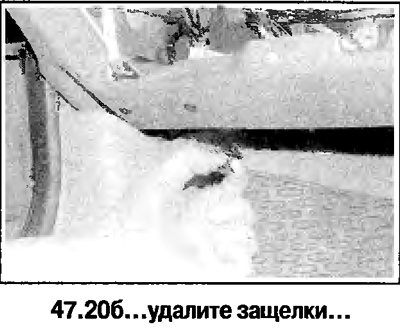
20. Remove the trim above the passenger's feet, remove the clips and remove the air duct (see…


20. Remove the trim above the passenger's feet, remove the clips and remove the air duct (see…


20. Remove the trim above the passenger's feet, remove the clips and remove the air duct (see…


21. Pry and remove the windshield vent from the front panel (see photo).
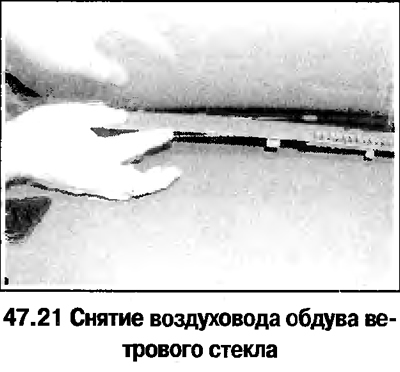


21. Pry and remove the windshield vent from the front panel (see photo).


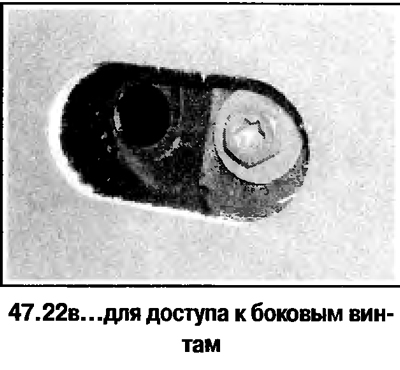
22. Unscrew the 3 screws securing the front trim panel to the engine compartment bulkhead, unscrew the side screws that are covered with plugs (see photo).
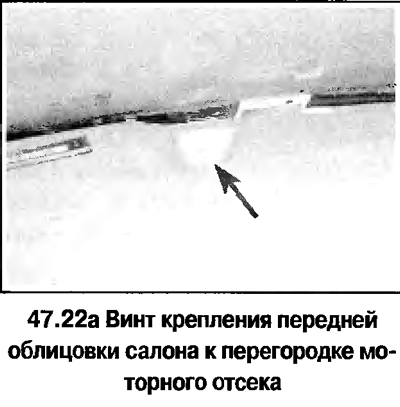
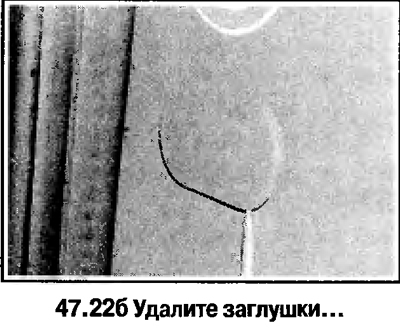
22. Unscrew the 3 screws securing the front trim panel to the engine compartment bulkhead, unscrew…


22. Unscrew the 3 screws securing the front trim panel to the engine compartment bulkhead, unscrew…


22. Unscrew the 3 screws securing the front trim panel to the engine compartment bulkhead, unscrew…


23. Mark the routes of the harnesses under the cladding.


24. Using two people, lift the trim and remove it, taking care not to damage the part of the trim in the area of the steering column.

25. Installation is carried out in reverse order.

Model Zafira


26. Disconnect the battery from ground and wait 1 min.

27. Remove the ashtray and floor section.

28. Remove the heater control panel.

29. Remove the steering wheel.

30. Remove the turn signal and wiper switches.

31. Remove the ignition switch.

32. Remove the receiver and chassis, on some vehicles remove the navigation unit.

33. Remove the headlight switch button (see photo).
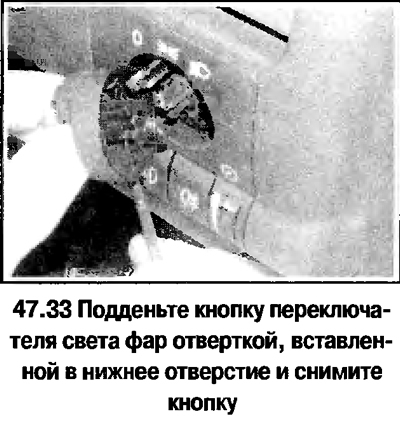
33. Remove the headlight switch button (see photo).


34. Remove the headlight switch (see photo).
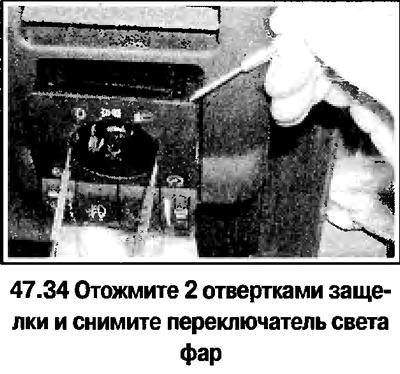
34. Remove the headlight switch (see photo).


35. Remove the fuse box cover.

36. Remove the ventilation nozzle and unscrew the instrument panel trim screws (see photo).
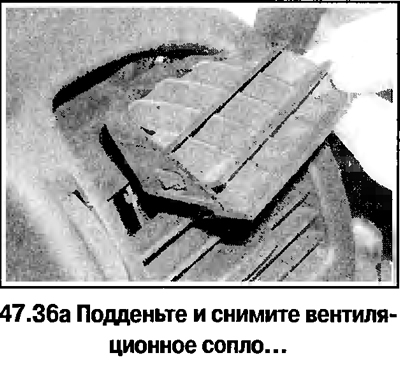
36. Remove the ventilation nozzle and unscrew the instrument panel trim screws (see photo).
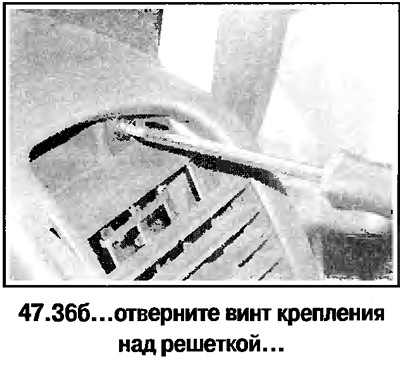

36. Remove the ventilation nozzle and unscrew the instrument panel trim screws (see photo).
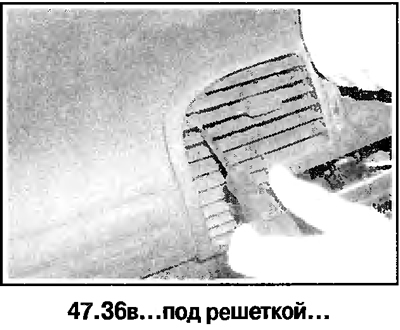

36. Remove the ventilation nozzle and unscrew the instrument panel trim screws (see photo).
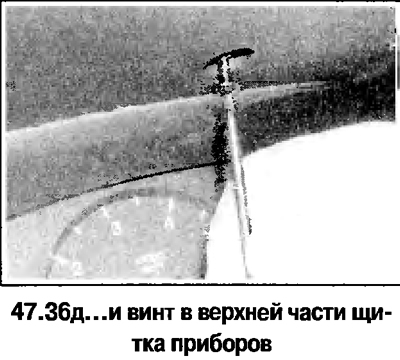

36. Remove the ventilation nozzle and unscrew the instrument panel trim screws (see photo).


37. Remove the instrument panel trim by disconnecting the wiring (see photo).
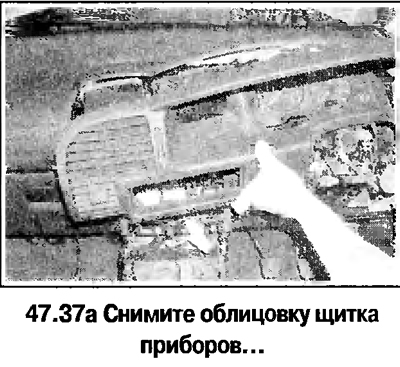
37. Remove the instrument panel trim by disconnecting the wiring (see photo).
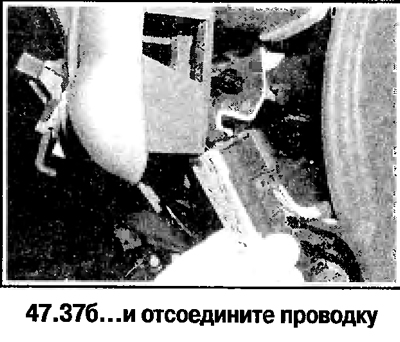

37. Remove the instrument panel trim by disconnecting the wiring (see photo).


38. Remove the instrument panel by disconnecting the connector (see photo).
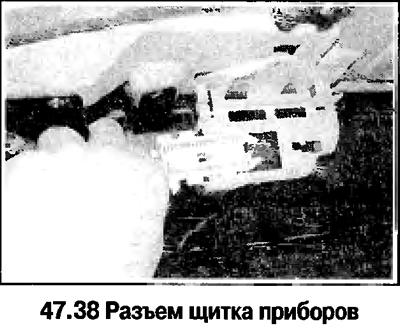
38. Remove the instrument panel by disconnecting the connector (see photo).


39. Remove the fuse box (see photo).
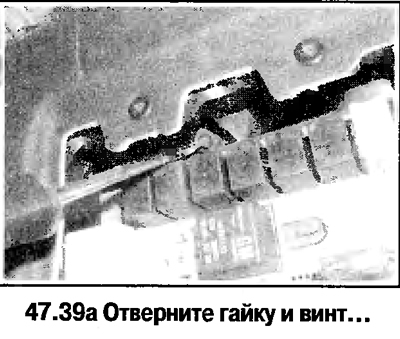
39. Remove the fuse box (see photo).
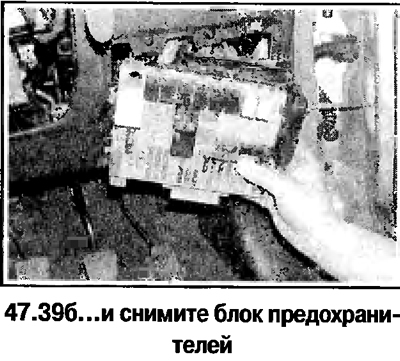

39. Remove the fuse box (see photo).


40. Remove the inner trim under the windshield (see photo).
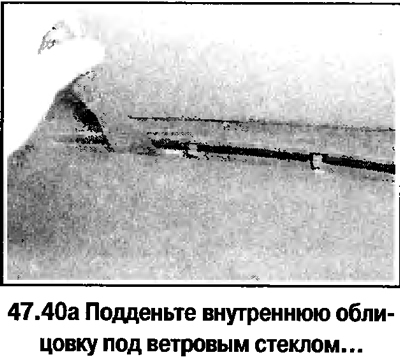
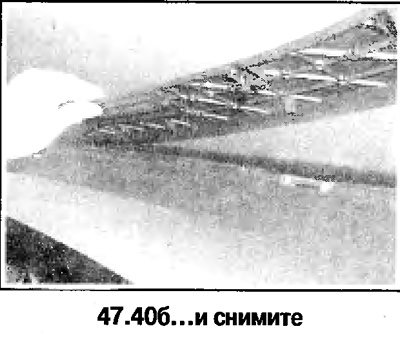
40. Remove the inner trim under the windshield (see photo).


40. Remove the inner trim under the windshield (see photo).


41. Remove the front pillar trims (see photo).
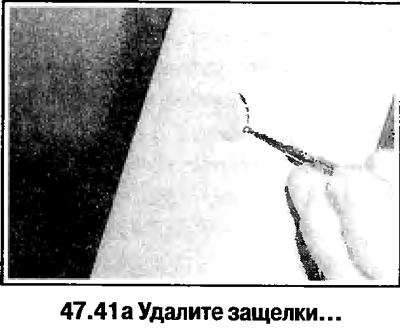
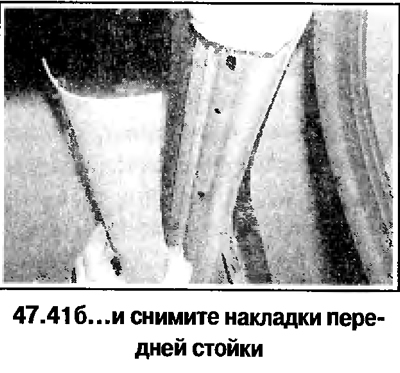
41. Remove the front pillar trims (see photo).
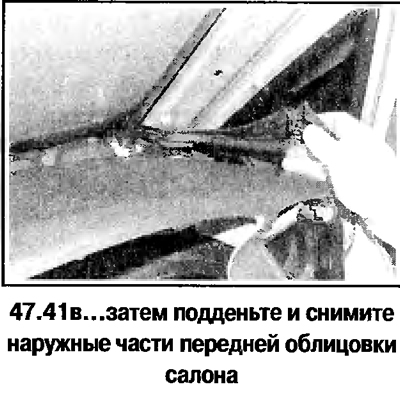

41. Remove the front pillar trims (see photo).


41. Remove the front pillar trims (see photo).


42. Remove the door sill trims and the lower front pillar trims (see photo).
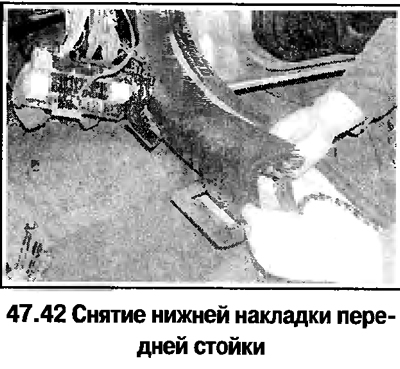
42. Remove the door sill trims and the lower front pillar trims (see photo).


43. Remove the glove box.

44. Remove the deflector and ventilation nozzle from the passenger side (see photo).
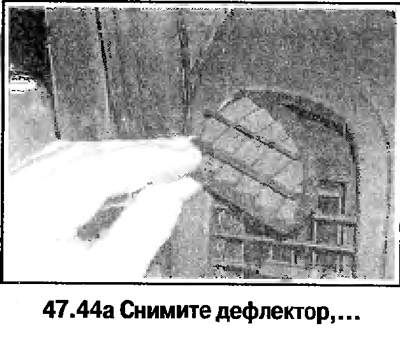
44. Remove the deflector and ventilation nozzle from the passenger side (see photo).
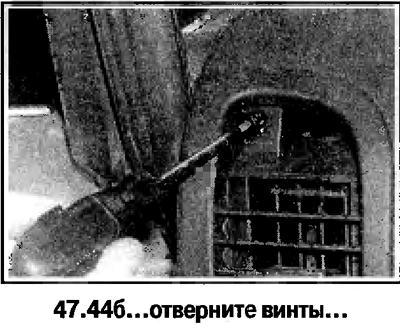

44. Remove the deflector and ventilation nozzle from the passenger side (see photo).
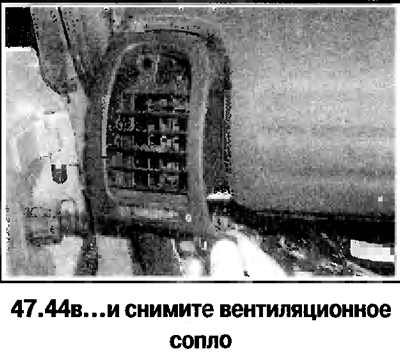

44. Remove the deflector and ventilation nozzle from the passenger side (see photo).


45. Remove the latches, remove the panels above the driver and passenger feet and remove the side heater ducts (see photo).
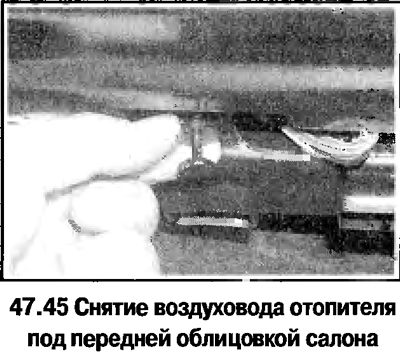
45. Remove the latches, remove the panels above the driver and passenger feet and remove the side…


46. Mark the routes of the harnesses under the cladding.

47. Answer the screws for fastening the front trim of the passenger compartment (see photo), remove the rubber seals from the front body pillars.
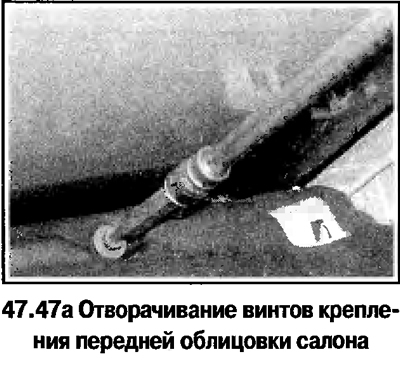
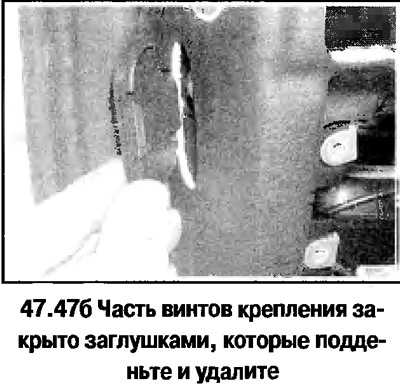
47. Answer the screws for fastening the front trim of the passenger compartment (see photo), remove…


47. Answer the screws for fastening the front trim of the passenger compartment (see photo), remove…


48. Using two people, lift the trim and remove it, taking care not to damage the part of the trim in the area of the steering column (see photo).
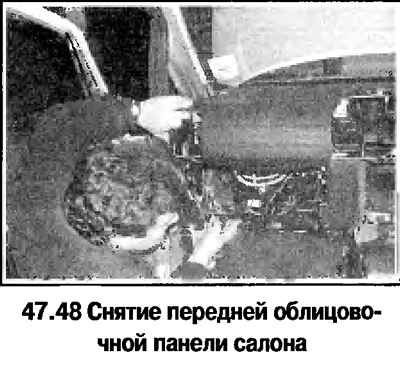
48. Using two people, lift the trim and remove it, taking care not to damage the part of the trim…


49. Installation is carried out in reverse order.


This article is available at russian, bulgarian, belarusian, ukrainian, serbian, croatian, romanian, polish, slovak, hungarian
Checking the article: Kornev Georgy

Share information:

Previous articles
Opel Astra G: Interior
Next articles

Glove box — removal and installation
Central floor section — removal and installation
Interior trim panels — removal and installation
Seat belt height adjuster — removal and installation
Seat belts — removal and installation
Front seat belt tensioner — removal and installation


See similar ones from other Opel car manuals:
▶ Removal and installation the front door interior trim Opel Corsa C (2000-2006, petrol)
▶ Interior door trim panel Opel Omega B (1993-1999)
▶ Removal and installation the interior sill trim panel Opel Vectra C (2002-2008)
▶ Interior Door Trim Panel — Removal and Installation Opel Ascona C (1981-1988)
▶ Replacing the upper center trim panel Opel Insignia A (2008-2017)
Link to this page in different formats

Visitor comments


No comments yet


How much will 12 + 27 =


Astra J (2009-2015, petrol) 
  • General information
  • Vehicle device
  • User manual
  • Faults en route
  • Maintenance
  • Power unit
  • Engine repair
  • Cooling and lubrication system
  • Engine power system
  • Exhaust system
  • Transmission
  • Clutch
  • Car gearbox
  • Drive shafts
  • Chassis
  • Front suspension
  • Rear suspension
  • Steering
  • Brake system
  • Wheels and tires
  • Body
  • Exterior
  • Interior
  • Doors and windows
  • Body Care
  • Heating and air conditioning
  • Security systems
  • Electrical equipment
  • Equipment and devices
  • Lighting and signaling
  • Power devices
  • Electrical circuits
Astra H (2004-2009) 
  • General information
  • Introduction to the guide
  • Troubleshooting
  • User manual
  • Maintenance
  • Power unit
  • Engine repair
  • Cooling and heating
  • Power and exhaust system
  • Ignition system
  • Launch and charge system
  • Transmission
  • Mechanical gearbox
  • Automatic gearbox
  • Drive shafts
  • Chassis
  • Brake system
  • Car suspension
  • Steering
  • Body
  • Interior
  • Exterior
  • Electrical equipment
  • Equipment and devices
  • Electrical circuits
Astra G (1998-2004) 
  • General information
  • Introduction to manual
  • User manual
  • Maintenance
  • Power unit
  • SOHC gasoline engines
  • DOHC gasoline engines
  • Diesel engines 1.7 and 2.0
  • Engine repair
  • Cooling system
  • Supply system
  • Injection system (gasoline)
  • Injection system (diesel)
  • Exhaust system
  • Charge and launch system
  • Ignition system (gasoline)
  • Preheat system (diesel)
  • Transmission
  • Manual gearbox
  • Automatic gearbox
  • Clutch
  • Drive shafts
  • Chassis
  • Brake system
  • Wheel suspension
  • Steering
  • Body
  • Exterior
  • Interior
  • Doors and windows
  • Ventilation and heating
  • Electrical equipment
  • Equipment and devices
  • Electrical circuits
Astra G (1998-2004, petrol) 
  • General information
  • User manual
  • Car care
  • Maintenance
  • Power unit
  • Single shaft engines
  • Twin shaft engines
  • Engine repair
  • Cooling and heating
  • Fuel and exhaust systems
  • Starting and charging system
  • Ignition system
  • Transmission
  • Clutch
  • Mechanical gearbox
  • Automatic gearbox
  • Drive shafts
  • Chassis
  • Brake system
  • Car suspension
  • Steering
  • Body
  • Interior
  • Exterior
  • Electrical equipment
  • Equipment and devices
  • Wiring diagrams Opel Astra
  • Wiring diagrams Opel Zafira
Astra F (1991-1998, petrol) 
  • General information
  • Maintenance
  • Power unit
  • Engine in car
  • Engine removed
  • Cooling system
  • Heating and ventilation
  • Fuel supply (carburetor)
  • Fuel supply (injector)
  • Emission control
  • Ignition system
  • Transmission
  • Clutch
  • Mechanical gearbox
  • Automatic gearbox
  • Drive shafts
  • Chassis
  • Brake system
  • Car suspension
  • Steering
  • Body
  • Exterior
  • Interior
  • Electrical equipment
  • Equipment and devices
  • Electrical circuits
OpelBook.ru © 2017–2026 · Mobile version · · Sitemap: EN BG BY UA RS HR RO PL SK HU · Feedback · Site search
Astra F, petrol · Astra G, petrol · Astra G · Astra H · Astra J, petrol · Corsa B · Corsa C, petrol · Corsa C · Insignia A · Kadett D · Kadett E · Omega A · Omega B · Omega B2 · Vectra A, petrol · Vectra A · Vectra B, petrol · Vectra B · Vectra C · Zafira A, petrol · Frontera A, petrol · Frontera B · Ascona C · Vivaro A ·
We want your visit to be comfortable 🤝! We use cookies 🍪 to make that happen.