
Front door trim
1. Disconnect the battery from the ground and wait at least 1 min.
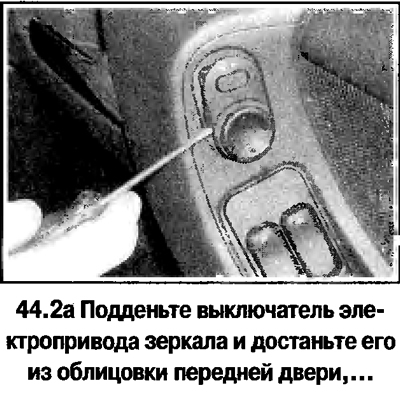
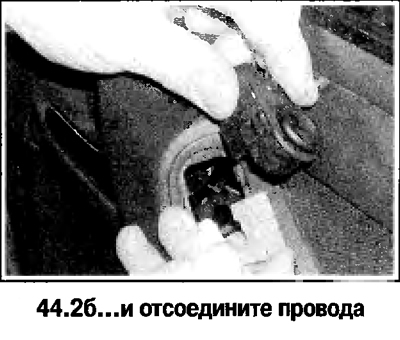
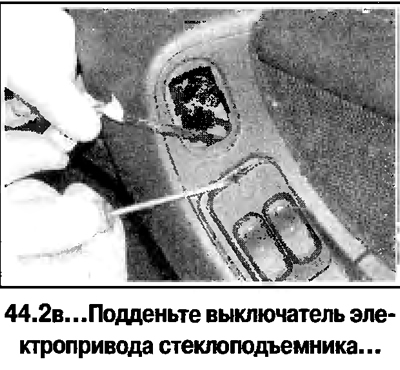
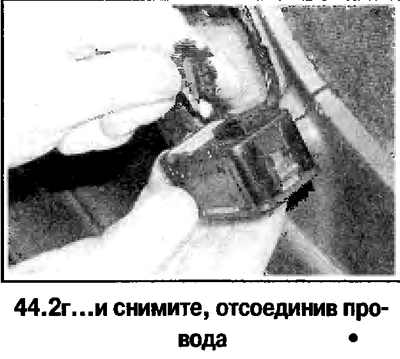
2. Remove the mirror and power window switches (see photo).
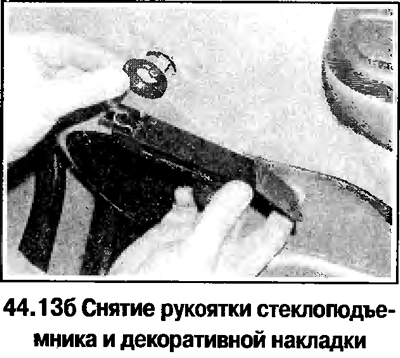
3. On models with a manual power window drive, remove the power window handle by removing the bracket with a hook from a piece of hard wire.
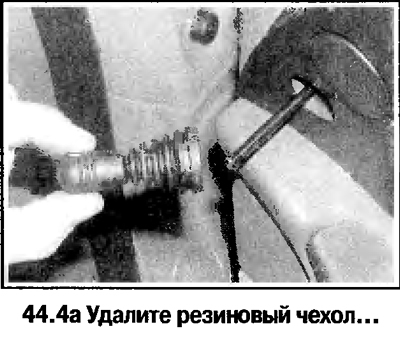
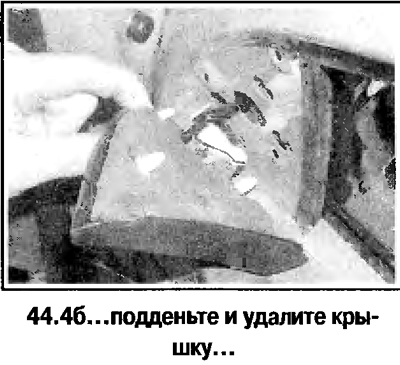
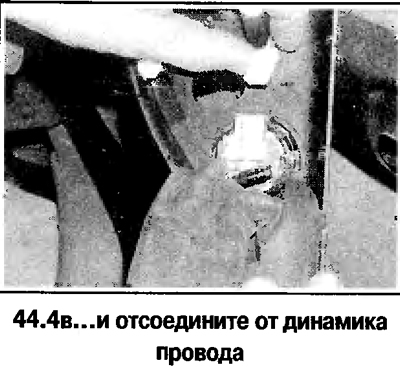
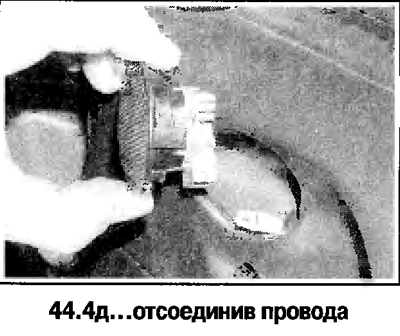
4. Remove door speaker (see photo).

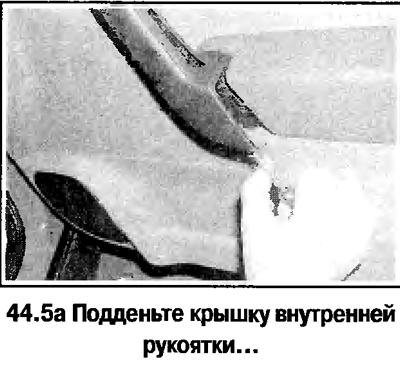
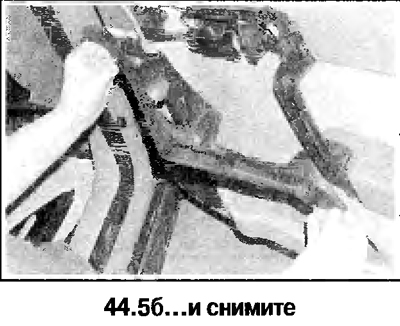
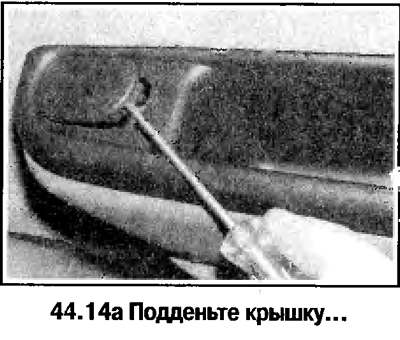
5. On Astra models, remove the inner handle cover (see photo).
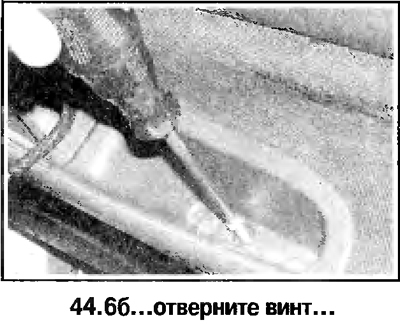
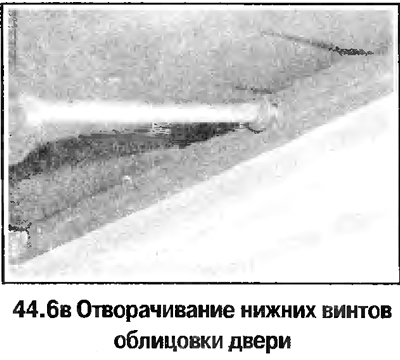
6. Turn away screws on the lower edge of facing of a door. One of the screws is behind the door handle (see photo).

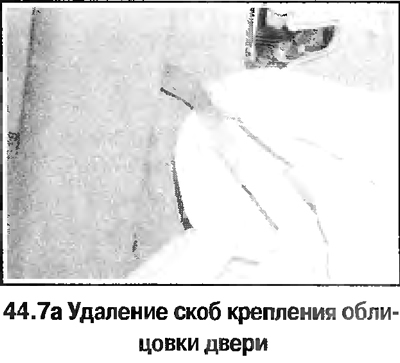
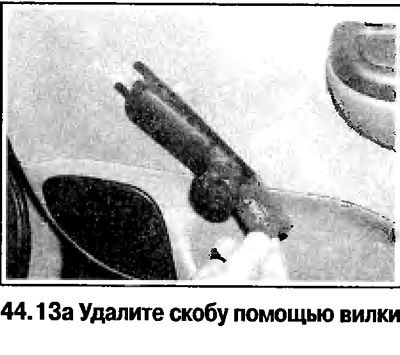
7. Use a fork tool to remove the door trim fasteners (see photo).
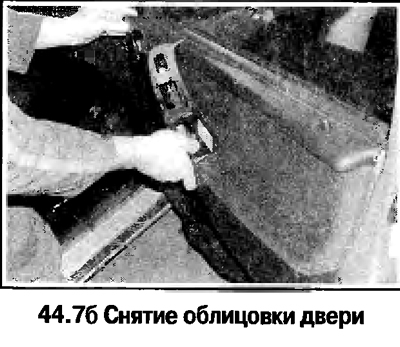
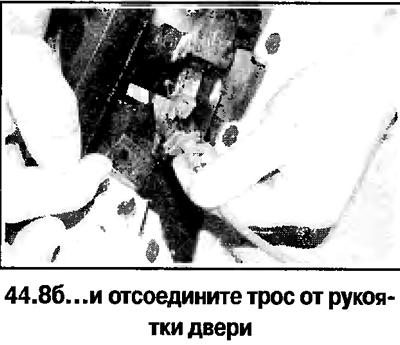
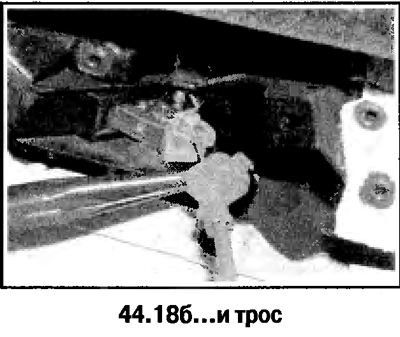
8. Raise the lining and remove by disconnecting the cable from the door handle (see photo).

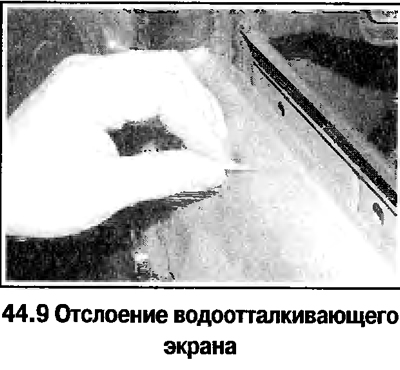
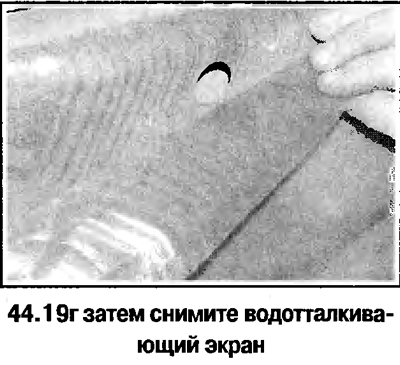
9. Remove the water-repellent screen (see photo).
10. Installation of facing is carried out upside-down.
Rear door lining
11. Disconnect the battery from the ground and wait at least 1 min.
12. Pry and remove the power window switch (on parts of cars, the switch is fixed with screws).
13. On models with a manual power window, remove the power window handle (see photo).
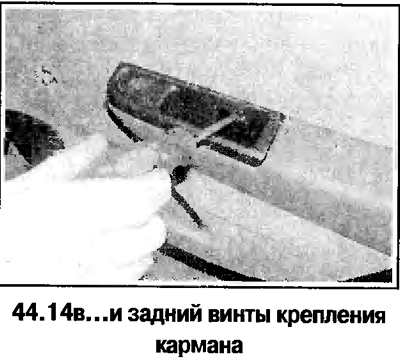
14. Remove the pocket (see photo).

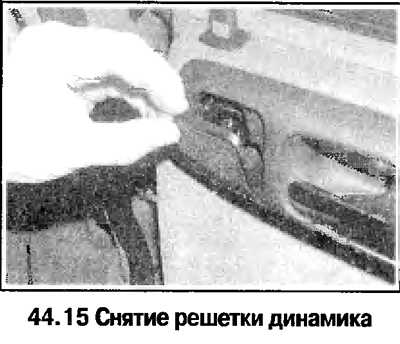
15. Remove the ashtray and speaker grille (see photo).
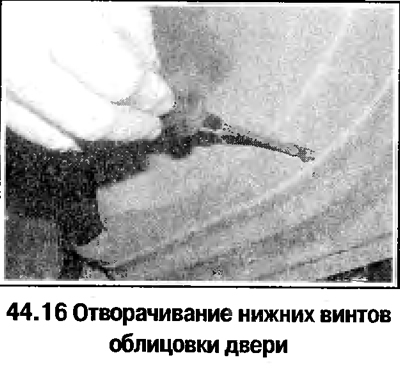
16. Turn away screws on the bottom edge of facing of a door (see photo).
17. Use a fork tool to remove the door trim fasteners.
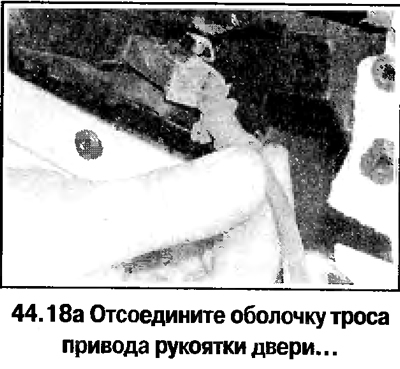
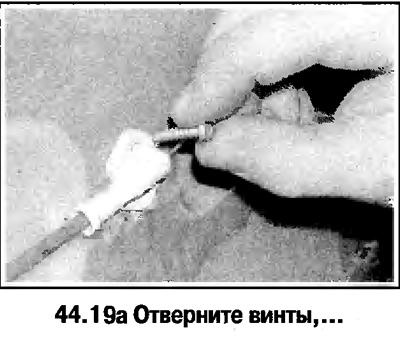
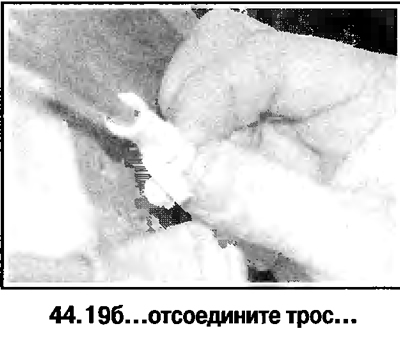
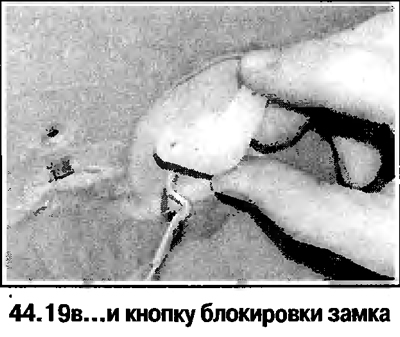
18. Raise the trim and remove by disconnecting the cable from the door handle and the wires from the speaker (see photo).
19. Remove the water-repellent screen (see photo).
20. Installation of facing is carried out upside-down.
Rear compartment lid lining
21. Remove latches, turn away screws and remove facing.
22. Remove the upper brake signal from the latches.
23. Installation of facing is carried out upside-down.
Facing of a back lateral part of salon (coupe)
24. Remove a back of a back seat.
25. Pry with a screwdriver and remove the lining.
26. Installation of facing is carried out upside-down.
Facing of a back lateral part of salon (hatchback)
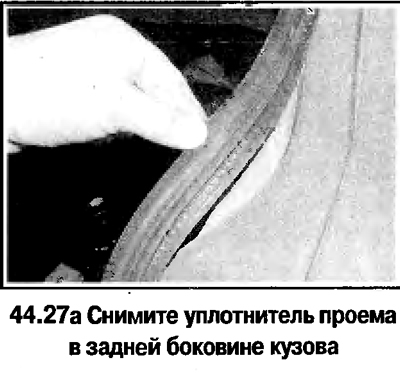
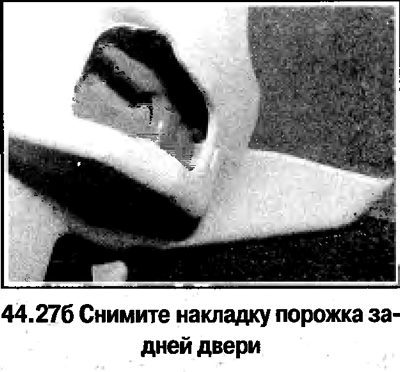
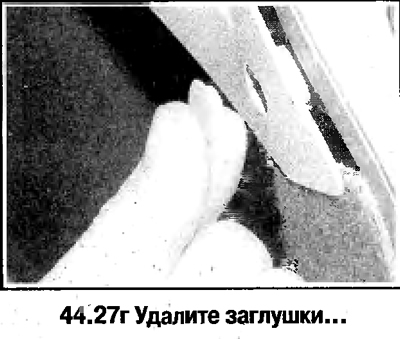
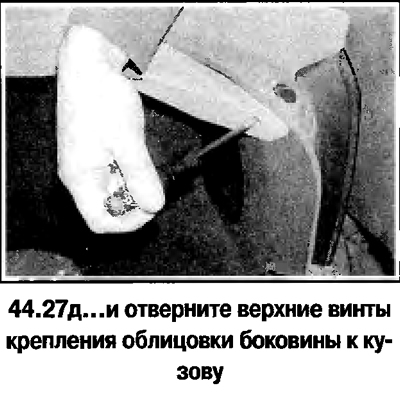
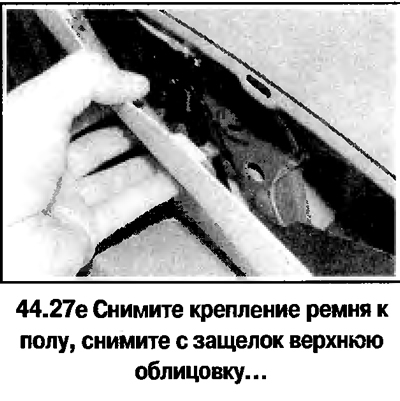
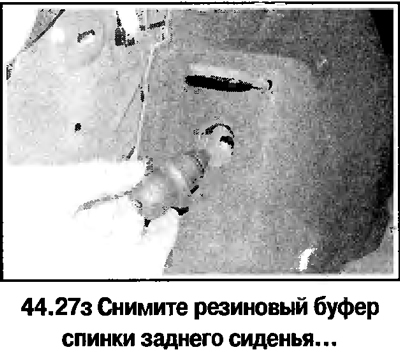
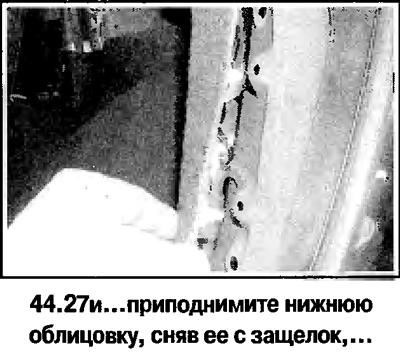
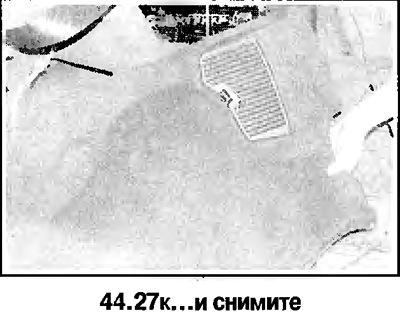
27. The procedure for removing the rear side trim on the hatchback body is illustrated in the photo.

C-pillar lining (coupe)
28. Remove the rear side trim.
29. Turn away screws and remove an overlay, having accurately prying out a screw-driver.
Lower facings of the forward panel of salon
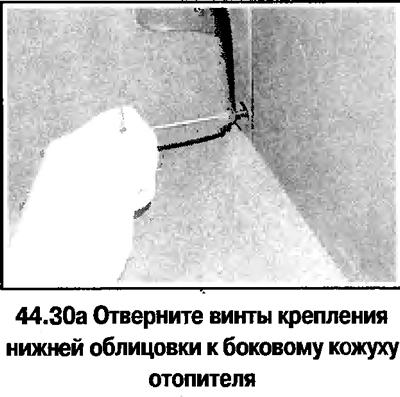
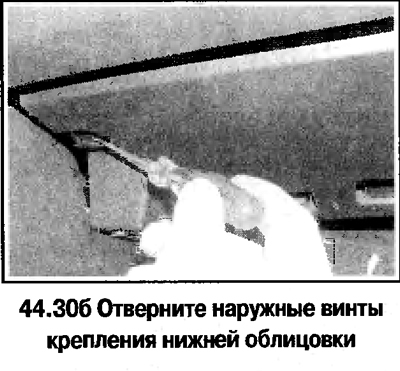
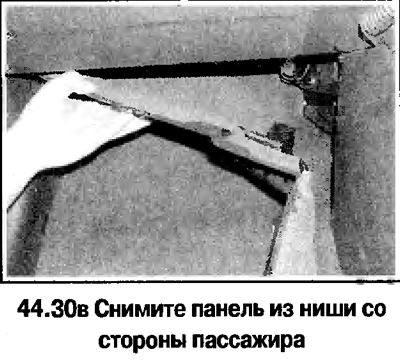
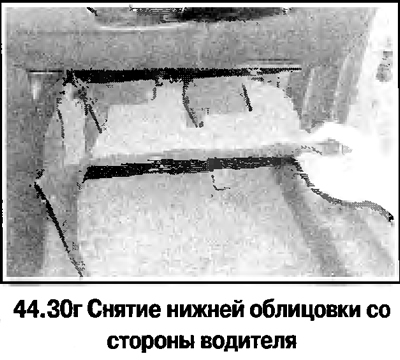
30. The lower facings of the front panel of the passenger compartment are fastened with screws in niches on the driver and passenger side (see photo).
Visitor comments