
2. Detach and slide back the water-repellent plastic shield.
3. Raise the window completely.
4. Unscrew and remove the screws securing the glass guide (see Figure 11.20).
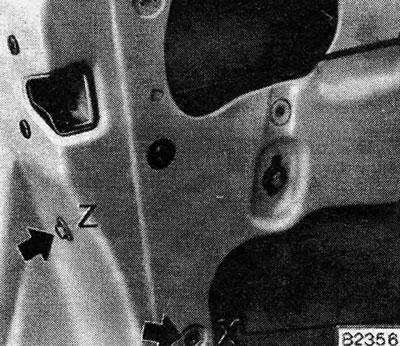
Figure 11.20. Front door glass guide screws: X - screws on two-door models; Y - screws on four-door and Hatchback models
5. Remove the rubber seal strip and then remove the guides through the holes in the inner door panel (see Figure 11.21).
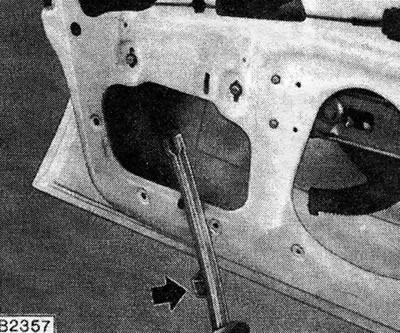
Figure 11.21. Removing the glass guide: The arrow indicates the location of the screw
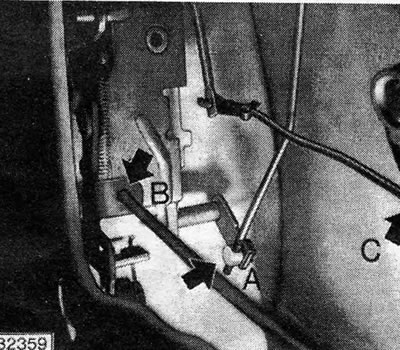
Figure 11.22. Front door lock control levers: A - rod of the outer door handle; B - rod of the internal remote control handle; C - Lock cylinder linking lever
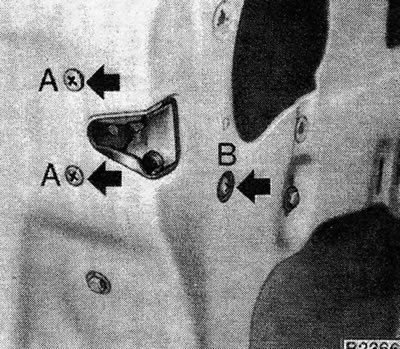
Figure 11.23. Front door lock mounting screws: A - screw with locking washer; B - screw with an ordinary washer
6. Disconnect the levers from the lock by releasing their clamps.
7. Working at the edge of the door, remove the lock mounting screws and remove it from the door.
8. The door remote control handle can be removed from its slot by sliding it towards the front of the vehicle (see photo 16.8).
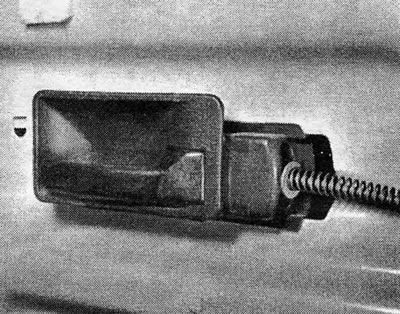
Photo 16.8 Design of the door remote control handle
9. Reinstallation is carried out by performing the above steps in reverse order.
Visitor comments