


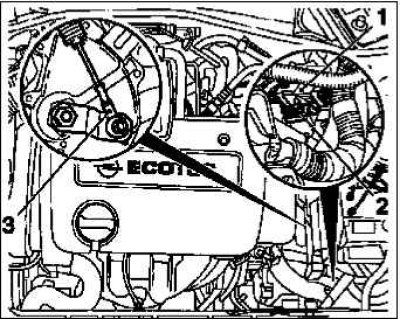
Release and disconnect the gear shift lever position switch 1 harness connector.
Press the gear shift cable 3 away from the control lever.
Install KM-962-A fixtures with KM-962-10.
Connect to the gear shift lever position switch harness connector.
Connect to the battery.
Move the gear shift lever by rotating control lever 2 to the neutral position.
Note: First of all, the gear shift lever must be turned to the left until it stops (in the direction of movement), immediately after this turn back to 2 stop positions ("P", "R", "N"). For the "N" lever position, the LEDs corresponding to the marks on the pull-out table should light up.
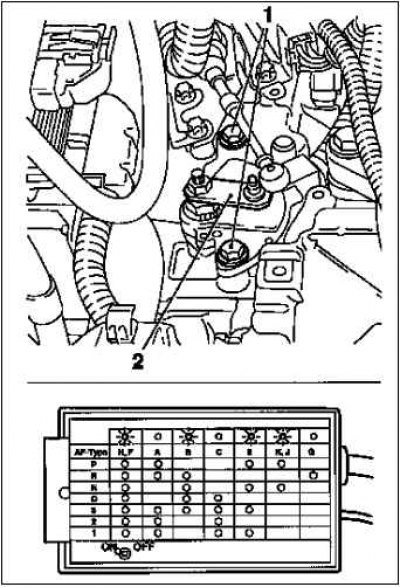
To adjust, loosen the locking screws 1.
Note: Turn the gearshift lever position switch until all LEDs corresponding to the "N" lever position light up.
Tighten the locking screws to 25 Nm.
Note: Shift through all gears in sequence by turning the control lever. For each individual position of the gear lever, the LEDs corresponding to the marks should light up. Repeat the adjustment procedure if necessary.
Remove the KM-962-A fixtures from the KM-962-10.
Disconnect from the battery.
Disconnect the gear shift lever position switch harness connector.
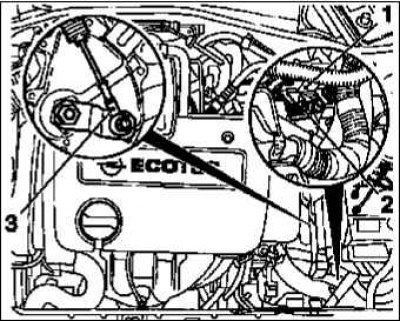
Install the gear shift lever position switch harness connector 1.
Connect and secure the wiring harness connector.
Tighten the wiring harness connector to 2–20 N·m.
Install the shift drive system cable 3 to the shift lever position switch control lever.
Visitor comments