
Dismantling
Attention! The engine is removed from the car as part of the power unit (along with transmission).
The power unit is lowered and gets out from under the car. In order to easily get the engine in this way, the front of the car must be raised to a sufficient height and placed on stands.
1. Park the vehicle on a firm, level surface. Remove the hood, decompress the fuel system.
2. Block the rear wheels, put the car on the handbrake. Raise the front of the car and place on stands. Remove the front wheels. On parts of cars, remove the lower protective cover by unscrewing the screws.
3. Drain coolant and oil from the engine, remove the oil filter.
4. Do the following.
- 1) Remove the air filter.
- 2) Disconnect the exhaust pipe from the manifold.
- 3) Disconnect the throttle and cruise control cables and move them aside.
- 4) Label and disconnect all hoses from the intake manifold.
- 5) Disconnect the fuel tank vent hose from the throttle body.
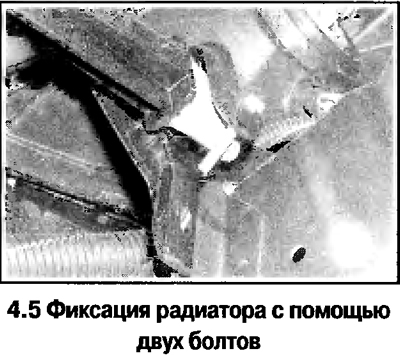
5. Designate and disconnect from the engine all hoses of the cooling system and heater (to disconnect the heater hose, press the latch and pull off the coupling). Remove the hoses from the brackets and clamps, take them away from the engine. Fix the air conditioner radiator/condenser by inserting the bolts into the bracket holes (see photo).
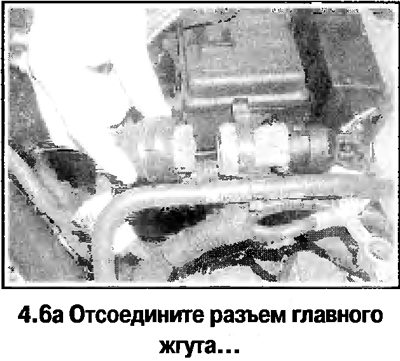
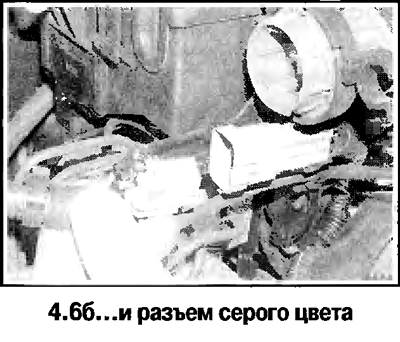
6. Disconnect all wiring harnesses from the engine (see photo), disconnect all tires to ground.
7. On manual transmission models, do the following.
- 1) Drain the gearbox oil.
- 2) Disconnect the reverse switch wire.
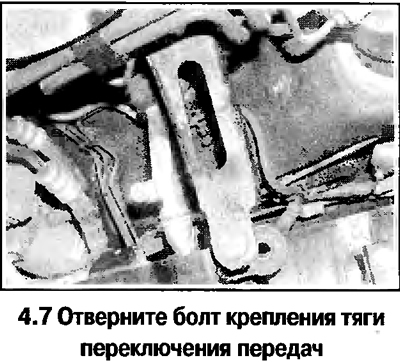
- 3) Disconnect the shift rod from the gearbox (see photo).
- 4) Pinch the hose immediately behind the fitting, pry with a screwdriver and remove the hose fitting bracket on the clutch housing and disconnect the hose.
8. On models with automatic transmission, drain the fluid, mark and disconnect hoses, wires and cables from the transmission (the wiring connector is disconnected after tightening the lock).
9. Hang the engine on a hoist, securing it to the lugs on the engine and gearbox.
10. Remove axle shafts (Chapter 8).
11. Remove the front bulkhead (Chapter 10).
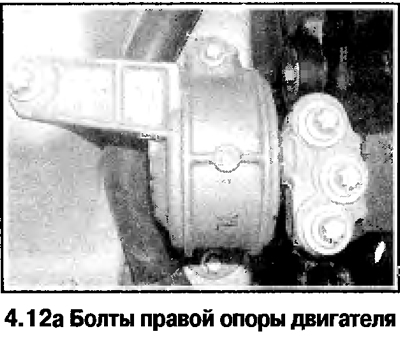
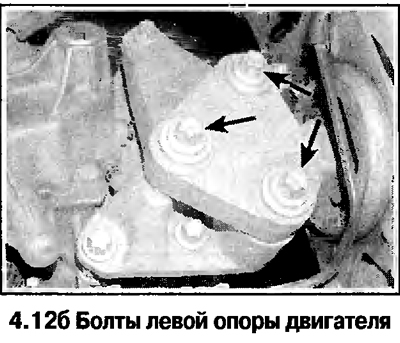
12. Turn away bolts of fastening of the right support of the engine to a body and the block of cylinders. Loosen the bolts securing the left support to the gearbox bracket (see photo). On models with air conditioning, disconnect the wires from the compressor and take away from the engine.
13. Place a pallet truck under the vehicle. Carefully lower the engine, being careful not to hit the radiator and fans. Get the engine from under the car.
Removing the checkpoint (transmission)
Manual transmission
14. On models with a stamped steel pallet, unscrew the bolts and remove the bottom cover of the clutch housing.
15. Turn away bolts and remove a starter.
16. Install reliable supports under the engine and gearbox, unscrew the mounting bolts and carefully separate the gearbox from the engine, preventing the gearbox from sagging on the input shaft. The gearbox mounting bolts should be screwed in place. Mark the position and orientation of the clamps and brackets to be removed.
17. If loosening the drive pins, remove them to re-install in place during reassembly.
automatic transmission
18. Turn away bolts and remove a starter.
19. Remove the rubber plugs on the cylinder block/sump flange covering the access holes to the torque converter mounting bolts. Loosen the accessible bolt (or bolts) torque converter mountings. Turning the crankshaft, unscrew the remaining bolts (on all engines except 2.0 l, the torque converter is attached with 3 bolts, on the 2.0 l engine - with 6 bolts). Replace bolts during assembly
20. Slide the torque converter into the transmission case. Turn away bolts and remove transmission.
Installation
21. Installation of the power unit is carried out in the reverse order, taking into account the following.
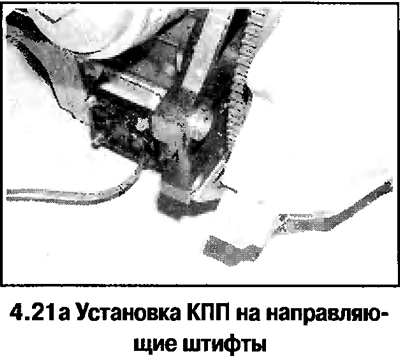
- A. Install the gearbox on the pins, not allowing the gearbox housing to sag on the input shaft (see photo).
- b. Align the power unit with the holes for the right support, install the support and tighten the bolts. Then wrap the bolts of the left support and install the air conditioning compressor in place. Install the subframe, then finally tighten the engine mount bolts.
- V. On models with automatic transmission, replace the torque converter mounting bolts. Tighten the bolts first by hand, then finally tighten diagonally.
- d. Replace the axle seals, clutch hose O-ring, and fitting gaskets on the automatic transmission.
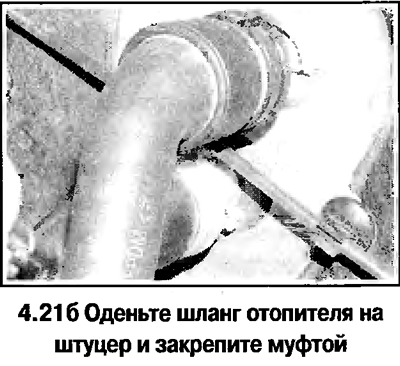
- e. Attach heater hoses securely (see photo).
Visitor comments