
Removing
Petrol models
1. Disconnect the negative cable from the battery (see chapter Engine electrical equipment).
2. Empty the cooling system (see chapter Current service).
3. Remove the timing belt with tension roller, on DOHC models remove the rear belt cover (see chapter Engine).
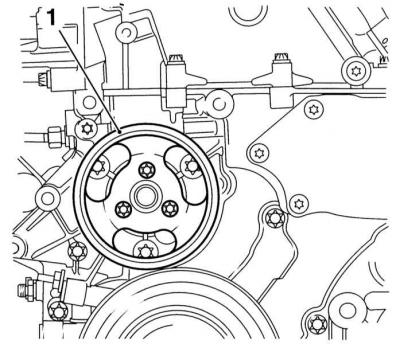
4. Where required, mark the position of the pump seat flange relative to the block surface, then remove the three water pump mounting bolts (1).
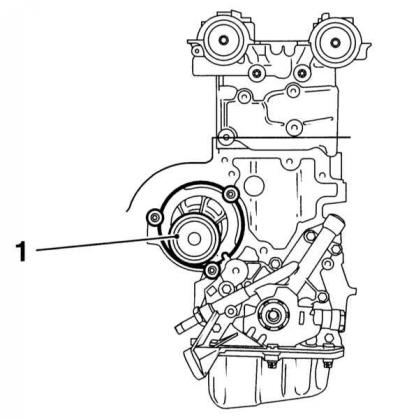
5. Remove the pump from its seat in the block (1.6L SOHC and 2.0L DOHC engines), or remove it from the block (engines 1.4, 1.6 and 1.8 l DOHC), - if necessary, having previously tapped it with a soft-faced hammer.
6. Remove the sealing ring of the pump - during installation it must be replaced without fail.
The pump is not subject to restoration repair and in case of failure it is replaced with a new one.
Diesel models
1. Apply the parking brake, jack up the vehicle and place it on jack stands. If equipped, remove the crankcase protection.
2. Disconnect the negative cable from the battery (see chapter Engine electrical equipment).
3. Remove the engine guard and drain the cooling system (see chapter Current service).
4. Remove the air cleaner assembly with the air mass meter sensor and intake duct (see chapter Power and exhaust systems).
5. On engines 1.7 l DOHC and 2.0 l remove the accessory drive belt (see chapter Current service), - before removing the drive belt, loosen the bolts securing the pump pulley.
6. On engines 1.7 l SOHC and 2.0 l remove the timing belt with tension roller (see chapter Engine), - this operation requires hanging the power unit and removing the right support of its suspension from the cylinder block with its bracket.
7. On engines 1.7 l DOHC and 2.0 l, while holding the pump pulley stationary (use an oil filter wrench or an old drive belt), unscrew the mounting bolts and remove the pulley from the pump drive flange.
3. Turn out bolts of fastening of the water pump.
A - Water pump mounting bolts on 1.7L DOHC models
B - Water pump mounting bolts (2) on 2.0 l models
A.
B.

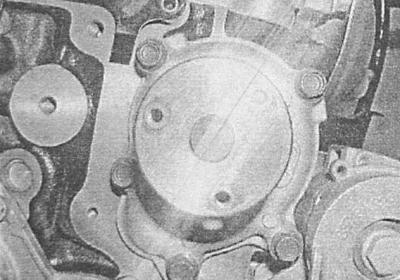
4. Remove the pump assembly from its seat in the block (engines 1.7 l) / timing chain covers (2.0 l engines - see illustration), if necessary, having previously tapped it with a soft-faced hammer.

5. Remove the sealing gasket / ring - when installing the sealing element must be replaced without fail.

The pump is not subject to restoration repair and in case of failure it is replaced with a new one.
Installation
Installation is carried out in the reverse order to the dismantling of the components.
1. Ensure that the mating surfaces of the components are thoroughly cleaned and wiped dry before installation. On petrol models follow the correct alignment of the landing marks / regular alignment marks applied during the dismantling process. Tighten the fixing bolts to the required torque.
The O-ring should be lightly lubricated with silicone grease before installation.
1. Finally, charge and bleed the cooling system (see chapter Current service), connect the negative cable to the battery, start the engine and check for signs of developing coolant leaks.
Visitor comments