
Checking the condition of the components of the cooling system should be carried out after the power unit has completely cooled down (at least three hours after the engine has stopped).
1. Remove the cap from the expansion tank. The coolant in the system must be relatively clear. If the fluid is rust colored, the system must be flushed and refilled with fresh mix (see chapter Cooling, heating systems). If the fluid level does not reach the top, add a little more mixture of the required composition to the radiator (see Checking fluid levels).
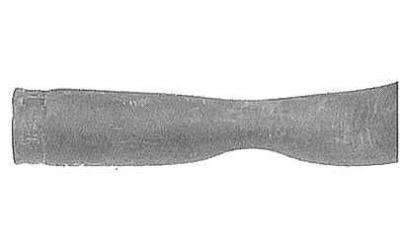
2. Carefully inspect the upper and lower radiator hoses along with the smaller diameter interior heating hoses located between the power unit and the bulkhead of the engine compartment.
- Inspect hoses along their entire length and replace defective components if cracks, bulges or signs of aging are found. Small cracks are usually easier to see when the hose is squeezed.
The compilers of this manual recommend replacing hoses approximately every two years, regardless of their condition.
- Check hoses for frayed areas.
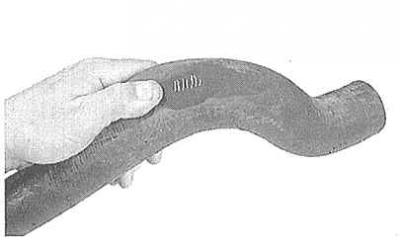
- The softening of rubber indicates the beginning of its destruction as a result of aging.
- Too tight tightening of the clamp in order to more securely fix it on the fitting / nozzle of the hardened hose does not help stop the leak, but only leads to the destruction of the hose material.
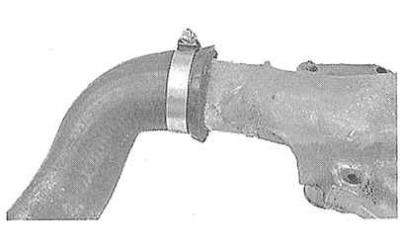
3. Check that all hoses are securely fastened to their fittings / nozzles. Coolant leaks usually show up as rusty or white streaks on surrounding surfaces. If the hoses are fixed to the fittings / nozzles with twist-type clamps, it would be reasonable to replace the latter with more reliable worm or screw clamps.
4. Blow out with compressed air or use a soft brush to remove old leaves, insect remains and other debris from the gaps between the radiator heat exchanger plates. Take care not to damage the soft plates of the heat exchanger and do not cut your fingers on their sharp edges.
Visitor comments