


Contents: Removal ⬇ Installation ⬇
Removal
On models with drum brakes on the rear wheels the drive cable consists of four sections: a short front (primary) section that connects the control lever to the compensator plate; two main cables (main section), connecting the compensator plate to the rear cables and two short cables connecting the main cables to the rear shoes of the brake mechanisms models with disc mechanisms the second section is connected directly to the actuator levers of the calipers, eliminating the need for short rear cables. Each section can be removed individually.
Front section
1. Support the front wheels with wheel chocks, jack up the rear of the car and place it on supports. Release the parking brake completely.
2. Remove the center console (see Chapter Body).
3. Completely loosen the adjusting nut at the front of the parking brake control lever base.
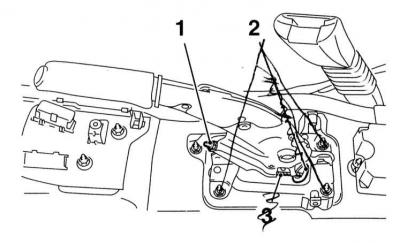
1 - Adjusting nut
2 - Fastening nuts
4. If necessary, disconnect the cable from the guides on the base plate.
5. Under the vehicle, disconnect the electrical wiring from the lambda probe.
6. Remove the exhaust pipe and intermediate section of the exhaust system (see Chapter Power and exhaust systems). Remove the hangers of the central part of the exhaust system from the support brackets on the bottom of the car.
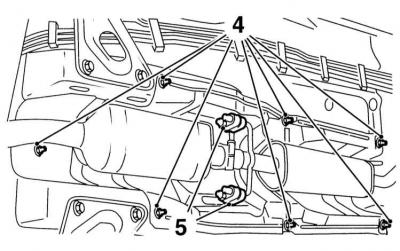
7. Loosen the mounting nuts and remove the heat shield from the bottom of the car.
8. Turn 90° and disconnect the front cable from the compensator plate.
9. Release the rubber sealing element from the lever base plate and pull the cable into the vehicle interior. Remove the sealing element.
Main section
The main section consists of two cables and a compensator plate.
1. Support the front wheels with wheel chocks, jack up the rear of the car and place it on supports. Release the parking brake completely.
2. Remove the center console cover and release the parking brake lever boot from the console. Lift the boot upward to gain access to the adjusting nut.
3. Loosen the nut slightly to provide the necessary slack in the cable.
4. On models with drum brakes on the rear wheels disconnect the ends of both main section cables from the short rear cables models with rear disc brakes, using a screwdriver to press the actuator levers of the calipers, disconnect the ends of the main cables from them, remove the clamps and release the cable casings from the support brackets on the calipers.
5. Under the vehicle, disconnect the electrical wiring from the lambda probe.
6. Remove the exhaust pipe and intermediate section of the exhaust system (see Chapter Power and exhaust systems). Remove the hangers of the central part of the exhaust system from the support brackets on the bottom of the car.
7. Loosen the mounting nuts and remove the heat shield from the bottom of the car.
8. Turn 90° and disconnect the front cable from the equalizer plate.
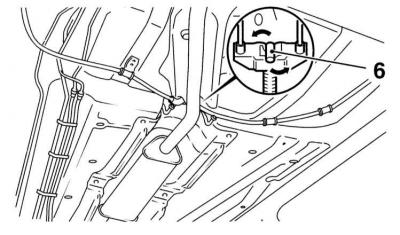
9. Release the main section cables from the support brackets on the rear beam and fuel tank and remove them from under the vehicle.
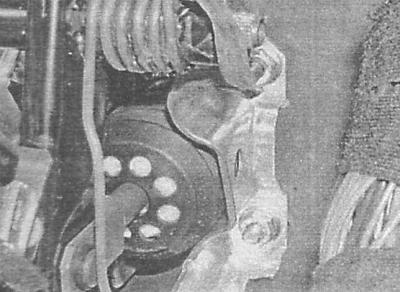
A — Left brake booster mounting nuts
B — Right brake booster mounting nuts
A.
B.
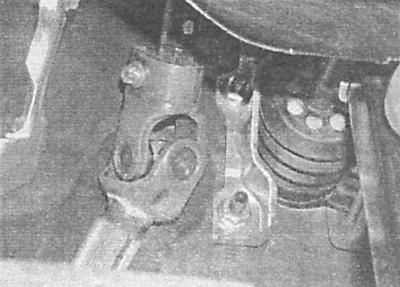
Rear cables (rear drum brakes)
1. Support the front wheels with wheel chocks, jack up the rear of the vehicle and place it on stands. Release the parking brake completely. Remove the corresponding rear wheel.
2. Remove the rear brake shoes (see Replacing the shoes of the rear wheel drum brake mechanisms).
3. Remove the locking bracket from the brake shield and pull the cable forward.
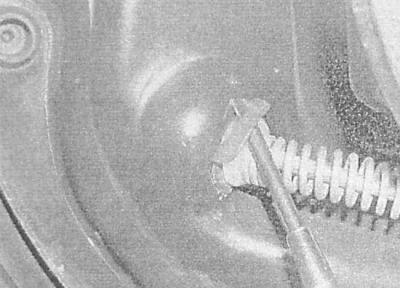
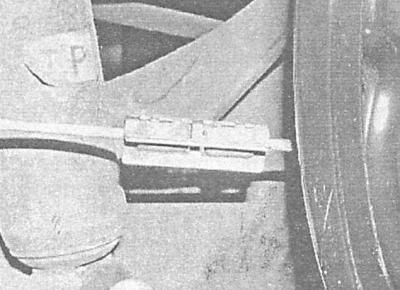
4. Disconnect the rear cable from the end of the corresponding main section cable.
Installation
Installation is carried out in the reverse order of dismantling the components.
1. Finally, adjust the cable (see Adjusting the parking brake drive). Make sure that the cable ends are securely fastened to the compensator plate. Check that the front cable protective sleeve is seated correctly.
Visitor comments