
Removing
1. Raise the front of the car and secure it on stands. Remove the corresponding front wheel.
2. Unscrew the nut and disconnect the anti-roll bar link to the A-pillar.
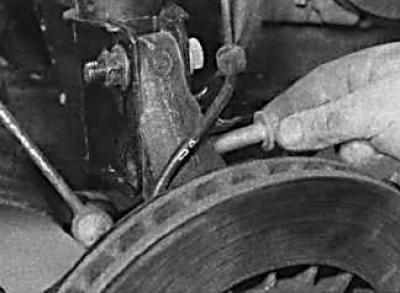
3. Disconnect the brake hose from the bracket on the A-pillar.
4. Disconnect the brake pad wear sensor wires from the A-pillar.
5. Mark the position of the strut on the steering knuckle.
6. Remove the two bolts securing the steering knuckle to the A-pillar.
7. Unscrew bolts of fastening of a rotary fist to a forward rack.
8. Remove the bolt securing the steering knuckle to the A-pillar.
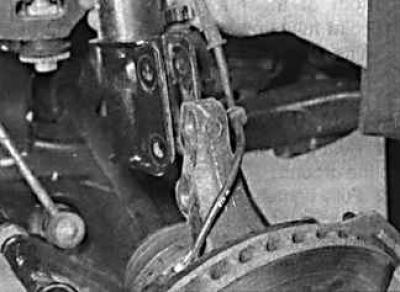
9. Remove the upper part of the steering knuckle from the rack and install the steering knuckle on the stand.
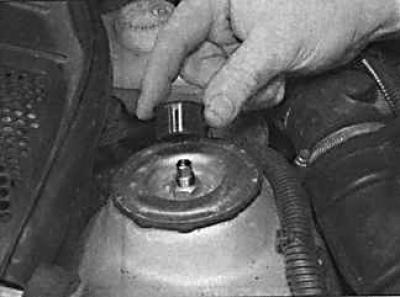
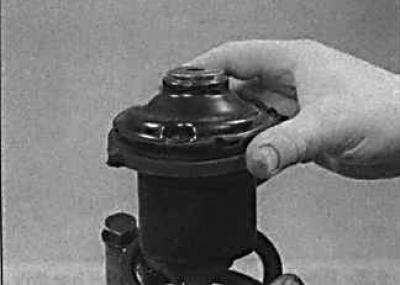
10. In the engine compartment, remove the protective plastic cap from the top of the A-pillar.
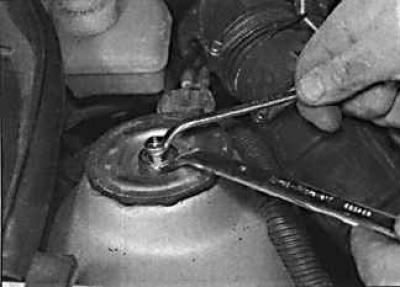
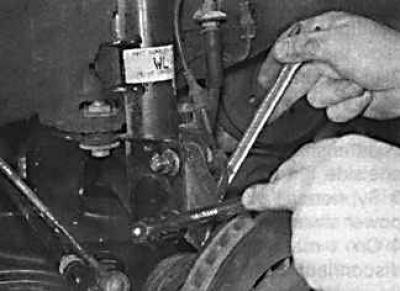
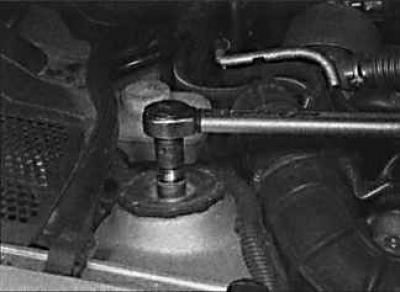
11. Unscrew the nut securing the top of the rack. At the same time, hold the front strut rod from turning with a wrench.
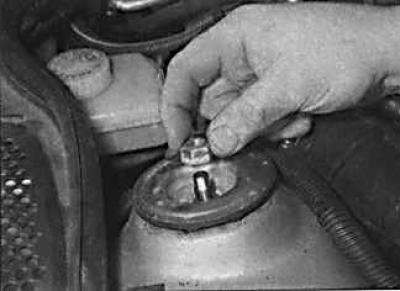
12. Remove the nut securing the top of the front strut.
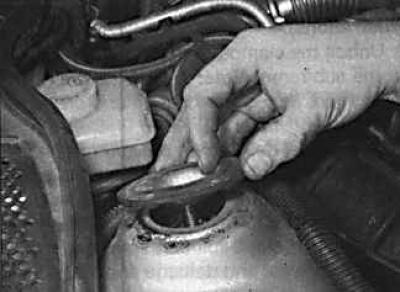
13. Remove the top support of a forward rack.

14. Lower the strut and remove it from under the front fender.
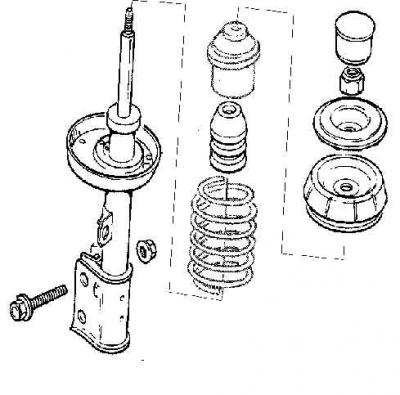
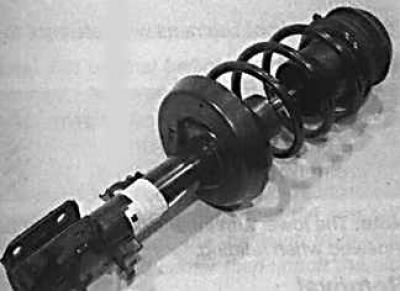
A-pillar repair
A-pillar removed from the car
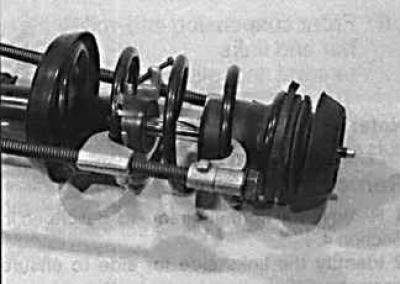
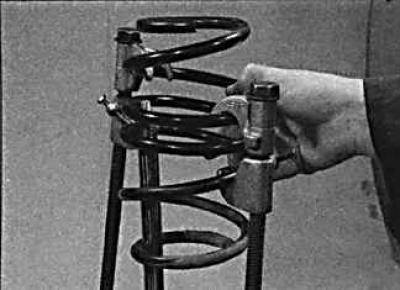
1. Using the special tool, compress the spring so that it moves away from the top. When using a special device for spring compression, make sure that the coils of the spring are securely gripped and the spring is compressed from opposite sides.
Warning! The spring has a very high compression force, so use only a very reliable tool. Never tie the spring with wire.
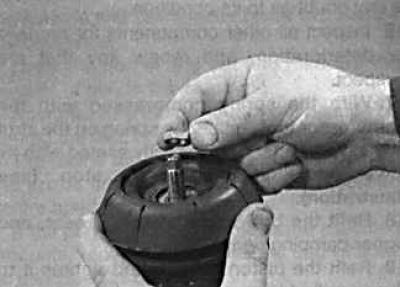
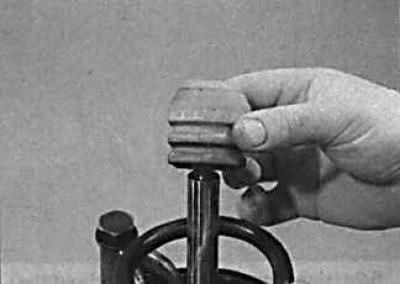
2. Secure the shock absorber rod against turning with a wrench and, using the second spanner wrench, unscrew the central shock absorber rod mounting nut.
3. Remove the top bearing race.
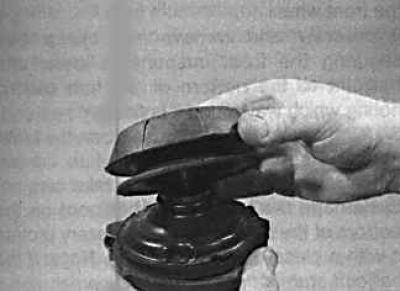
4. Remove the top spring housing.
5. Remove the buffer.
6. Remove the spring from the front strut.
7. Check all elements of the front strut for wear, damage or deformation. Check the smoothness of the shock absorber rod. Check the shock absorber for leaks, as well as its stem for pitting along the entire length.
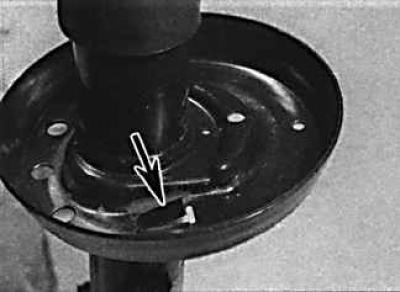
8. Install the coil spring so that its lower end is correctly positioned in the lower spring seat.
9. Install buffer, top spring seat and top race with bearing.
10. Screw the nut onto the shock absorber rod and tighten it to the required torque, while holding the rod from turning with a second wrench.
11. Slowly loosen the spring compression tool. Check that the extreme coils of the spring are correctly located in the spring seats.
Installation
Installation is made in sequence, return to removal.
Visitor comments