


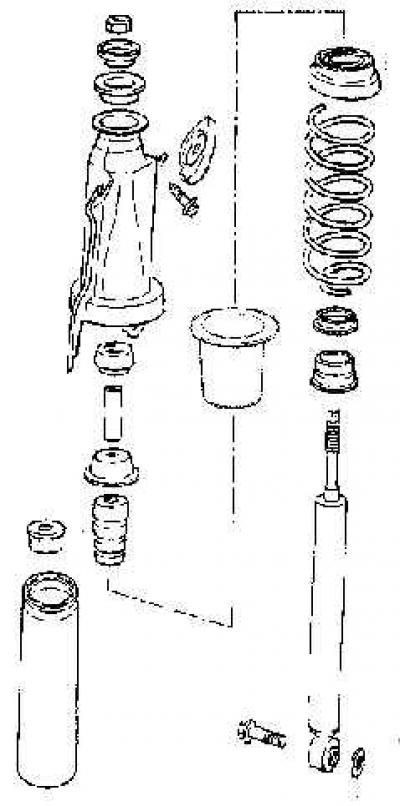
Removal
1. Raise the rear of the vehicle and secure it on stands. Remove the corresponding rear wheel. Install the rear beam on the stand.
2. Remove the protective liner from under the rear wheel arch.
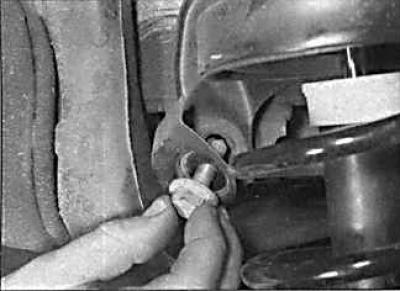
3. Remove the rear bolt securing the upper part of the rear pillar.
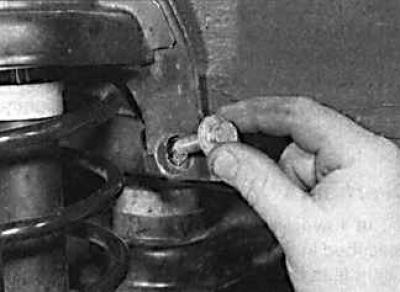
4. Remove the front rear pillar upper mounting bolt.
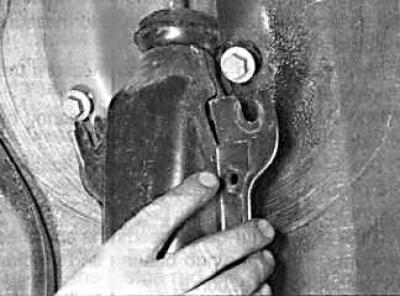
5. Remove the strut from under the wheel arch.
Repair
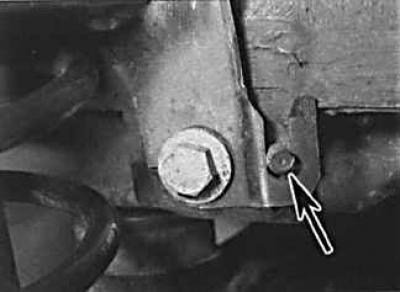
Location of the rear pillar mounting bolt
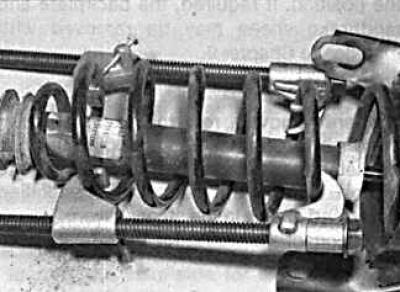
1. Using a special device, compress the spring so that its upper cup is unloaded.
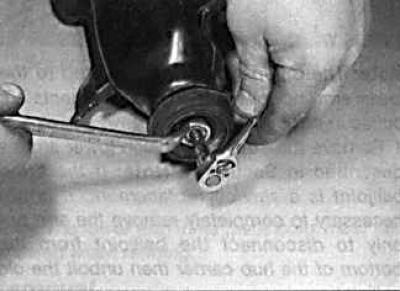
2. Secure the shock absorber rod from turning with a wrench and, using a second wrench, unscrew the shock absorber rod mounting nut.
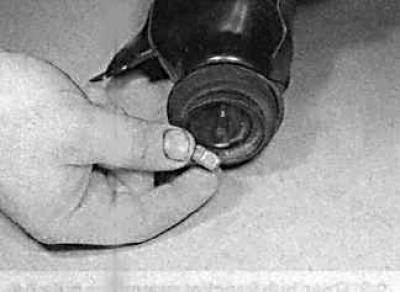
3. Remove the shock absorber rod mounting nut.
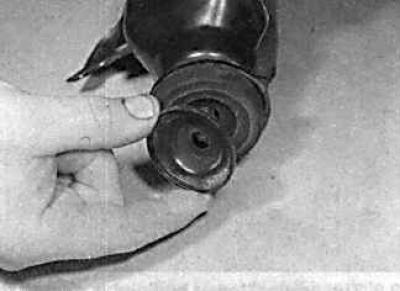
4. Remove the upper plate from the shock absorber rod.
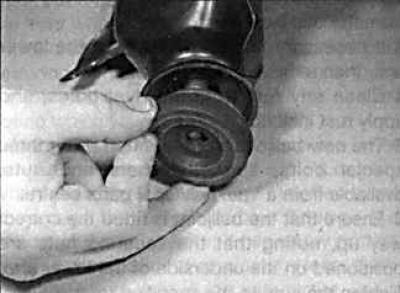
5. Remove the damping ring.
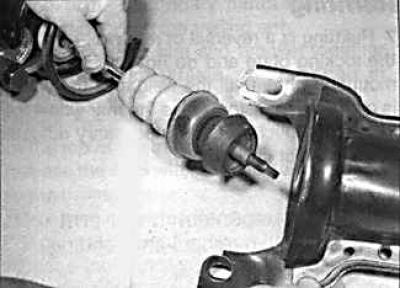
6. Remove the fastener.
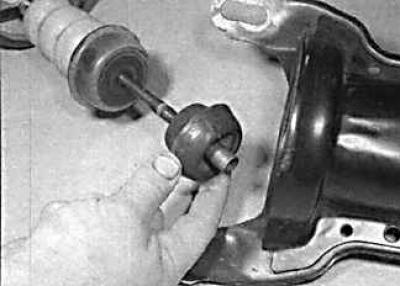
7. Remove the bushing.
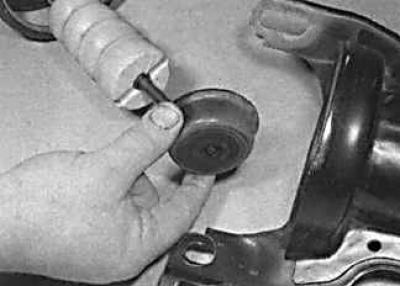
8. Remove the glass.
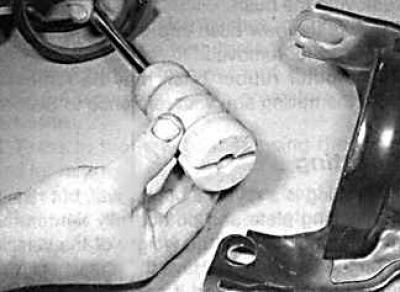
9. Remove the buffer and coil spring.
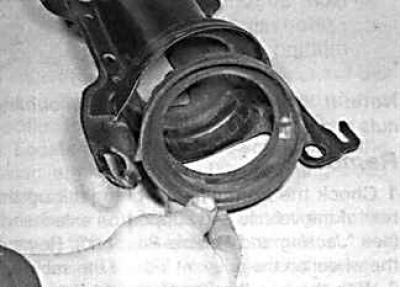
10. Remove the spring seat from the rear strut mounting element.
11. Check all shock absorber strut components for wear, damage or deformation. Check the smoothness of the shock absorber rod. Check the shock absorber for leaks, as well as its rod for pitting along its entire length.
12. Install the upper spring seat into the rear strut mounting element.
13. Install the buffer, cup and bushing onto the shock absorber rod.
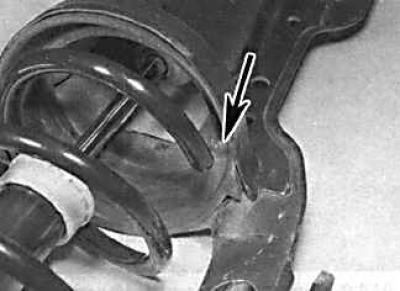
14. Install the rear strut fastener onto the coil spring, with the end of the spring positioned in the recess in the upper spring pocket (arrow).
15. Install the damper ring and top plate.
16. Tighten the shock absorber rod mounting nut, while holding the rod from turning with a wrench.
17. Slowly loosen the special spring compressor tool.
Installation
Installation is performed in the reverse order of removal. Tighten the bolts securing the fastener to the upper part of the rear pillar after the vehicle is positioned on the wheels.
Visitor comments