
2. Refer to the owner's manual that came with your vehicle for detailed operating instructions.
3. Although checking the computer and its parts is beyond the scope of the average home mechanic "Do it yourself", there is no reason not to replace faulty components yourself.
Replacing Components
Computer relay
4. The on-board computer relay is mounted on the bottom of the fuse box (see Figure 12.47).
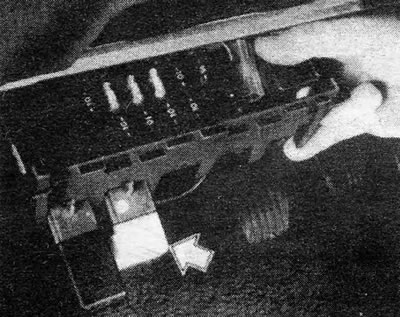
Figure 12.47. On-board computer relay - indicated by arrow
5. Remove the bottom panel if necessary to gain access to the relay, and disconnect the relay from its socket.
6. Insert the new relay and replace the panel.
Temperature sensor
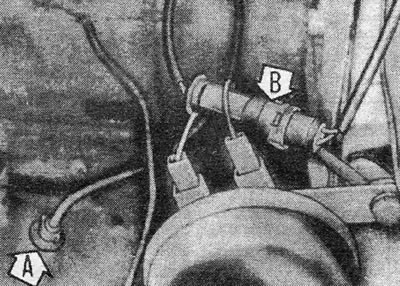
Figure 12.48. Remote temperature sensor (A) and electrical wiring plug (IN)
7. The temperature sensor is located under the left front fender. Disconnect the electrical wiring plug and remove the sensor from its cap.
8. Install the new sensor into the cap and connect the electrical wiring plug.
Distance sensor
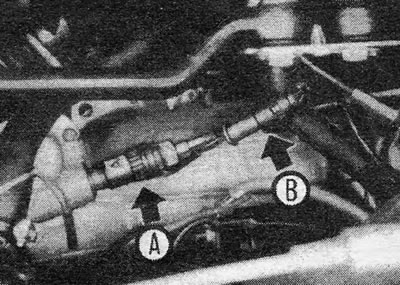
Figure 12.49. Distance sensor (A) and electrical wiring plug (IN)
9. The distance sensor is screwed into the drive on the transmission; The cable is screwed into the back of the sensor.
10. Unscrew the speedometer cable from the sensor. Disconnect the electrical wiring plug from the sensor and remove the sensor from the transmission.
11. Install the new sensor, making sure it is the same type as the one you removed (sensors marked 12 V 15 IMP operate in the frequency divider at the top of the engine; sensors marked 12 V 8 IMP work directly in the computer). Connect the electrical wiring plug and the speedometer cable.
Computer
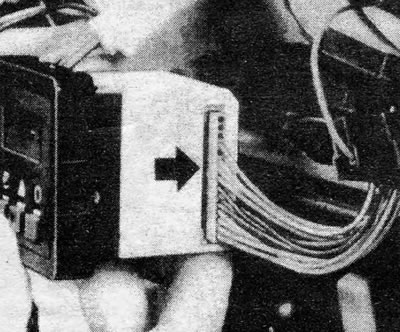
Figure 12.50. On-board computer multiplug (indicated by arrow)
12. To remove the computer itself, first remove the front switch panel.
13. Slide the computer out of the panel and disconnect the multi-plug electrical harness.
14. Reinstall by performing the above steps in reverse order, but note that the computer must be calibrated according to the vehicle model. And this must be done by a GM dealer.
Computer display backlight
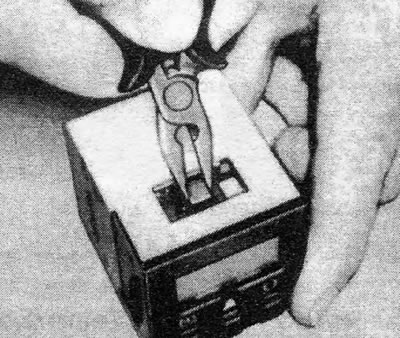
Figure 12.51. Removing the computer backlight bulb holder
15. Remove the computer as described above.
16. Remove the light bulb holder from the top of the computer by turning it with pliers. Replace the light bulb.
17. Install the light bulb holder. Check that the newly installed light bulb works (with the computer connected and the lights on) before reinstalling the front switch panel.
Visitor comments