
Radio equipment - removal and installation
1. Adequate general information pertaining to the installation of radios and tape recorders, antennas and speakers is given in Chapter 12, However, some details should be taken into account below.
2. On later models the radios comply with the latest DIN standards and are removed by inserting two special clamps into the holes on each side of the unit after the cover cap screws have been removed. These clips often come with the car; and if not, then they can be purchased at a specialized auto store. The clamps are inserted until they are firmly in place, and then, by grabbing them, you can pull the radio out of its place. You can then disconnect the various plugs from the back of the radio. A diagram located on the back of the receiver provides information about the electrical connections, and in most cases each speaker and socket is marked with a different color to help prevent incorrect connections (see photo 9.2 A, B, C and D).
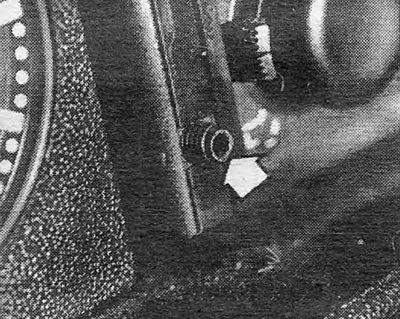
Photo 9.2A Unscrew the closing plugs on the front surface of the radio...
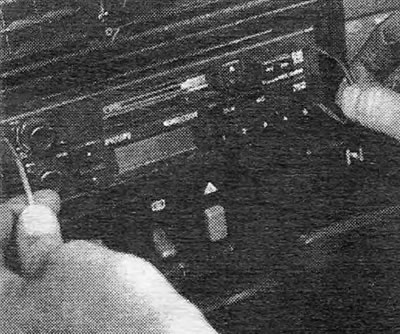
Photo 9.2B... to gain access for inserting auxiliary clamps
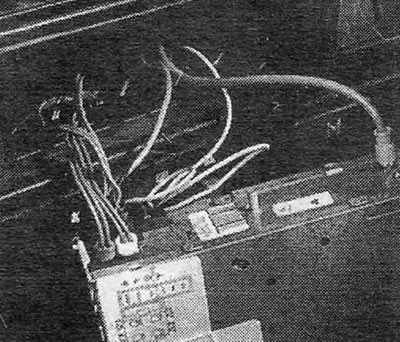
Photo 9.2C Electrical wiring at the rear of the radio
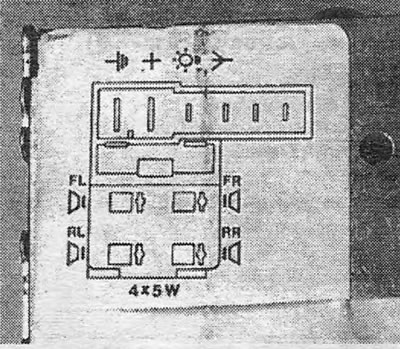
Photo 9.2D Wiring diagram on the back of the radio
3. In addition to the normally installed circuit fuse in the car, the receiver often has a fuse inside; This fuse is located in a holder located at the rear of the receiver, near the outlets (see photo 9.3).
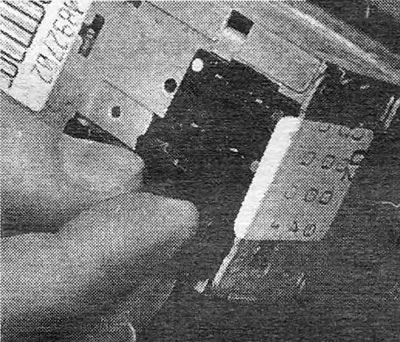
Photo 9.3 Fuse holder and fuse at the rear of the radio
4. To reinstall the radio, connect the wiring plugs, and then push the receiver into the hole until the clips click into place. Install the plugs after removing the auxiliary clamps.
5. The speakers are located on the edges of the front panel, and, depending on the model, on the sides of the luggage compartment or rear door.
6. The speakers located on the front panel can be accessed after removing the corresponding heater vent (see Chapter 2). Although clearance is limited, it is quite possible to disconnect the electrical wiring, remove the speaker mounting nuts, and remove the speaker through the hole (see photo 9.6). If you are having difficulty, access can be made easier by removing the glove compartment ("glove compartment") or the toolbar - to access the right or left speaker, respectively.
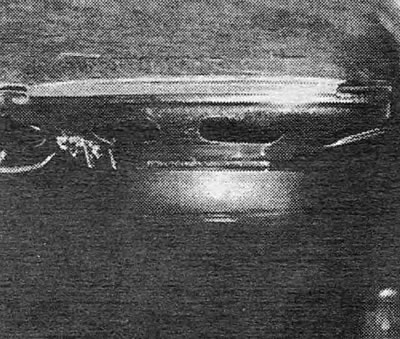
Photo 9.6 Location of the speaker on the front panel, view through the heater blower hole
7. In cases where the speakers are installed on the rear door, they can be removed after removing the rear door interior trim panel. After this, you can unscrew the speaker, disconnect the electrical wiring and remove the speaker completely (see photo 9.7 A and B).
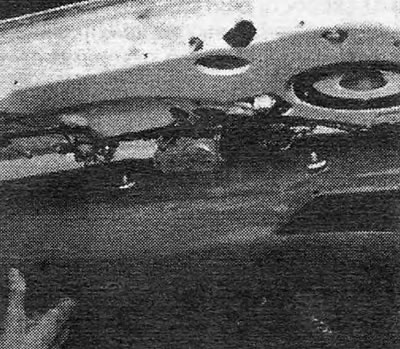
Photo 9.7A Remove the interior decorative panel of the rear door...
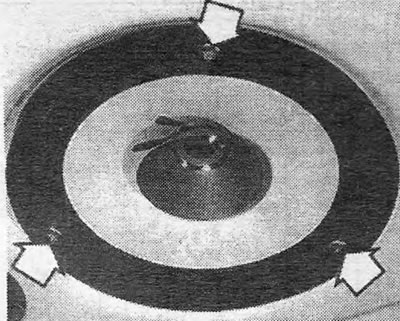
Photo 9.7V...to gain access to the rear speaker screws (indicated by arrows) on Estate models
8. The processes for installing the speakers in place are carried out by performing the above steps in reverse order.
Front backup turn signal bulb - replacement
9. Depending on the year of manufacture of the car, two types of front backup turn signal bulbs can be installed.
10. In one case, it is necessary to carefully rotate the entire structure and remove it from the wing. Then the socket is removed from the back of the structure and the light bulb is replaced. The cartridge is then inserted back into place.
11. In the case of the other type, by turning the amber lens is removed, and the bulb is accessible. After replacing the light bulb, the lens is installed in place.
Visitor comments