
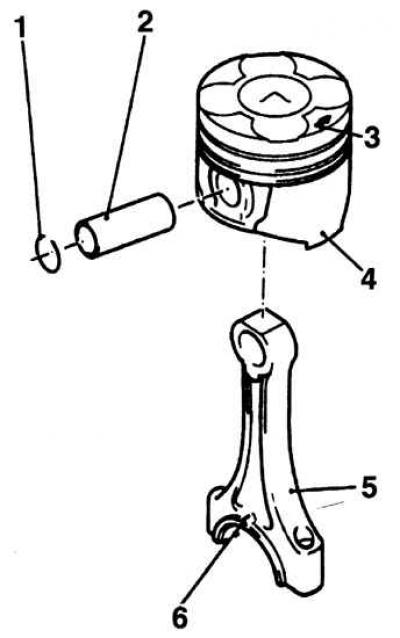
1 - retaining ring
2 - piston pin
3 - arrow on the piston head
4 - piston
5 - connecting rod
6 - connecting rod label Warning! New connecting rod bolts and nuts must be used to fasten the lower head of the connecting rod.
Removing
1. Remove the cylinder head, oil pan and oil receiver pipe.
2. On all models, if there is carbon on the top of the cylinder, remove it with a soft scraper. The presence of a step in the upper part of the cylinder indicates excessive wear of the cylinder and the need to bore the engine cylinder.
3. Check the side clearance of all connecting rod ends.
4. Using a hammer and center punch or paint, mark the position of the connecting rod cap and cylinder number.
5. Turn the crankshaft so that the pistons of the first and fourth cylinders are at bottom dead center.
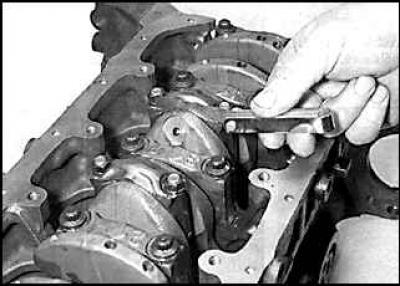
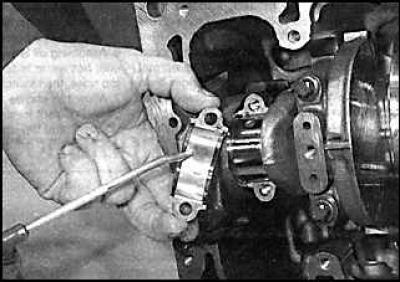
6. Unscrew bolts of fastening of a cover of the bottom head of a rod of the first cylinder. Remove the lower connecting rod cover.
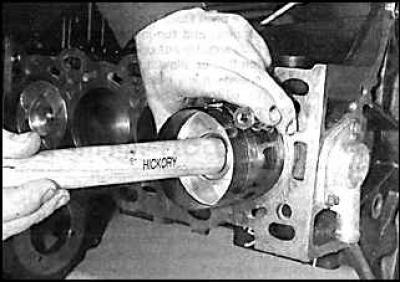
7. Using a hammer handle, push the piston up the cylinder block and remove it from the cylinder block.
8. Install the connecting rod cap on the lower head of the connecting rod and screw it with nuts, which will allow you to keep them as a set and not confuse them.
9. Remove the piston of the fourth cylinder in the same way.
10. Rotate the crankshaft 180°to set the second and third cylinder pistons to bottom dead center and remove the pistons in the same way.
Examination
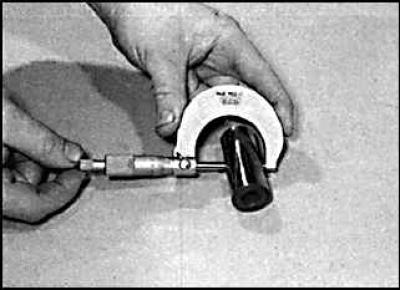
Piston pin measurement
Before checking pistons with connecting rods, remove the piston rings from the pistons and thoroughly clean the pistons.

1. To remove the piston rings from the pistons, open the ring, insert two or three old feeler blades evenly around the circumference under the ring and slide the ring off the piston along them.
Warning! Be careful not to scratch the piston with the ends of the ring. The rings are very brittle and can crack if unclenched too much. The piston ring lips are very sharp, so handle them very carefully to avoid cuts. Keep each set of rings with the pistons to reinstall them.
2. Clean all carbon deposits from the top of the piston.
3. Remove carbon deposits from the piston ring grooves in the piston using the old piston ring.
4. After removing deposits, clean the piston with connecting rod with a suitable solvent and wipe dry.
5. Carefully inspect each piston for cracks around the skirt and piston pin holes.
6. Check for wear on the piston skirt, hole in the piston head, and burns on the top of the piston.
7. Pitting marks on the piston indicate that coolant has entered the combustion chamber. It is necessary to find the cause of the liquid entering the combustion chamber and eliminate it.
8. Measure the piston diameter.
9. Determine the piston clearance in the cylinder, for which subtract the piston diameter from the cylinder diameter and divide by two.
10. Check each connecting rod for wear, cracks, and distortion.
11. The piston pins are fitted with a sliding fit and secured to the piston with two circlips. On these engines, the pistons and connecting rods can be separated as follows.
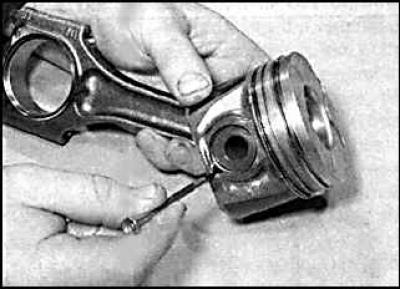
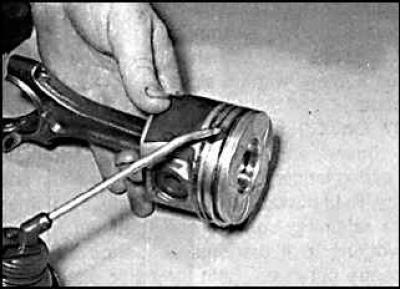
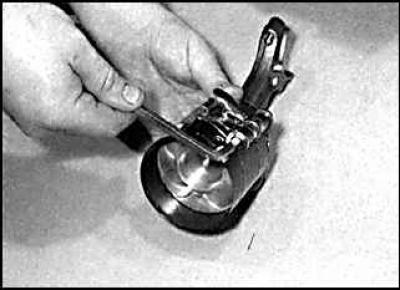
12. Using the blade of a thin screwdriver, remove the retaining ring from the piston and press out the piston pin by hand. When reinstalling the piston pin, use only new circlips.
13. Check the piston pin and connecting rod bearing for wear.
14. Connecting rods usually do not require replacement unless the engine has seized beforehand.
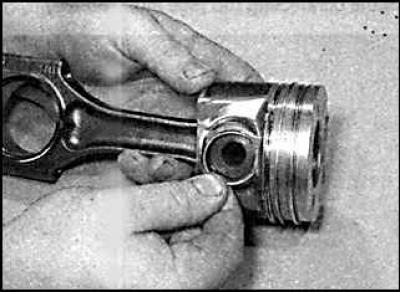
15. Assemble the piston and connecting rod so that the arrow on the piston head points away from the mark on the connecting rod.
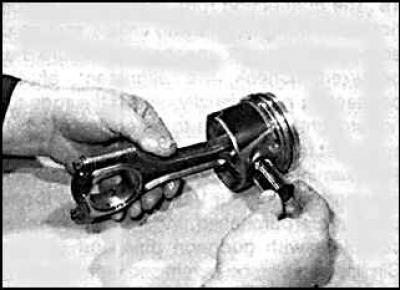
16. Lubricate the piston pin and insert it into the piston and connecting rod top end. Check that the piston turns easily and freely on the piston pin.
17. Secure the piston pin with new circlips. Check that each circlip is correctly positioned in the piston groove. Install the retaining rings so that their locks are directed upwards.
18. The cut of the retaining ring must be directed upwards of the piston.
Installing pistons with connecting rods
On engines, both standard bearing shells and oversized ones are used after crankshaft regrinding. The required bearing size can be determined by measuring the crankshaft journal.
1. Clean the back of the connecting rod bearing and its location in the connecting rods and connecting rod caps.
2. Lubricate the pistons and piston rings with clean engine oil and position the piston ring locks as required.
3. Piston installation must begin with the first cylinder. Compress the piston rings on the piston with a piston ring compressor.
4. Insert the piston with the mandrel compressing the rings into the top of the first cylinder. The arrow on the piston head must point towards the timing chain. Using a block of wood or a hammer handle, push down on the piston and press it into the cylinder.
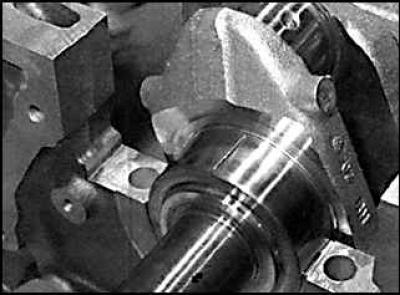
5. Check the alignment of the lower end of the connecting rod with the crankshaft journal and, if necessary, tighten the piston with the connecting rod and install the lower end of the connecting rod with the bushing on the crankshaft journal.
6. Establish a cover of the lower head of a rod with an insert. In this case, the protrusion on the connecting rod cover must be directed towards the flywheel.
7. In several stages, tighten the mounting bolts to the required torque.
8. Install the other three pistons and connecting rods in the same way.
9. Rotate the crankshaft and check that it rotates easily and without binding.
10. Install the oil receiver pipe, oil pan and cylinder head.
Visitor comments