
Remember that the dust generated during the operation of the brake mechanisms may contain asbestos, which is extremely harmful to human health. Never blow off dust with compressed air or inhale it - wear a protective mask or respirator when servicing mechanisms. Never use gasoline or petroleum-based solvents to clean brake system components - use only branded cleaners or methyl alcohol!
Removing
1. Remove the wheel cover and loosen the wheel bolts. Support the front wheels with wheel chocks, jack up the rear of the vehicle and place it on jack stands. Remove the corresponding rear wheel.
2. Fully release the parking brake.
3. Remove the drum fixing screw
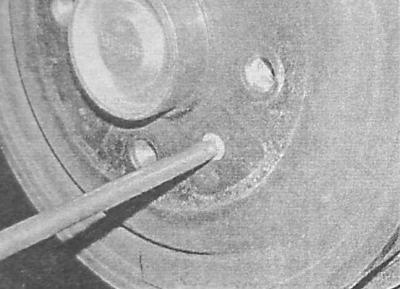
4. Remove the drum - if necessary, if the drum cannot be removed, remove the plug from the hole in the brake shield and bring the shoes together by depressing the parking brake actuating lever with a screwdriver.
Examination
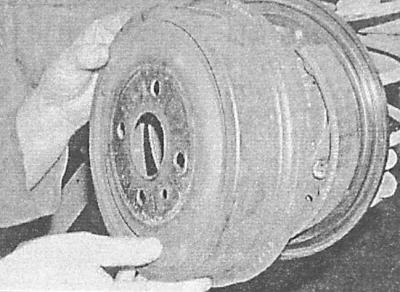
1. Sweep away dust accumulated on the surfaces of the brake components (see the warning at the beginning).
2. Check up a condition of an internal working surface of a drum, in case of revealing of furrows or deep scratches replace drums of both brake mechanisms.
3. Minor defects can be eliminated by turning the drum, provided that the maximum allowable value of its diameter is not exceeded.
Both drums must be machined to the same depth. The compilers of this Guide recommend replacing the brake shoes after turning the drums.
Installation
1. Before installing the drum, make sure that the actuating lever is firmly pressed against the rib of the shoe.
2. Install the drum and tighten the fixing bolt to the required force. If necessary, bring the shoes together by turning the adjusting wheel of the expander bar in order to seat the drum without obstruction.
3. In order to activate the adjusting mechanism, depress the foot brake pedal several times, - ask the assistant to listen to the clicks emitted by the mechanisms. The cessation of clicking indicates the completion of the adjustment.
4. Install the wheel, lower the vehicle to the ground and tighten the wheel nuts to the required torque.
Visitor comments