


2. Loosen the tensioner nut and bolt under the pump and the inner nut of the adjusting rod.
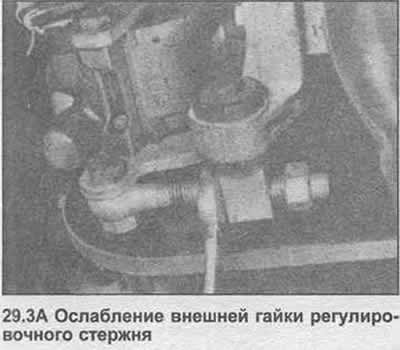
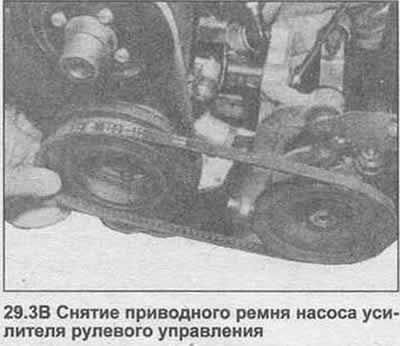
3. Loosen the outer nut on the adjusting rod until the drive belt can be removed from the two pulleys (photo).
4. Place a container under the pump, then unscrew the union nut and disconnect the pressure pipe. Loosen the clamp and disconnect the supply hose. Drain the liquid into the container.
Original source on the website: www.opelbook.ru
5. Support the pump and remove the three mounting bolts. Remove the pump from the engine compartment.
6. Install the pump in reverse order, but do not tighten the mounting bolts until the procedure is complete.
7. Place the drive belt on the two pulleys, loosen the inner adjusting lock nut, then tighten the outer adjusting lock nut. The belt should be pressed in by your thumb at the midpoint of the pulleys by approximately 13.0 mm. Finally, tighten the inner lock nut.
8. Tighten all nuts and bolts to the tightening torque specified in the Specification.
9. Fill the reservoir with new fluid to the maximum level. Run the engine for a while, then turn it off and top up the fluid level. Do this several times until the level remains constant. With the engine idling, slowly turn the steering wheel from lock to lock several times to remove air from the system.
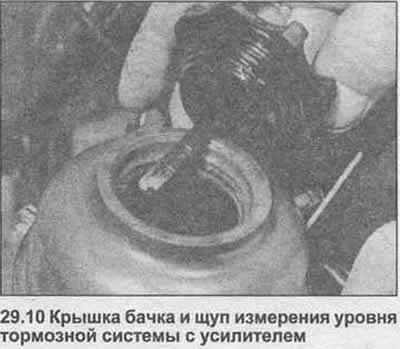
10. Stop the engine and add fluid to the cold or hot mark on the dipstick depending on engine temperature (photo). Install the cap.
Visitor comments