
2. Drain the gearbox oil.
3. Remove the battery, battery tray and starter.
4. Disconnect the wire connectors from the gearbox. Remove wiring from brackets and brackets and lay aside.
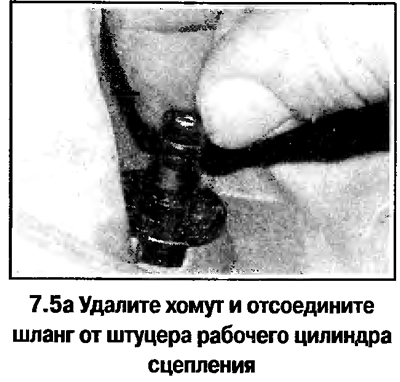
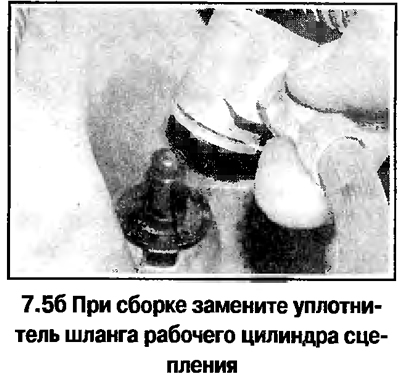
5. Pinch the hose, remove the clamp and disconnect the hose from the fitting of the clutch slave cylinder (see photo). Plug the holes.
6. Remove the front and intermediate exhaust pipes and converter
7. Disconnect from a check point a link of the mechanism of a gear change.
8. Remove half shafts.
9. Hang the engine and remove the front subframe (Chapter 10).
10. Hang the gearbox with a trolley-jack.
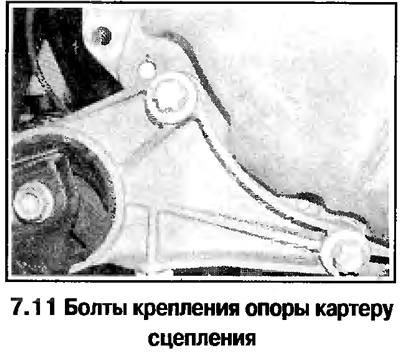
11. Remove the bolts and remove the front support bracket from the clutch housing (see photo).
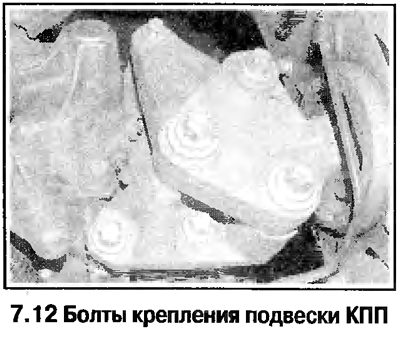
12. Remove 6 mounting bolts and remove the gearbox suspension bracket from the left side of the crankcase (see photo). Lower the power unit so that the gearbox moves away from the mounts by about 50 mm, avoiding tension on the hoses and wires.
13. On a gearbox with a steel differential pan, unscrew the bolts and remove the bottom cover of the clutch housing.
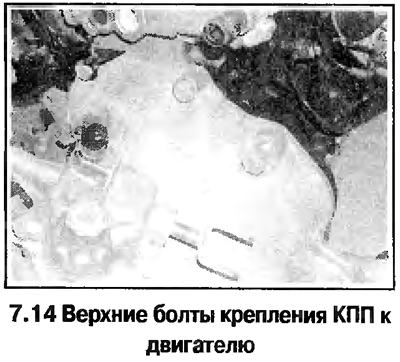
14. Turn away bolts of fastening of a check point to the engine (during assembly, these bolts must be screwed in place).
15. Make sure that all necessary parts are disconnected and cannot interfere with the removal of the gearbox.
16. Carefully shift the gearbox on the trolley and remove from the guide pins. Roll out the cart from the checkpoint. Take out the guide pins.
17. Installation of the gearbox is carried out in the reverse order. When finished, adjust the gearshift mechanism.
Visitor comments