
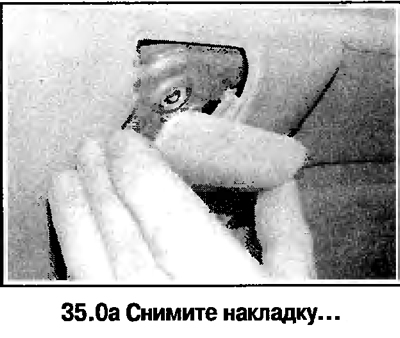
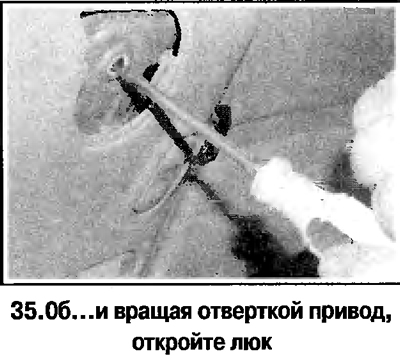
Attention! It is not recommended to disassemble the hatch unless absolutely necessary. Repair of the hatch drive mechanism is carried out in a car service. To open the hatch in an emergency, turn the drive with a screwdriver (To do this, you need to remove the lining in front of the hatch).
Electric drive
1. Remove the front dome light, sun visors and upper handles, then remove the headlining (it is recommended to contact a car service, as a certain qualification is required to remove the upholstery).
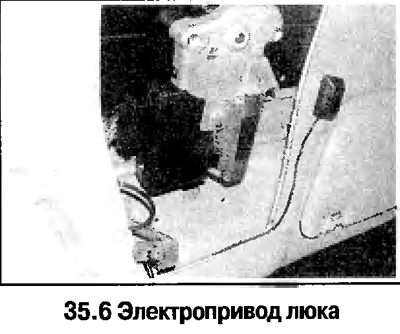
2. Disconnect the wires from the drive (see photo), unscrew the screws and remove the sunroof drive.
3. Before installing the drive, reset the circuit breaker by exposing the hole in the splined shaft of the drive between the two elongated parts of the housing
Drive cable adjustment
4. Remove the sunroof drive.
5. Loosen the screws on the front and rear rails, align the pins with the marks on the rails.
6. Insert a 4.0 mm drill bit into the rail and bracket holes and tighten the bolts. Reinstall the drive.
Drive switch
7. Remove the front dome light (Chapter 12).
8. Pry and remove the switch through the opening in the ceiling, disconnecting the wire.
Sunroof manual crank
9. Open the hatch.
10. On models with a manual sunroof, unscrew the screw and remove the crank handle, on models with an electric sunroof, pry with a screwdriver and remove the emergency access cover to the manual drive hole.
11. Pry and remove the diffuser of the lampshade and disconnect the lamp wire. Turn away screws and remove an overlay of the hatch.
12. Turn away 2 screws and remove a crank.
13. At installation check up adjustment of a manual drive. To do this, turn the handle clockwise and make sure that the pin does not lock (does not fit into nest). Otherwise, pull the pin out.
Visitor comments