


Contents: Multifunctional display ⬇ Outside air temperature sensor ⬇ Coolant temperature sensor ⬇ Coolant level switch sensor ⬇ Windscreen washer fluid level switch…⬇ Oil level switch sensor ⬇
The new multifunction device must be programmed at an authorized Opel service station after installation.
Multifunctional display
Astra Models
1. Remove the front ashtray (see Chapter Body).
2. Remove the cover of the storage compartment from the instrument panel (see Chapter Body).
3. Remove the radio and its mounting box (see Checking the correct operation and repairing the rear window heater).
4. If equipped, remove the GPS navigation unit.
5. Remove the heating/ventilation/air conditioning control panel from the instrument panel trim (see Chapter Cooling and heating systems).
6. Remove the central air vent deflectors from the instrument panel (see Chapter Cooling and heating systems).
7. Remove the instrument panel trim panel and disconnect the wiring harness from the multifunction display. Also disconnect the hazard warning switch connector (see Removal and installation switches).
8. Remove the mounting screws from the back of the cover.
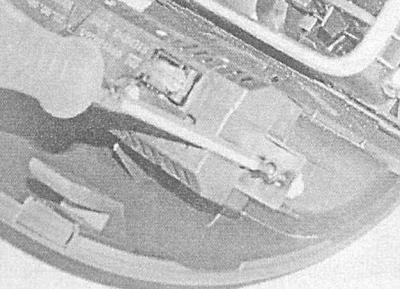
9. Remove the multifunction display assembly.
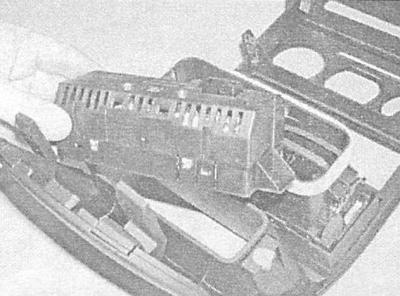
10. Installation is carried out in reverse order.
Zafira Models
1. Remove the front ashtray (see Chapter Body).
2. Remove the two lower mounting screws and separate the heating/ventilation/air conditioning control panel from the instrument panel (see Chapter Cooling and heating systems).
3. Remove the hazard warning switch and disconnect the wiring connector from it (see Removal and installation switches).
4. Remove the heating / ventilation / air conditioning control panel.
5. Remove the steering wheel (see Chapter Suspension and steering), - do not forget to disconnect the battery first.
6. Remove the mounting screws and remove the steering column cover sections (see Chapter Suspension and steering). Move the column position control lever handle down.
7. Loosen the fasteners and remove the steering column switches from the steering column (see Removal and installation switches).
8. Remove the radio (see Checking the correct operation and repairing the rear window heater).
9. Remove the lighting control switch (see Removal and installation switches).
10. Remove the fuse box cover from the instrument panel.
11. Insert a screwdriver into the groove of the side air duct deflector grille, unscrew the mounting screw and remove the deflector.
12. Remove the screws securing the instrument panel trim to the instrument panel (three screws above the shield, one on each side of the steering column and one in the lower corners of the trim frame).
13. Remove the instrument panel trim from the instrument panel, while also removing the lighting control switch from its guides. Disconnect the wiring from the multi-function display unit, then separate the remaining harnesses from the trim frame.
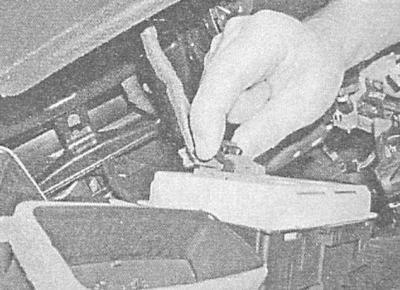
14. Remove the multifunction display unit from the trim panel.
15. Installation is carried out in reverse order.
Outside air temperature sensor
1. With the hood open, disconnect the wiring from the sensor located inside the front bumper assembly.
2. Turn the sensor and remove it from the bumper.
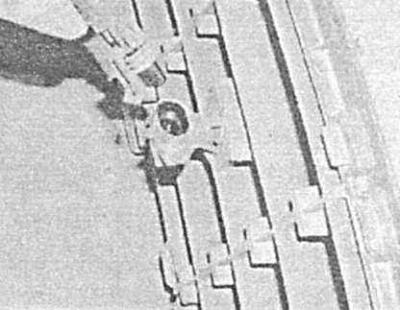
3. Installation is carried out in reverse order.
Coolant temperature sensor
See Chapter Cooling and heating systems.
Coolant level switch sensor
The sensor switch is installed at the base of the expansion tank of the cooling system.
1. Partially drain the coolant until the sensor opens (see Chapter Cooling and heating systems). Remove the expansion tank and disconnect the electrical wiring from the sensor.
2. Turn the tank over and use a screwdriver to release the sensor.
3. Installation is carried out in reverse order.
Windscreen washer fluid level switch sensor
The sensor switch is installed on the left under the front bumper.
1. Remove the bumper (see Chapter Body).
2. Disconnect the electrical wiring from the sensor located in the washer fluid reservoir.
3. Carefully remove the sensor from the tank.
4. Installation is carried out in reverse order.
Oil level switch sensor
1. Remove the oil pan (see Chapter Engine).
2. Remove the retaining ring from the tray.
3. Disconnect the oil level sensor connector from the pan.
4. Unscrew the mounting bolts and remove the sensor from the pan together with the sealing ring - the ring must be replaced without fail.
(Article posted on a web portal: opelbook.ru)
5. Installation is carried out in the reverse order. Do not forget to replace the sealing ring. For a description of the procedure for installing the tray, see Chapter Engine.
Visitor comments