
Removing
1. Lower the steering wheel to its lowest position and pull it out as far as it will go. Lock the column in this position by removing the key from the ignition.
2. Remove the steering wheel (see Removal and installation of a steering wheel).
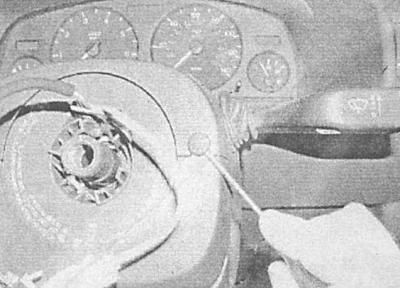
3. Loosen the fixing screw and remove the handle from the speaker position adjustment lever.
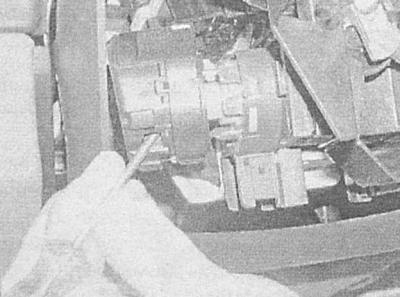
4. Remove decorative covers, turn out fixing screws and remove the top section of a casing of a steering column.
5. Remove the three fixing screws (two above and one below) and remove the bottom section of the column casing.
A — Screws of fastening of casings of a steering column (Astra models)
B — Screws of fastening of a casing of a steering column (Zafira models)
A.
B.
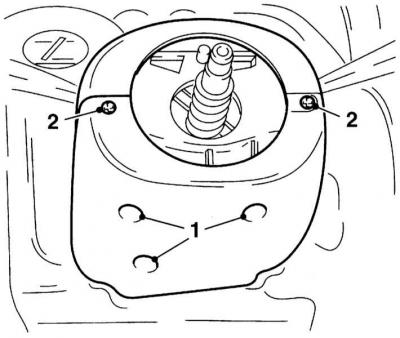
6. Having prying off a screw-driver, disunite a socket of electroconducting of the contact block of a pillow of safety.
7. Release the clamps and remove the contact block from the steering column.
On models of recent years of production, the contact blocks are equipped with a locking device that holds it in the central position - do not release this device on the removed contact block.
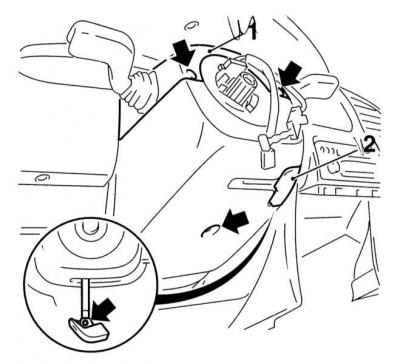
8. Remove the steering column switches from the steering column (see chapter Onboard electrical equipment).
9. Remove the ignition key and remove the immobilizer/transponder bezel.
10. Insert the ignition key and turn it to the ACC position, insert a thin screwdriver into the ignition lock hole and wring out the locking pin with it, then carefully release the lock cylinder from the housing.
11. If equipped, remove the immobilizer block / transponder block from the steering column - if the block is not equipped with latches, then disconnect the electrical wiring, then separate the block from the ignition lock housing and remove the ignition lock cylinder (see chapter Onboard electrical equipment); on blocks with latches, remove the ignition lock cylinder (see chapter Onboard electrical equipment), then separate the block from the lock body. If necessary, remove the protective cap and disconnect the electrical wiring.
12. Carefully remove column caps and springs.
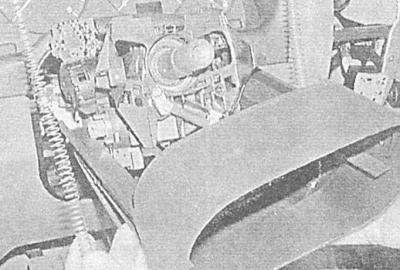
13. Release the wiring harness from the steering column, then remove the lower sections of the instrument panel trim and the air supply hose to the driver's foot well.
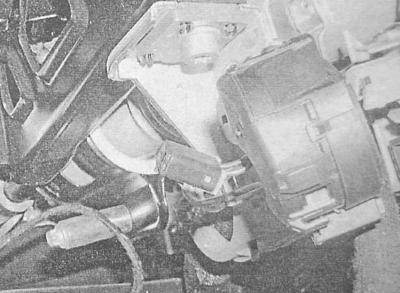
14. Mark position of the top joint of an intermediate shaft concerning a steering column, then turn out and remove a collar coupling bolt. Remove the shaft from the splines - note that the shaft has a telescopic design.
15. On models equipped with an electronic stabilization system (ESP), Disconnect the electrical wiring from the steering wheel angle sensor, use a screwdriver to press the retainer and remove the sensor from the adapter. Slightly slide the sensor down.
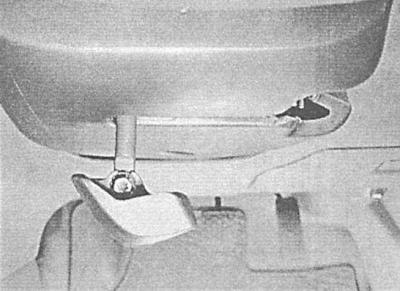
16. Support the steering column, release the lower collar of the column and the upper mounting bolts. If necessary, release the lower fastening - try not to bend the grip. On models with ESP slightly pull the column up and disconnect the sensor installed at the bottom of the column. Try to remember the seating position of the various washers and gaskets installed between the lower clamp and the upper column mounting bracket.
17. Remove the column from the support bracket on the bulkhead of the engine compartment and remove it from the vehicle interior.
Installation
1. Before installing the steering column, put on the lower mounting collar and tighten its coupler bolt a few turns, - do not install the upper mounting bolt yet. Carefully slide the steering column into the lower clamp - try not to damage the wiring. On models with ESP install the steering angle sensor on the lower part of the steering column, - make sure that the latch is secure.
2. On models since 2000 install the upper mounting bolts and tighten them to the required torque.
3. On models up to 1999 issue., where the washers were installed, insert them between the bottom support bracket and the cross member, insert the bottom clamp and the top mounting bolts and tighten them to the required torque.
4. On models up to 1999 issue., where washers have not been installed, prepare 4 washers 0.1mm thick and install them together as one 4mm between the bottom support bracket and the cross member, then tighten the yoke pinch bolt as required. Grab the bottom of the inner speaker and try to push it up (towards the steering wheel), - the gray guide sleeve on the lower mounting unit must not move, otherwise remove one of the washers and repeat the test. Having achieved a satisfactory result, insert the lower mounting bolts and tighten them with the required force. If necessary, make sure that the stopper is installed in front of the lower sleeve.
5. On models with ESP connect the wiring harness to the steering wheel angle sensor.
6. Install the intermediate shaft on the splines at the bottom of the column, - make sure that the landing marks applied during the dismantling process are aligned correctly (if the articulation is incorrect, it will not be possible to insert the bolt into the clamp). Insert the clamp tie bolt and tighten it securely.
7. Install air duct and lower trim sections. Fix the wiring harness in the intermediate clamps in the column.
8. Reverse the order in which the components were removed, install the immobilizer/transponder unit on the steering column, - on models with a block without latches, install the ignition lock cylinder (see chapter Onboard electrical equipment), then attach the block to the lock body; on models with a latch-equipped block, install it on the lock body, then install the cylinder (see chapter Onboard electrical equipment). If necessary, connect the electrical wiring, then install the protective cap.
9. Install column cover and springs.
10. Insert the ignition key into the lock, turn it to the ACC position, put the ignition switch on the lock body, - make sure that the latch snaps into place.
11. Remove the ignition key and install the immobilizer/transponder bezel.
12. Install the paddles on the column (see chapter Onboard electrical equipment).
13. Install the airbag contact block on the steering column, - make sure that the guide pins fit into the receiving holes, securely snap the latches.
It is extremely important that the latches are correctly latched - if they are damaged, the contact block must be replaced as an assembly.
14. Establish at first lower, then top sections of a casing of a steering column, screw and tighten fixing screws.
15. Place the handle on the column position adjuster lever and tighten the mounting screw.
16. Finally install the steering wheel (see Removal and installation of a steering wheel).
Visitor comments