
- Remember that the bulbs of the lamps remain hot for about 20 minutes after switching off the lighting fixtures. Before starting work, make sure that the components have completely cooled down;
- Try to take the lamps only by the base - remember that when you touch the bulb with bare fingers, grease stains remain on the glass, which leads to premature failure of the lamp as a result of overheating. Before installation, wipe the lamp bulb with alcohol;
- Always check the condition of the lamp bases and cartridge contacts, before installing the lamp, be sure to clean the contact surfaces, completely removing dirt and corrosion from them;
- Make sure that the replacement lamp exactly matches the failed lamp in terms of its electrical characteristics (supply voltage and power).
Front saloon lamp
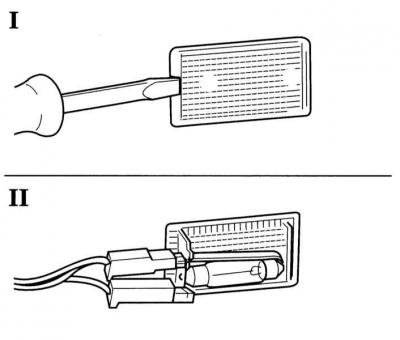
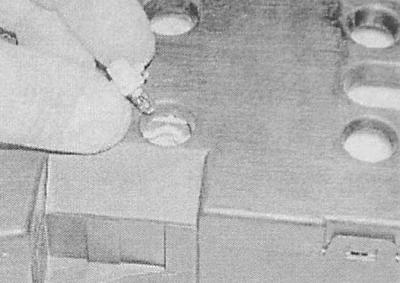
1. On Astra models, carefully prying with a screwdriver, remove from the lamp. Release the failed scalloped bulb from its spring contacts.
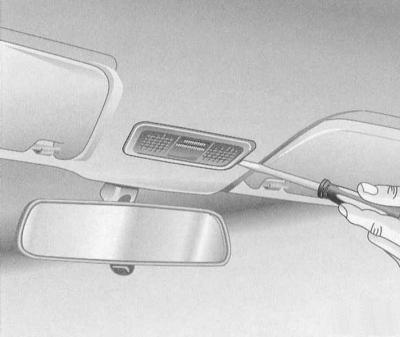
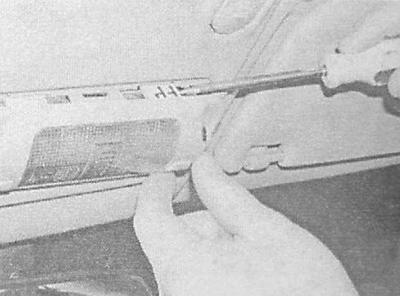
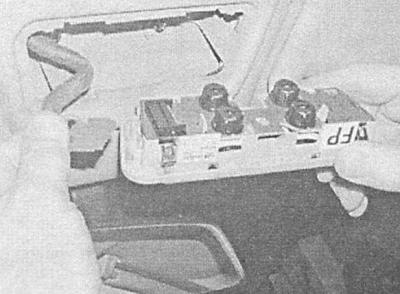
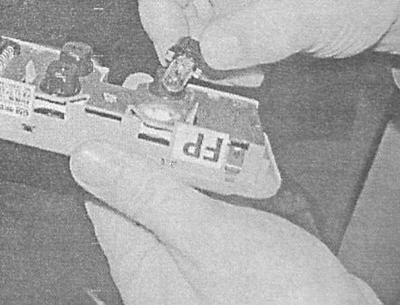
2. On Zafira models, carefully prying with a screwdriver, remove the lamp from the ceiling panel / access cover to the sunroof electric motor). Disconnect the electrical wiring, unscrew the cartridge and remove the baseless lamp from it.
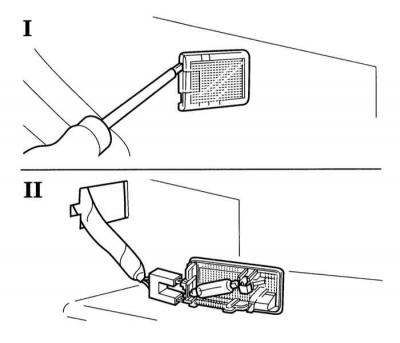
A - Removing the front interior lamp shade (Zafira models)
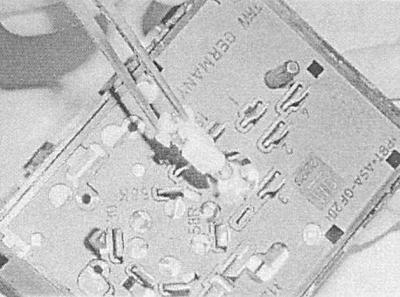
B - Disconnecting the electrical wiring of the front salon lamp (Zafira models)
C - Removing the failed lamp (Zafira models)
A.
B.
C.
3. Installation is carried out in the reverse order.
Rear interior lamp
1. Carefully prying with a screwdriver / releasing the lock, release the lamp from the ceiling upholstery.
2. Release the scalloped bulb from the spring contacts.
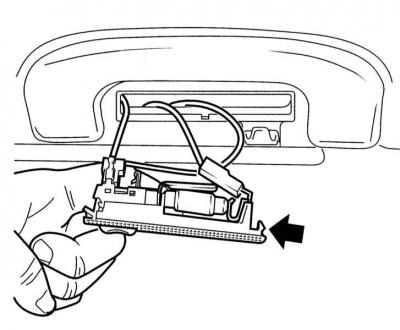
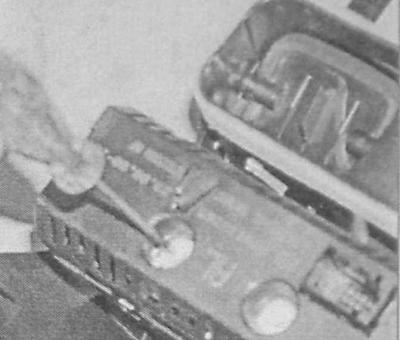
A - Rear interior lamp (reading lamp) (Astra models) fastened to the headlining panel with internal fixings
B - Removing the rear interior lamp from the ceiling upholstery (I), - the luminaire is equipped with a scalloped lamp (II) (Zafira models)
A.

B.
3. Installation is carried out in the reverse order - if necessary, bend the contacts accordingly.
Luggage compartment lighting
1. Using a screwdriver, gently pry the lamp out of the interior upholstery panel.
2. Release the scalloped bulb from the spring contacts.
3. Installation is carried out in the reverse order - if necessary, bend the contacts accordingly.
Glove box lighting
1. Open the glove box door and pry gently with a screwdriver to release the interior light from the side panel.
2. Release the scalloped bulb from the spring contacts. If necessary, disconnect the electrical wiring and remove the lamp from the box.
3. Installation is carried out in the reverse order - if necessary, bend the contacts accordingly.
Rear reading lamp
1. Gently prying with a screwdriver, remove the lamp from its seat.
2. Release the scalloped bulb from the spring contacts.
3. Installation is carried out in the reverse order - if necessary, bend the contacts accordingly.
Cigarette lighter backlight
1. After releasing the clips, remove the decorative panel installed under the ashtray.
2. Open the ashtray, remove the fixing screws and remove the ashtray housing from the front section of the center console. Disconnect the electrical wiring from the cigarette lighter.
3. Remove the cigarette lighter coil, then, prying with a screwdriver through a small hole, release the backlight ring.
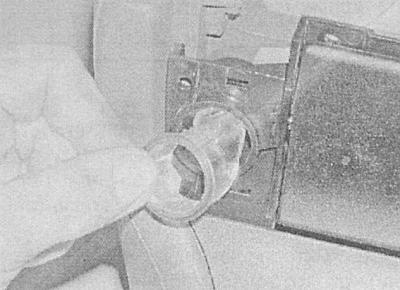
4. Remove the cartridge and remove the lamp.
5. Installation is carried out in the reverse order.
Illumination of devices and control lamps
1. Remove the instrument cluster (see Section Removal and installation of a combination of devices).
2. Turn the cartridge of the failed lamp and release it from the instrument cluster panel. Remove the bulb from the socket and replace it.
Some lamps are combined with their cartridge into a single assembly.
3. Installation is carried out in the reverse order.
Illumination of switches
1. Remove the button of the corresponding switch (see Section Removal and installation of switches).
2. Using tweezers, unscrew the bulb holder from the back of the switch.
3. Installation is carried out in the reverse order.
Clock/multifunction display backlight
1. Remove instrument cluster (see Section Removal and installation of a combination of devices).
2. Unscrew the appropriate cartridge from the back of the display unit.
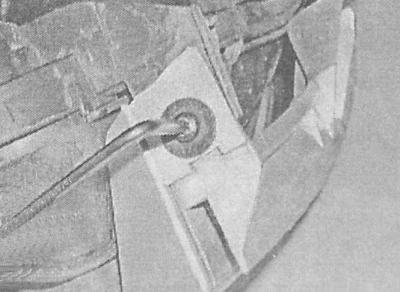
A - Removing the multifunction display backlight (Astra models)
B - Removing the multifunction display backlight (Zafira models)
A.
B.
3. Installation is carried out in the reverse order.
Illumination of the control panel for the operation of heating / ventilation and air conditioning systems
1. Remove the heater control panel (see chapter Cooling, heating systems).
2. Remove the failed lamp from the control panel.
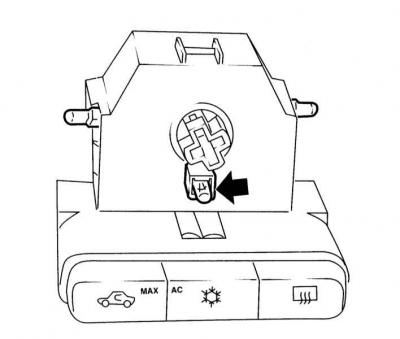
3. Installation is carried out in the reverse order.
Visitor comments