
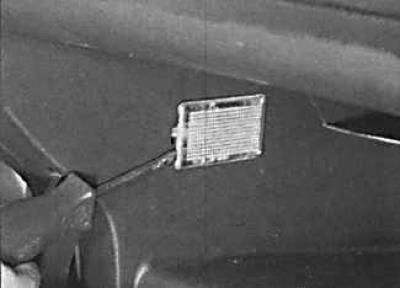
Front interior lighting
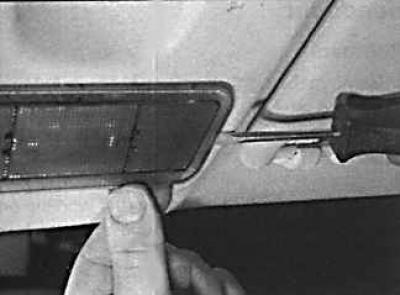
1. Being careful, use a screwdriver to remove the interior light from the ceiling.
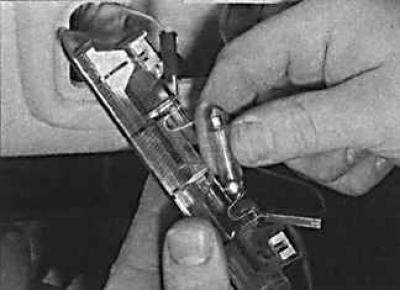
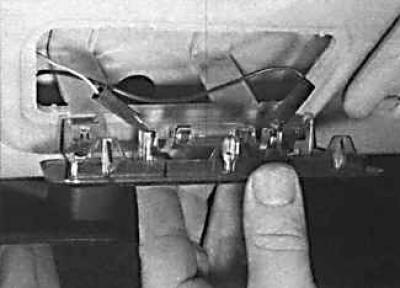
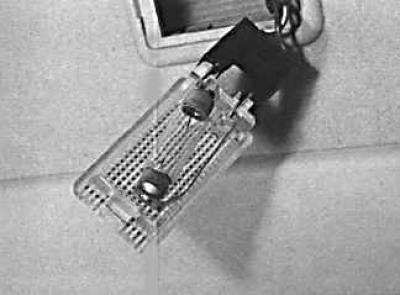
2. Remove the light bulb from the spring contacts.
3. Install the new bulb in the reverse order of removal. Check that the light bulb is firmly fixed between the spring contacts. If necessary, pre-bend the contacts.
Rear interior light
1. Being careful and using a screwdriver, remove the rear interior light from the ceiling. Remove the light bulb from the spring contacts.
2. Install the new bulb in the reverse order of removal. Check that the light bulb is firmly fixed between the spring contacts. If necessary, pre-bend the contacts.
Luggage compartment lighting
1. Using a screwdriver, carefully remove the luggage compartment light bulb.
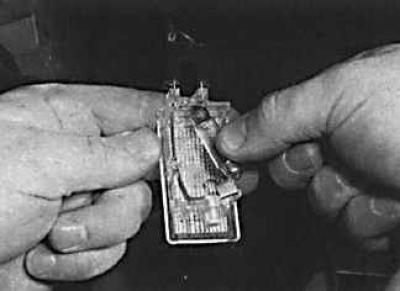
2. Remove the light bulb from the spring contacts.
3. Install the new bulb in the reverse order of removal. Check that the light bulb is firmly fixed between the spring contacts. If necessary, pre-bend the contacts.
Instrument cluster lights
1. Remove the instrument cluster.
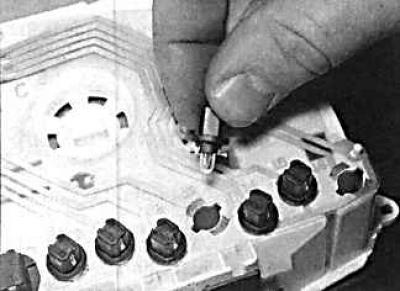
2. To remove the incandescent bulb, turn the bulb holder and remove it from the instrument cluster (in the photo on the left - the removal of a small cartridge, on the right - a large one).
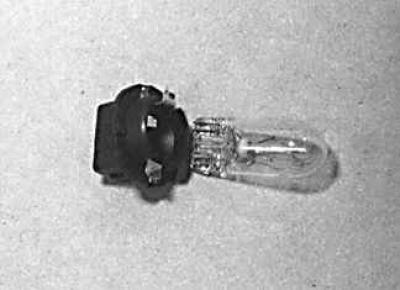
3. Remove the bulb from the socket by pulling it towards you. Please note that some light bulbs cannot be removed from their sockets.
4. Install the new bulb in the reverse order of removal.
Light switch backlight
1. Remove the light switch.
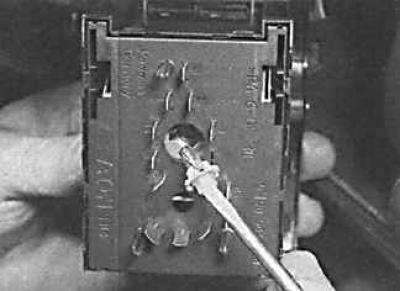
2. Using a screwdriver, turn the bulb socket and pry it out of the back of the light switch.
3. Install the new bulb in the reverse order of removal.
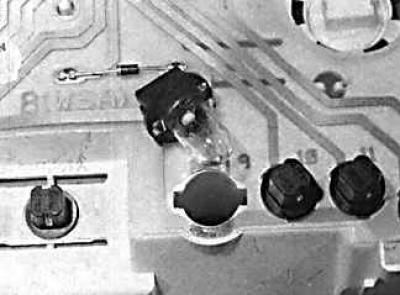
Bulbs of the multifunctional unit
1. Remove the instrument cluster.
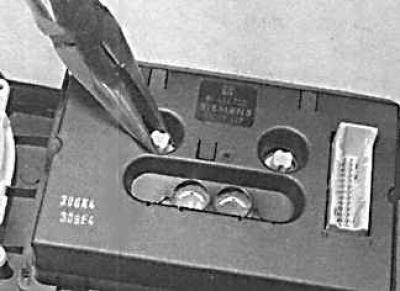

2. Using pliers, twist the bulb holder and remove it from the back of the multifunctional unit.
3. Install the new bulb in the reverse order of removal.
Heater control panel lighting
1. Remove the heater control panel.
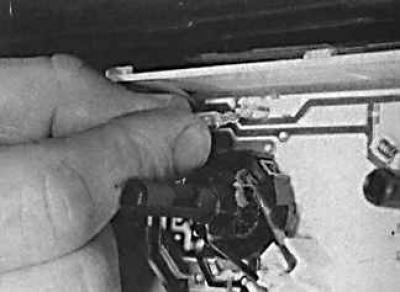
2. Remove the respective lamp by pulling it towards you from the holder.
3. Install the new bulb in the reverse order of removal.
Visitor comments