
Front light assemblies
1. Remove the front bumper (see chapter Body).
2. Turn out fixing bolts (two top and one bottom) and remove the headlamp, disconnecting the electrical wiring from it as soon as you have access to the connectors.
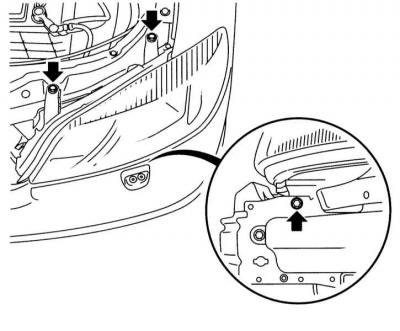
3. Remove the headlight assembly from the vehicle. Turn out fixing screws and remove a bumper overlay from the bottom part of lantern assembly.
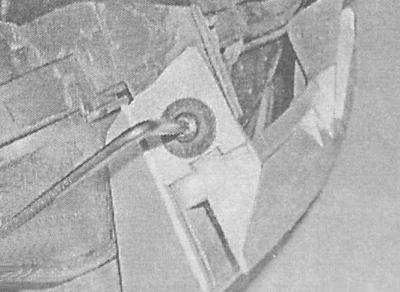
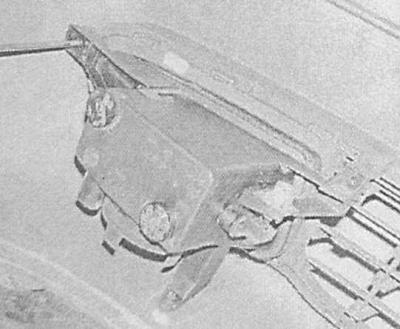
A - Removing the screw securing the front bumper trim to the light assembly
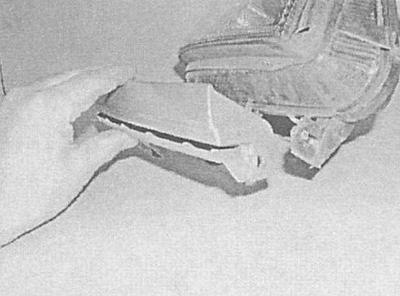
B - Removing the bumper cover from the light assembly
A.
B.
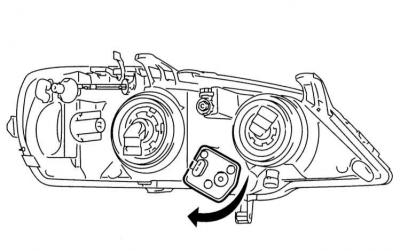
4. If necessary, turn at 90°and remove the servo for adjusting the direction of the optical axes of the headlights.
5. Installation is carried out in the reverse order - at the first opportunity, adjust the direction of the optical beams of the headlights (see Section Adjusting the direction of the optical axes of the headlights).
Anti-fog headlight
1. Remove the front bumper (see chapter Body).
2. Turn out three fixing screws and remove a headlight from a bumper, then disconnect electroconducting.
3. Installation is carried out in the reverse order. At the first opportunity, adjust the direction of the optical axis of the headlight.
Turn signal repeaters
1. Gently slide the repeater lens back to release its front edge from the wing panel.
2. Remove the repeater from the wing and disconnect the electrical wiring from it. Replace lamp if necessary (see Section Replacing interior lighting bulbs).
3. Installation is carried out in the reverse order. First, fill the front edge of the lens into the hole in the wing, then, pressing it, snap the rear one into place.
Rear combination lamps
See Section Replacing interior lighting bulbs.
Flashlight (And) license plate lights
See Section Replacing interior lighting bulbs.
Upper level stop signal
See Section Replacing interior lighting bulbs.
Visitor comments