


Removal
Jack up the front of the car and secure it to the stands under the axle. Remove the corresponding running wheel.
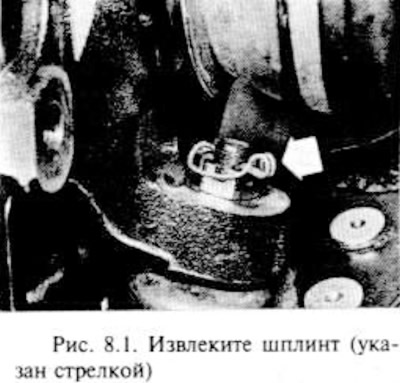
Remove the cotter pin from the hub castellated nut located at the end of the drive shaft.
Loosen the hub nut. It is very tight and will require a suitable lever to loosen it. To secure the shaft, insert two bolts from the running wheel and a metal rod between them to hold the hub.
Remove the hub nut and washer from the drive shaft.
Remove the cotter pin, unscrew the crown nut securing the lower arm to the ball joint of the suspension strut.
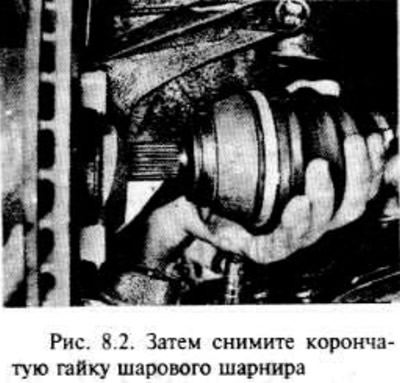
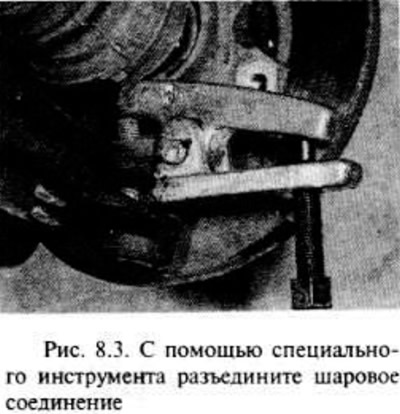
Using a special tool, disconnect the ball joint of the suspension strut and the lower arm.
On a twin cam engine, remove the lower engine splash shield (see chapter 11).
Next you will need a suitable tool to remove the end of the drive shaft from the differential.
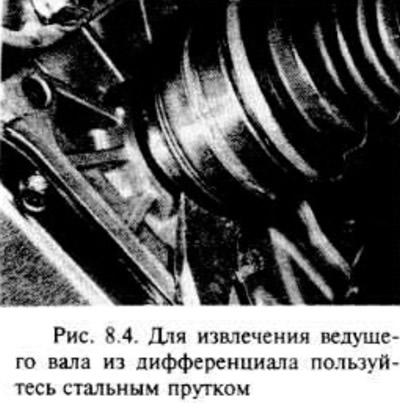
Insert a lever between the drive shaft and the differential housing to remove the spring locking wheels. You will need a container to collect the oil that flows out of the differential. Secure the drive shaft so that it does not sag under its own weight.
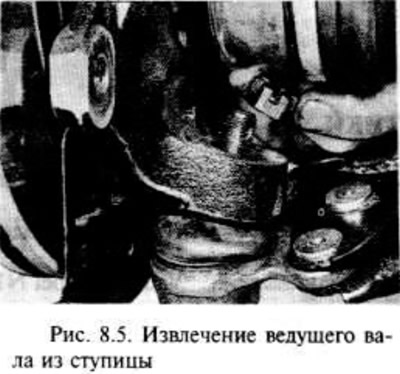
Cover the differential opening to prevent oil leakage and contamination.
Remove the end of the drive shaft from the hub and remove it. If necessary, the end of the shaft can be lightly tapped with a soft-sided hammer.
Do not allow the vehicle to stand on its wheels with one or both drive shafts removed, as this may damage the road wheel bearings. If moving the vehicle is unavoidable, temporarily insert the end of the drive shaft into the hub and tighten the nuts. Do not allow the drive shaft to sag under gravity.
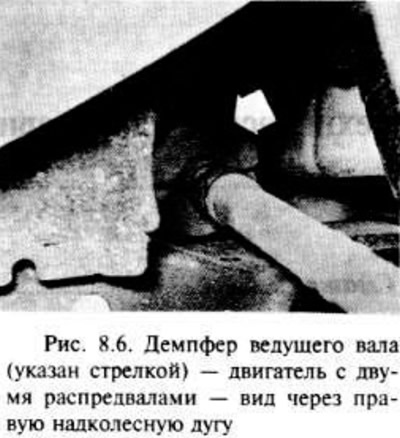
Some models have a vibration damper consisting of two parts mounted on the drive shaft. If the damper has been removed for any reason, it is important to install it so that the distance between the end of the corrugated cover and the outer end face of the damper is 268-270 mm.
Visitor comments