
2. In order to get to the release bearing, you need to remove the clutch (see section 5 or 6).
3. After removing the clutch, remove the clamping bolt securing the clutch release fork to the lever shaft. Disconnect the cable from the clutch release lever, pull the lever shaft out of the crankcase through the top and remove the clutch release fork. Remove the 3 bolts securing the release bearing guide and remove it. Remove the old guide seal. If necessary, you can use a suitable tool to drive the clutch release lever shaft bushings outwards (see photos).
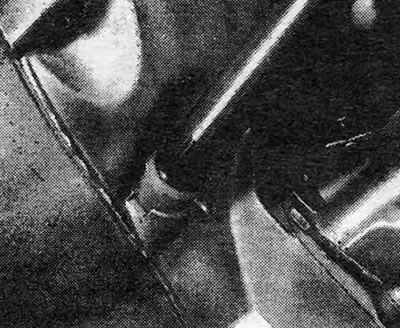
Photo 7.FOR. Removing the clutch release lever shaft.
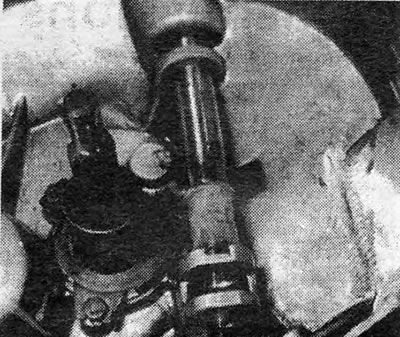
Photo 7.3B. Clutch lever shaft bushings.
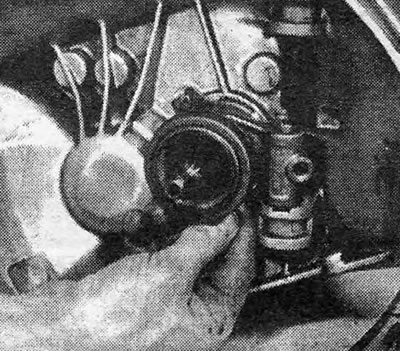
Photo 7.3C. Clutch release bearing.
4. Installation of all specified parts is carried out in reverse order. Please note the following points:
- A. After installing the new release bearing guide seal, fill the space between the seal lips with a good all-purpose lubricant (see photo).
- b. When installing a new O-ring on the guide installation site, do not use any grease or oil, because This ring must be installed dry.
- V. Apply a little molybdenum disulfide grease to the surface of the guide along which the release bearing moves, and securely tighten the mounting bolts.
- d. When installing new clutch release shaft bushings, check that their installation tabs fit into the corresponding slots and coat the inner surfaces of the bushings with molybdenum disulfide grease.
- d. Install the release bearing together with the clutch release fork and tighten the fork clamp bolt to the required torque.
- e. Install the clutch (see section 5 or 6).
- and. Check clutch adjustment (see section 2).
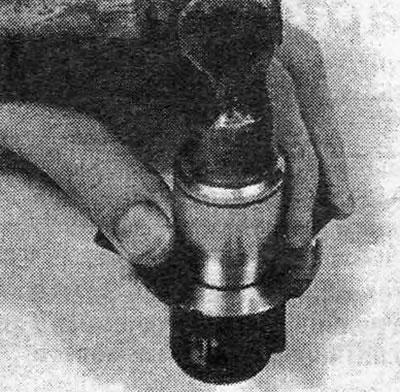
Photo 7.4. Installing a new oil seal on the release bearing guide.
Visitor comments