
Removing
1. Remove the gearbox and clutch (see relevant chapter).
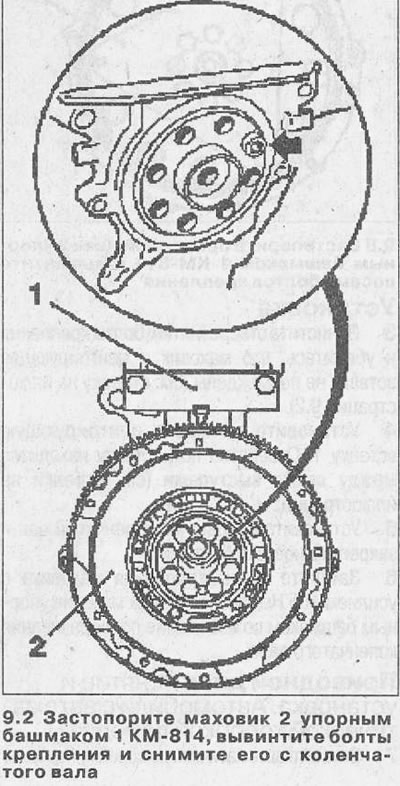
2. Lock the flywheel 2 with the thrust shoe 1 KM-814, unscrew the eight fastening bolts and remove it from the crankshaft (see illustration).
Installation
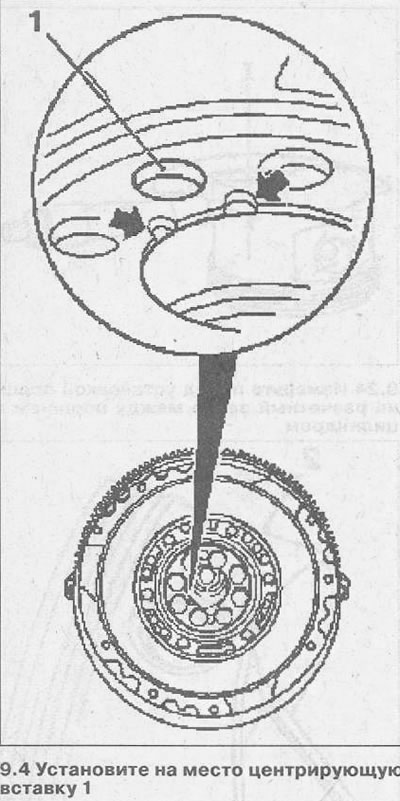
3. Clean the holes for the mounting bolts and check that the flywheel and centering insert are not damaged (see arrow in illustration 9.2).
4. Replace the centering insert 1. The hole for the insert is between the two lugs (see arrows in illustration).
5. Install the flywheel on the crankshaft and secure with new bolts.
6. Tighten the flywheel mounting bolts to 105 Nm, blocking the flywheel with a thrust shoe to prevent crankshaft rotation.
Drive disc - removal and installation. Vehicles with automatic transmission
7. Remove the automatic transmission (see relevant chapter).
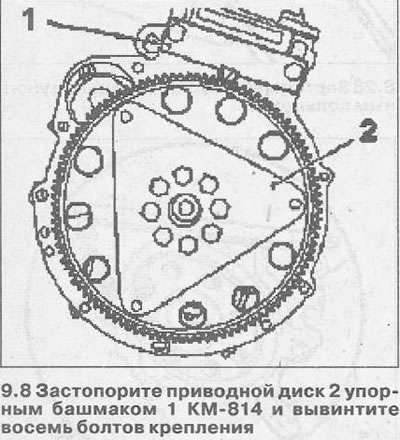
8. Lock the drive disk 2 with the thrust shoe 1 KM-814 and unscrew the eight fastening bolts (see illustration).
Installation
9. Clean the holes for the disc mounting bolts.
10. Establish a driving disk on a cranked shaft and fix with new bolts.
11. Tighten the bolts securing the drive disk to the crankshaft with a force of 120 Nm, blocking the disk with a thrust shoe to prevent the crankshaft from turning.
12. Reinstall the gearbox (see relevant chapter).
Visitor comments