
Note: This job will require a torque wrench capable of measuring high hub nut tightening torques.
1. Block the front wheels, then jack up the rear of the vehicle and support it on axle stands.
2. Remove the bolts securing the drive shaft to the rear hub. Take the spring washers.
3. Lift the drive shaft from the hub.
4. Remove the rear wheel.
5. Disconnect the hydraulic brake hose from the trailing arm suspension by pulling out the stop.
6. Unscrew and remove the brake caliper.
7. Turn off the fixing screw and remove a brake disk.
8. Using a socket wrench through the hole in the hub drive flange, unscrew the mounting bolts of the drum brake shield. Note that the top bolts are shorter and have a stop.
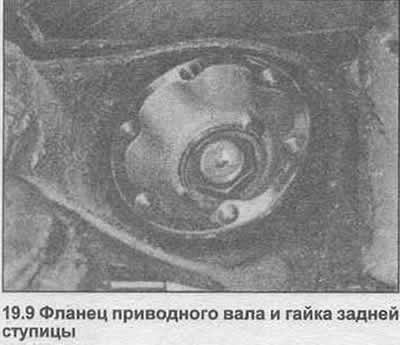
9. Insert the wheel bolts and, using a long hub clamping rod, unscrew the center nut on the hub (photo).
10. Remove the drive shaft flange using a suitable extractor.
11. Push the rear hub out of the bearing using a suitable extractor bolted to the diagonal arm.
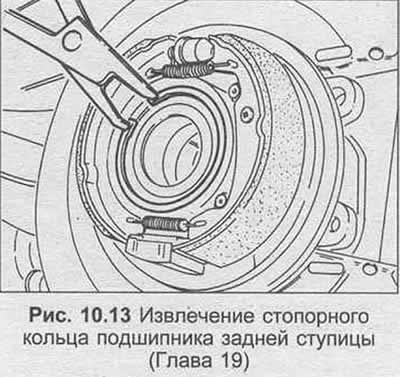
12. Remove the circlip from the diagonal arm, then push the bearing out again using the extractor.
13. If the inner track of the bearing remains on the hub, remove it with an extractor.
14. Clean all components and examine them for wear and damage. Install a new bearing.
15. Press the new bearing into the diagonal arm, pressing the outer track. If necessary, use a long bolt and spacers.
16. Install bearing and circlip.
17. Place the wheel bearing and gently hammer the bearing into the rear hub, hitting the outer edge.
18. Install the drive shaft flange on the hub.
19. Install the hub nut, and tighten the tightening torque, regulated specification.
20. Installation is carried out in the reverse order, answering the following points:
- a) Tighten all nuts and bolts with a tightening torque specified specification.
- b) Adjust the handbrake.
Visitor comments