
Removing
Loosen the wheel bolts, raise the car.
Remove wheel
Unscrew the self-locking nut from the tie rod end (from August 1982), the nut may need to be loosened.
Press the tip out of the swivel arm with a standard puller.
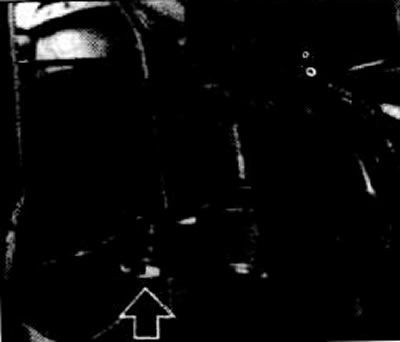
Loosen clamp bolt (arrow).
Unscrew the tie rod end from the adjusting pin, note the number of revolutions.
Attention: Take note of the number of revolutions so that you can set the linkage to the desired position so as not to change the toe setting.
Installation
Screw the tie rod end onto the adjusting pin with the same number of turns as when removing.
Since August 1981, the internal thread in the tie rod joint has been changed from right hand thread only to right hand thread (left hinge) and left thread (right hinge).

Pay attention, right or left execution (in the direction of travel).
The right execution is designated - R.
The threaded depth of the tip must be the same as the tie rod.
Observe the set position of the clamp. The clamps should lie opposite. The weld nut must be on top. Tighten the clamp nut to 20 Nm.
Fit the tie rod end and tighten the slotted nut to 50 Nm.
Install the fixing clip. If the locking clip does not go through, tighten the castle nut to the next cotter pin hole. Since August 1991, holes for cotter pins are no longer made. Secure the tie rod joint with a new self-locking nut to 60 Nm.
Adjust convergence, see point 15.1.
Screw on wheels and tighten crosswise to 90 Nm.
Visitor comments