


Note: Shock absorbers are removed and installed only one after the other on each side of the vehicle.
Note: The following describes removal and assembly on one side. Work on the other side is performed in a similar manner. Shock absorbers are replaced in pairs only. When replacing shock absorbers, it is necessary to use service parts corresponding to the vehicle version and its equipment.
Removal
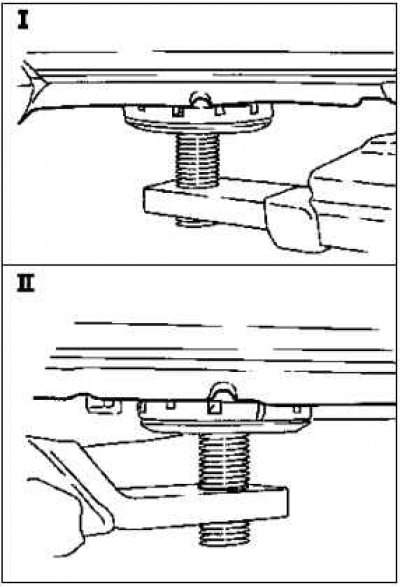
Raise the car.
Note: Use the vehicle lifting points provided for this purpose.
Remove shock absorber 5.
Remove cover 1 from the shock absorber cap.
Remove nut 2 from the shock absorber.
Note: Use an open-end wrench to hold the flat areas of the shock absorber piston rod.
Remove the installation disk 3 and the rubber shock-absorbing gasket 4 from the piston rod.
Note: Please pay attention to the installation position.
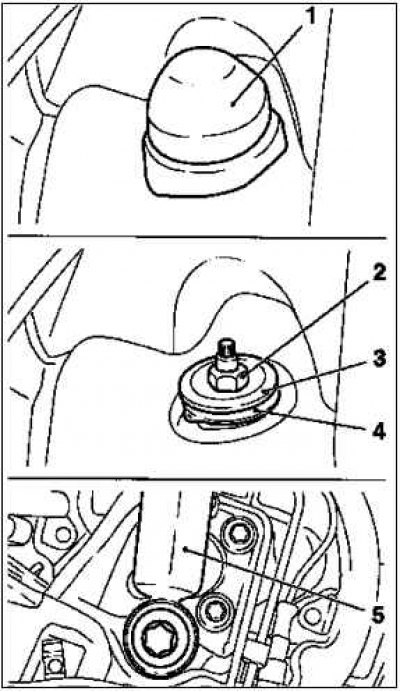
Remove the shock absorber.
Installation
Install shock absorber 1 on the rear axle.
Align the shock absorber with the hole in the shock absorber cap.
Tighten the screw.
Basic design (screw M10x1.25): 65 Nm.
Cast axle with lever suspension (screw M14 x 1.5): 110 Nm.
Lower the car.
Insert the shock absorber piston rod into the hole in the shock absorber cap.
Place the rubber shock-absorbing seal 4 and the mounting disk 3 on the piston rod.
Note: Please pay attention to the installation position.
Tighten the new nut to 2–20 N·m.
Note: Use an open-end wrench to hold the flat areas of the shock absorber piston rod.
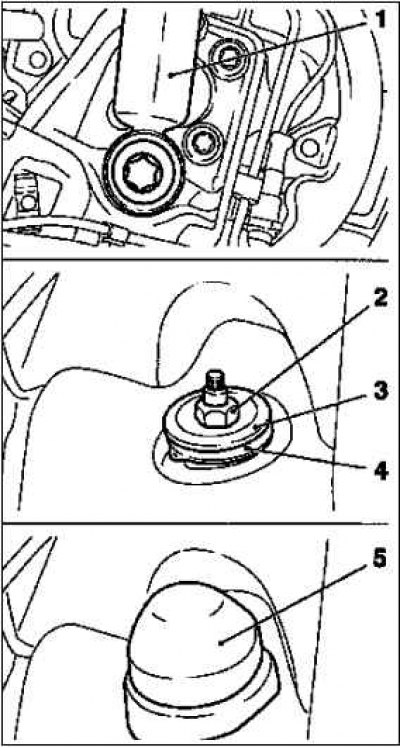
Place cover 5 on the shock absorber cap.
Removing and installing rear springs, damping tracks at the top and intermediate spring seat ring at the bottom
Note: Rear springs are removed and installed only one after the other on each side of the vehicle.
Note: The following describes removal and assembly from one side. The work on the other side is carried out in the same way. The rear springs are replaced only in pairs. When replacing the rear springs, it is necessary to use service parts corresponding to the vehicle version and its equipment.
Removal
Note: Use the vehicle lifting points provided for this purpose.
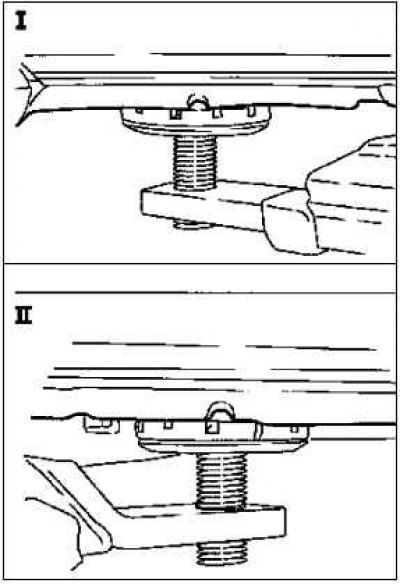
Raise the car.
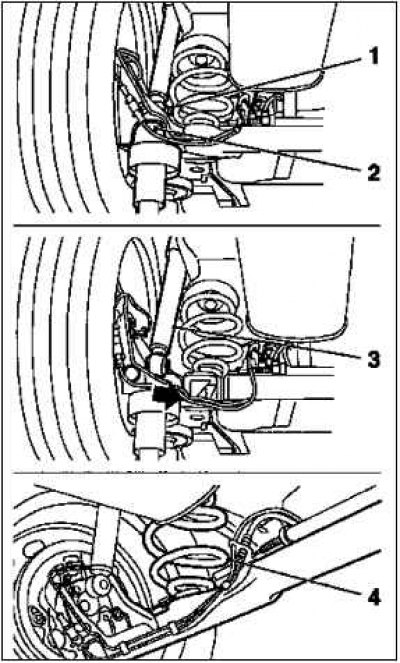
Remove the headlight range control sensor linkage from the bracket on the rear axle.
Note: On vehicles with xenon headlights.
Remove the rear springs 4.
Support the rear axle with a hydraulic jack on the assembly side under the trailing arm 2.
Remove screw 1 of the shock absorber on the rear axle.
For vehicles with cast axle with wishbone suspension: remove shock absorber mounting eye 3 from the rear axle (arrow).
Slowly lower and remove the hydraulic jack.
From the assembly side, pull the rear axle down so far (arrow) that the rear spring can be removed.
Note: Pay attention to the installation position of the springs.
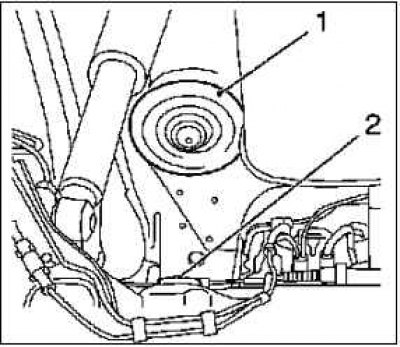
Remove the damper ring at the top 1 and the intermediate spring seat ring at the bottom 2 at the bottom of the car or the clamp at the rear axle.
Installation
Install the damper ring at the top 1 and the intermediate spring seat ring at the bottom 2 in the underbody of the vehicle or the clamp at the rear axle.
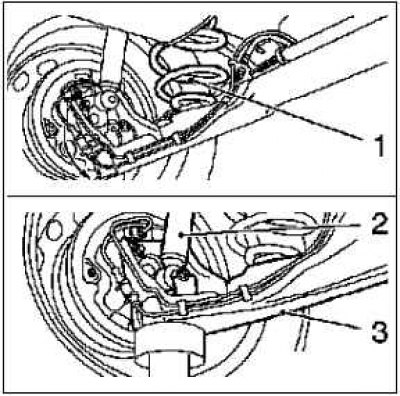
Insert the rear spring.
Note: Pay attention to the installation position of the rear springs.
From the assembly side, pull the rear axle down enough (arrow) so that the rear spring can be inserted.
Note: Install the side of the spring with the larger hole on the spring seat disc at the bottom of the rear axle.
Set the rear axle to the desired position.
Reinstall the hydraulic jack on the assembly side under the rear axle trailing arm 3.
Raise the rear axle to the position for installing shock absorber 2 on the rear axle.
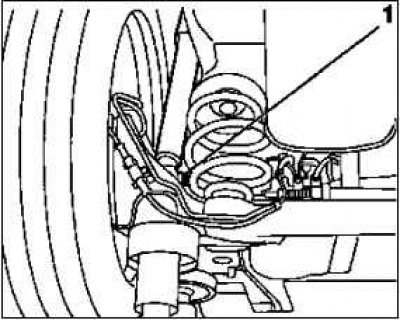
Install the shock absorber on the rear axle. Tighten screw 1.
Basic design (screw M10 x 1.25): 65 Nm.
Cast axle with lever suspension (screw M14x1.5): 110 Nm.
Remove the hydraulic jack.
Install the headlight range control chain sensor linkage to the bracket on the rear axle: 5 Nm.
Note: On vehicles with xenon headlights.
Visitor comments