
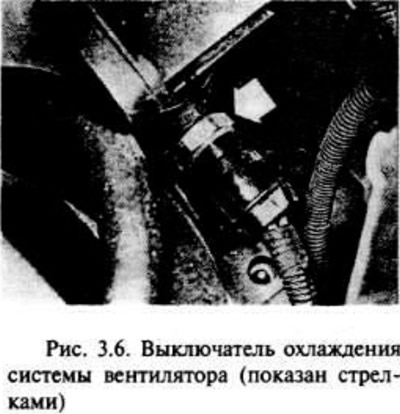
If the fan is not working, start the engine and bring it up to normal operating temperature, then let it idle. If the fan does not turn on within a few minutes, turn off the ignition and disconnect the wiring connector from the fan switch. Connect the two pins in the socket with a piece of wire and turn on the ignition. If the fan now starts, the switch is probably defective and should be replaced.
If the fan still does not turn on, check the voltage in the battery (brown and white switch wire); if there is no voltage, then there is an open circuit somewhere (possibly due to damage in the fan motor or blown fuse). If there is no damage to the power supply, check for an open circuit between the brown switch wire and a short to body ground.
If the switch and wiring are in good condition, the damage must be looked for in the motor itself. It can be checked by disconnecting the flexible wiring from it and turning on the 12 V power supply directly. If it still does not work, it must be replaced.
Disconnect the negative battery terminal.
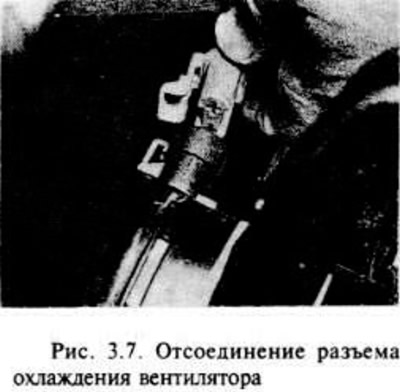
Disconnect the wiring from the fan.
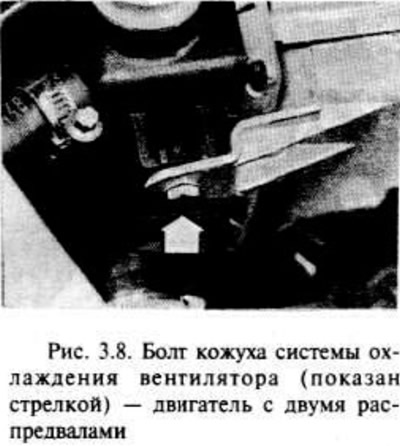
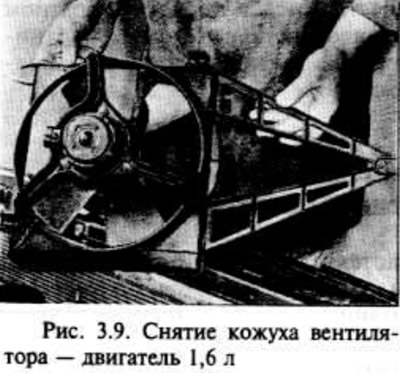
Remove the two fan shroud bolts, then tilt the assembly back slightly towards the engine and pull it up away from the radiator.
Remove the three nuts to remove the fan motor from the shroud.
If the motor fails, it must be replaced.
Installation is carried out in the reverse order of removal, while it is necessary that the lower left end of the fan casing is in the clamp on the radiator.
After installation is complete, start the engine, bring it up to normal operating temperature and check the fan operation.
Visitor comments