


Contents: Removal ⬇ Installation ⬇
Removal
Disconnect the cable from the negative battery terminal.
Remove the rear corner panel from the rear door trim.
On a vehicle with power windows, remove the window control switch.
On a vehicle with manual windows, close the window completely and mark the location of the window handle. Release the mounting bracket and remove the handle. The bracket is released by inserting a clean cloth between the handle and the door trim and, by pulling the cloth opposite the ends of the bracket, hooking the bracket and releasing it. In this case, you need to pull the handle towards you so that after releasing the bracket, it comes off the window regulator splines.
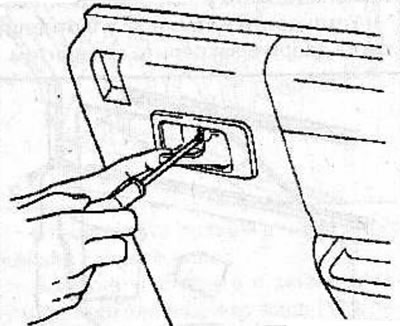
Pull the inside door lock release handle, remove the screw, remove the handle from the door trim and disconnect the rod from it.
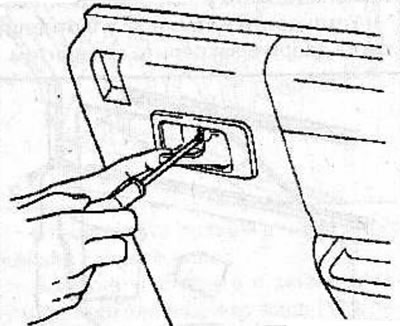
Use a wide-blade screwdriver to pry the door trim away from the door, then disconnect the connector from the footwell light and remove the door trim.
Remove the footwell light from the rear door trim.
Remove the dust and moisture protection film from the rear door.
Installation
Install a dust and moisture protection film on the rear door.
Install the footwell light on the rear door trim.
Connect the connector to the footwell light, then install the door trim onto the rear door and make sure the trim is securely fastened with clips.
Connect the rod to the inside door lock release handle, install the handle on the door and secure the handle with a screw.
Connect the connector to the power window control switch.
Install the window switch or control handle into the rear door trim.
Install the rear corner panel onto the rear door trim.
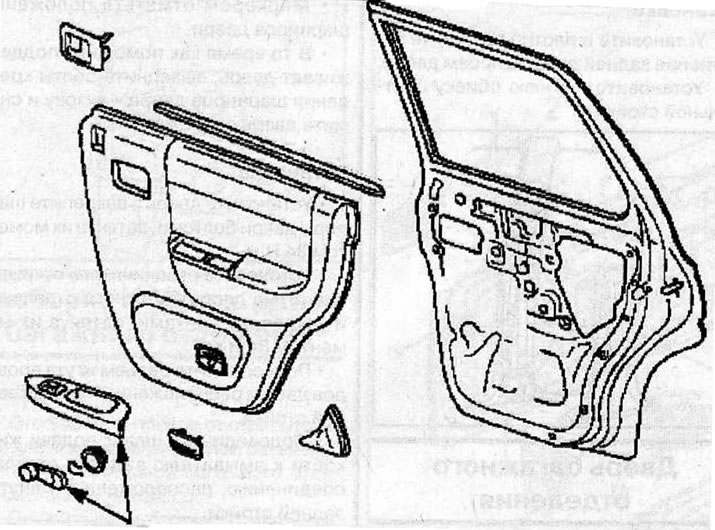
Rear door trim
Visitor comments