


2. Inside the vehicle, mark the position of the inner column relative to the pivot joint, then loosen and remove the clamp bolt.
3. Remove the steering wheel as described in Chapter 21.
4. Where applicable, unscrew the height adjustment lever.
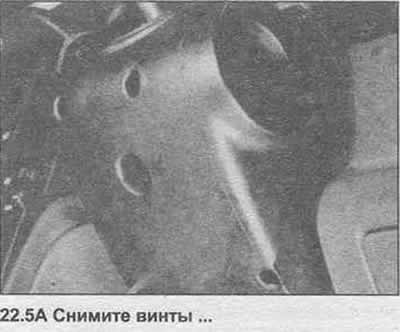
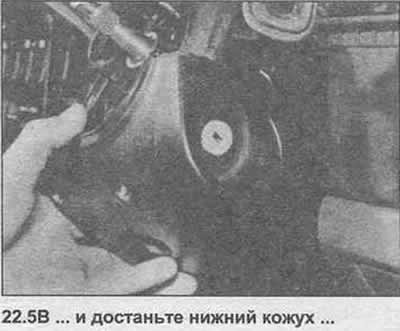
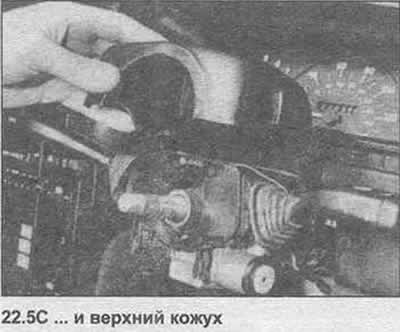
5. Remove the screws and take the cover off the steering column (photo).
6. Set the ignition key to position II, press the small spring lock and pull out the lock cylinder. Also disconnect the wire contact.
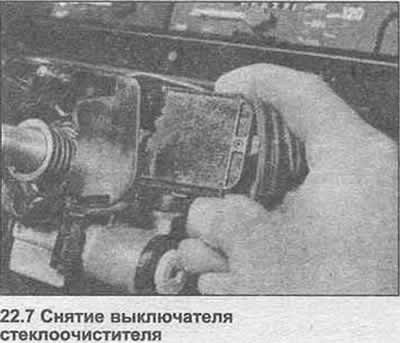
7. Press the plastic clips and remove the turn signal switch and windshield wiper switch (photo).
8. Disconnect the wire from the horn contact pin.
9. Unscrew the lower mounting bolt.
10. The upper column mount consists of a nut and a shear bolt. It is ideal to use a shear bolt extractor to remove it, after drilling a 3.2 mm hole. Then insert the extractor.
11. Unscrew the upper mounting nut and remove the steering column connection from the ball joint.
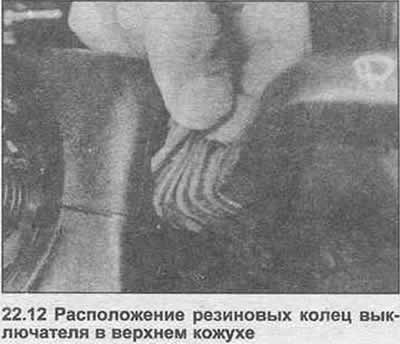
12. Installation is carried out in the reverse order, but tighten all nuts and bolts to the specified tightening torque Specification. Before tightening the shear bolt, check that the column is properly aligned, then tighten the bolt until the head breaks off. Check that with the front wheels straight ahead, the clamp bolt on the pivot joint is at the top. Before tightening the clamp bolt, rotate the inner column upward until it touches the ball bearing stop. Make sure the switch rubber seals are properly seated in the upper housing (photo).
Visitor comments