
Only the pump assembly is supplied as a spare part, so this section only describes the removal and installation of the pump. The work is shown on the example of the A16 XER engine; on other engines, the pump is removed in almost the same way.
To repair the oil pump, a set of new spare parts is required, which are not available separately at retail. Therefore, if the pump fails, replace it as an assembly or contact a specialized service for repair.
You will need: all the tools needed to remove the accessory drive belts and timing gear, the right powertrain suspension support, as well as a TORX T30 wrench and a TORX E12 socket.
1. Disconnect the wire from the terminal «minus» battery.
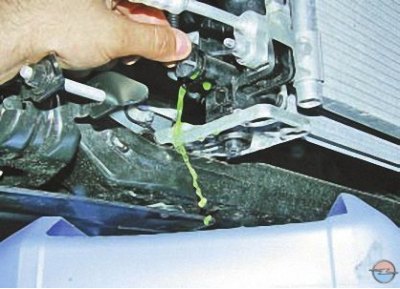
2. Drain the liquid from the cooling system (see Coolant replacement).
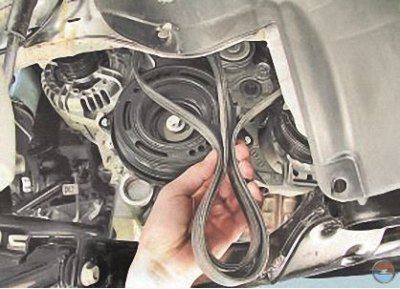
3. Remove the accessory drive belt (see Accessory drive belt replacement).
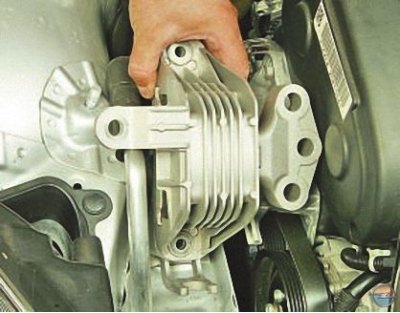
4. Remove the right suspension bracket of the power unit..
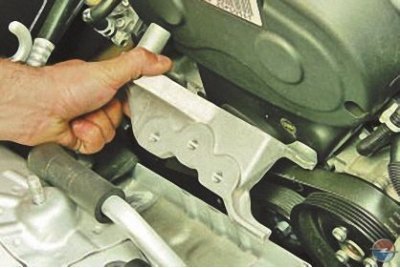
5.... and the bracket for its attachment to the engine (see Replacing the suspension bearings of the power unit).
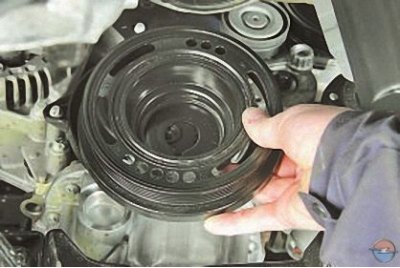
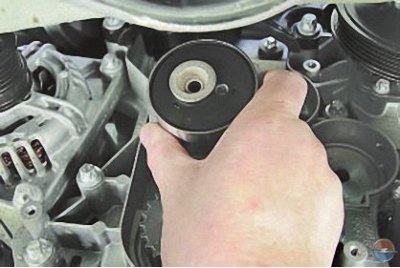
6. Remove the crankshaft pulley..
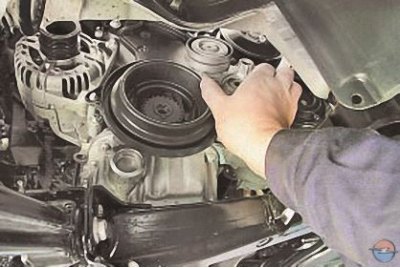
7.... accessory drive belt tensioner..
8.... and the lower cover of the gas distribution mechanism (see Replacing the timing belt).
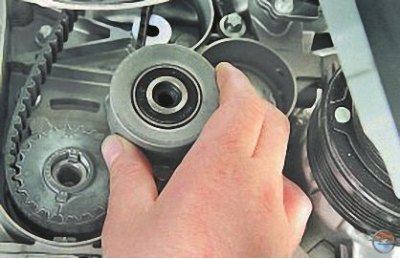
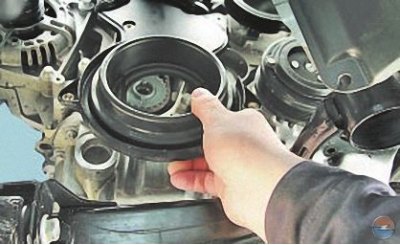
9. Remove the intermediate roller of the timing belt by unscrewing the bolt of its fastening..
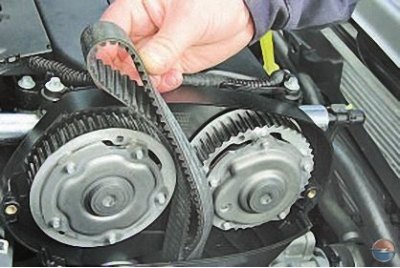
10.... timing belt..
Attention! After removing the timing belt, it is forbidden to turn the crankshaft and camshafts, as the valves may be damaged by the pistons.
11.... and the tension roller of the timing belt by unscrewing the bolt of its fastening (see Replacing the timing belt).

12. Remove the toothed pulley from the crankshaft shank.
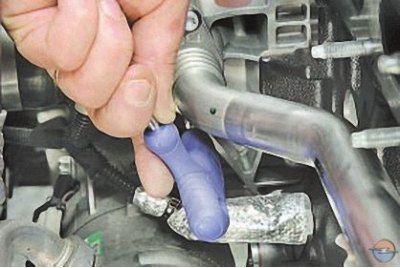
13. Turn out two bolts of fastening of a water distribution pipe to the water pump.
Note. For clarity, the collector has been removed.
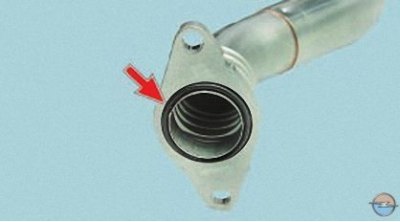
Attention! The flange of the water distribution pipe is sealed with a rubber ring. Replace this ring each time the joint is disassembled.
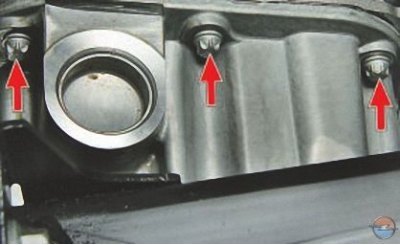
14. Turn out three bolts of fastening of an oil crankcase to the oil pump …
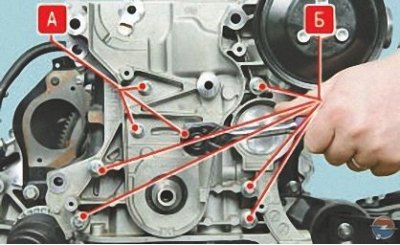
15.... nine bolts securing the oil pump to the engine block..
Notes. Please note: oil pump bolts vary in length (bolts A short, bolts B long). For clarity, shown on the removed engine.
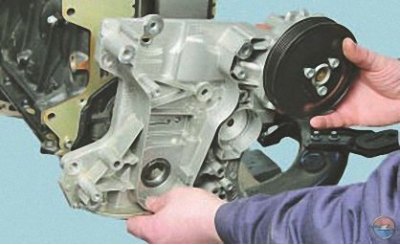
16.... and remove the oil pump assembly with the water pump.
Note. For clarity, shown on the removed engine.
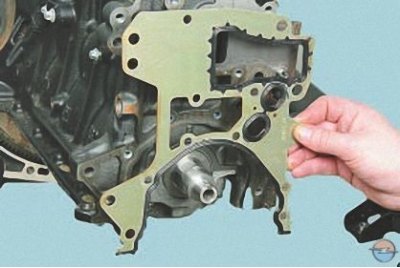
17. Remove the sealing gasket installed under the flange of the oil pump housing.
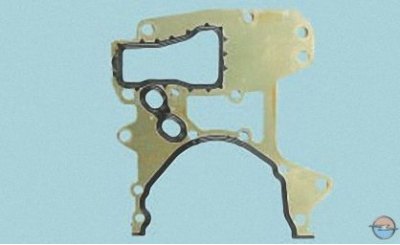
Note. Replace the oil pump gasket with a new one each time the connection is disassembled, since the old gasket may not ensure the tightness of the connection when reinstalled.
Note. Replace the front crankshaft oil seal every time the pump is removed (see Replacing the crankshaft seals).
18. Install the pump in the reverse order of removal, and tighten the bolts of its fastening evenly crosswise to a torque of 20 Nm (2.0 kgf·m).
19. Install all previously removed parts and fill in coolant (see Coolant replacement).
Note. When installing a new oil pump, we recommend replacing the oil filter element.
Visitor comments