
Warning! Before performing the operation, be sure to read the section «Safety measures for the maintenance and repair of the engine management system».
Comment. The operation is shown using the example of checking and replacing spark plugs in a 1.6 DOHC engine. On vehicles with other engines, the operation is carried out similarly.
Execution sequence
1. We prepare the car for work (see «Preparing the car for maintenance and repair»).
2. Remove the ignition module (see «Ignition module for 1.4 and 1.6 DOHC engines - check and replacement» or «1.8 DOHC Engine Ignition Module - Check and Replace»).
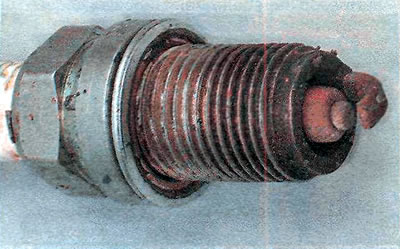
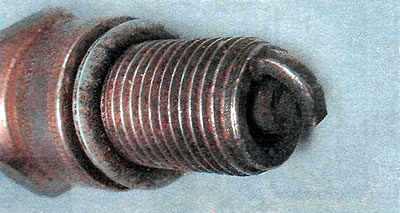
3. Using a special 16 mm spark plug wrench, unscrew the spark plug of the first cylinder.

4. Similarly, we turn out the candles of the remaining cylinders.
5. We carefully examine the candles. A yellowish coating on the spark plug insulator indicates a leaky spark plug, a whitish cobweb on the electrode indicates improper sparking. In any of these cases, the candles must be replaced.
Also, by the appearance of the spark plug, you can assess the technical condition of the engine:
1) light brown or grayish coating - the engine and control system are fully operational;
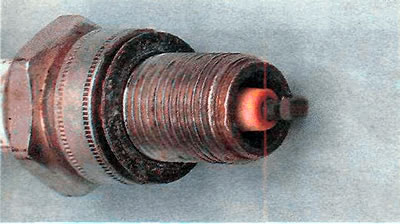
2) reddish or reddish coating - there are a lot of iron-containing additives in gasoline. Accelerated wear of spark plugs; change the place of refueling the car with fuel;
3) black dry soot - too rich air-fuel mixture (see «Engine management system - checking the technical condition and diagnosing faults»). Usually accompanied by increased fuel consumption;

4) glossy, «wet» black coating - a large amount of oil entering the combustion chamber due to wear on the valve stem seals (see «Cylinder head - check») or cylinder-piston group (see «Checking compression in the engine cylinders»).
6. We install the parts in the reverse order.
Warning! When tightening the spark plugs, do not exceed the specified torque (see «Reference data»).
Visitor comments