
Note: You will need a special tool Opel KM-631 A.
1. Adjustment of the shift rod is required only after it has been removed. If the newly installed linkage is stiff or inaccurate, proceed as follows.
2. Place the shift lever in neutral, apply the handbrake, then jack up the front of the vehicle and place it on axle stands.
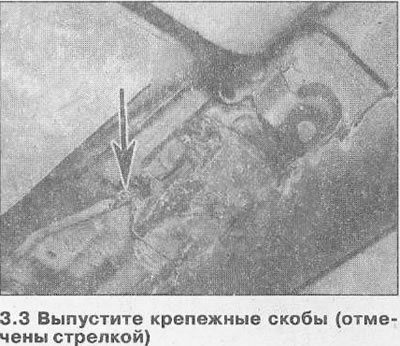
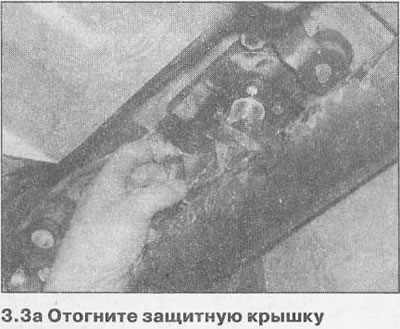
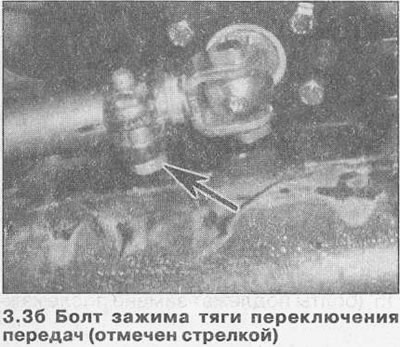
3. Remove the brackets securing the protective cover to the underside of the vehicle, then bend the cover forward to access the clamp bolt on the rear end of the shift rod. Loosen the bolt so that the tip can easily move in the stem (see illustrations).
4. Working in the cabin, unfasten the protective cover of the gear lever from the center console and bend it over the lever. Unclip the rubber boot from the mounting plate and fold it back to access the arm base.
5. Lock the shift lever with a special tool (KM-631A) in the cover of fastening the lever to the rod by moving the lever to the right.
6. Working under the vehicle, install a wrench on the existing bevels and turn the shift rod clockwise (viewed from the back of the car) all the way. While holding the stem in this position, tighten the clamp bolt to torque (see specs).
7. Remove the special tool and check the operation of the gear lever. Place the rubber protective boot in working position and attach the boot with brackets to the center console.
8. Place the protective cover on the base of the shift lever and attach it with brackets, then lower the vehicle to the ground.
Visitor comments