
Removing
1. Remove the battery.
2. Remove the windshield wiper arms and reflective panel.
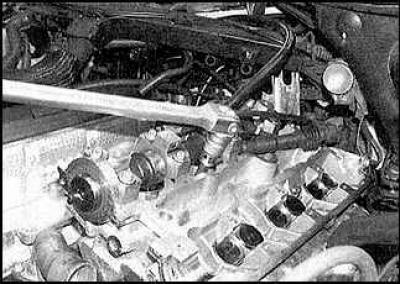
3. Remove the intake manifold.
4. Drain the coolant and remove the spark plugs.
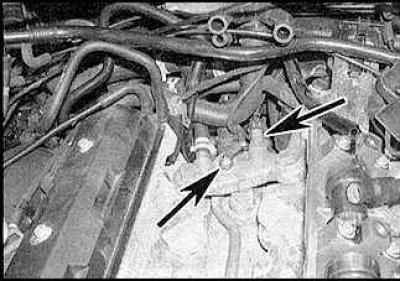
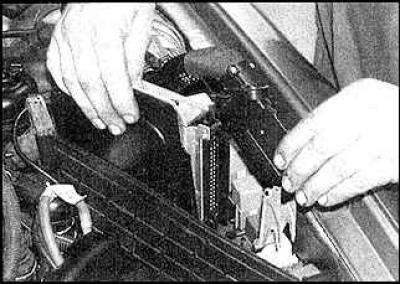
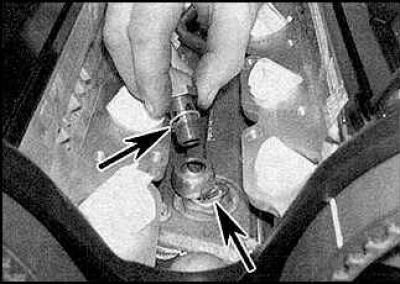
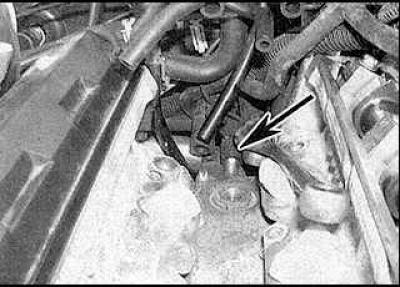
5. Disconnect the wires from the engine coolant temperature indicator sensor and engine management system coolant temperature sensor (indicated by arrows).
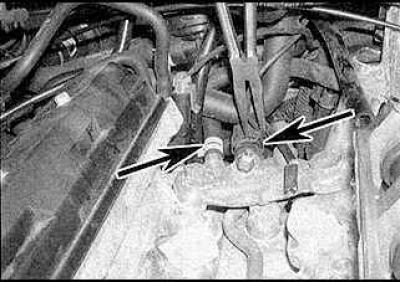
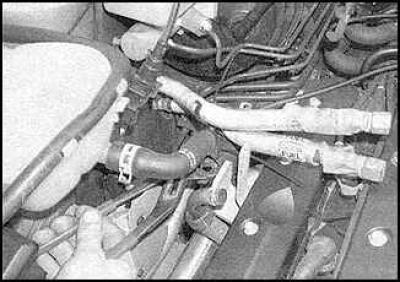
6. Disconnect the coolant hoses from the outlet (indicated by arrows).
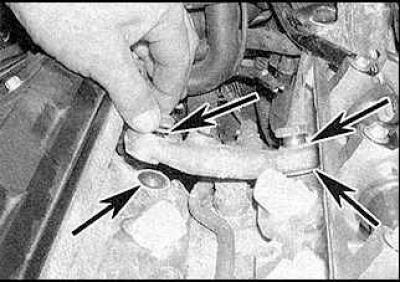
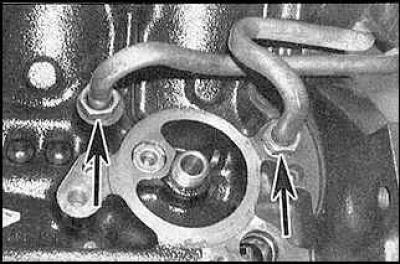
7. Unscrew the bolts and disconnect the outlet pipe and sealing washers (indicated by arrows).
8. Remove the timing belt.
9. Remove the camshaft sprockets, tensioner pulley and upper idler pulley bracket and lower pulley.
10. Remove the water pump.
11. Remove the rear timing belt cover.
Left cylinder head
12. Remove the head cover.
13. Disconnect the wires of both heads from the DIS module and remove the module. Unscrew the ground wires from the left head.
14. Remove the cover from the relay box in the left corner of the engine compartment and disconnect the wires from the engine electronic control unit.
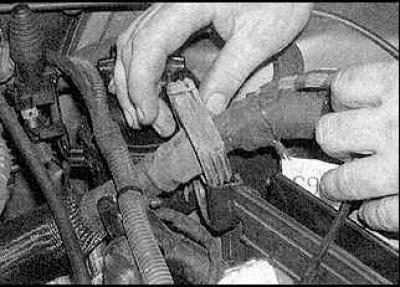
15. Disconnect the fuel injection relay.

16. Disconnect the connector plug.
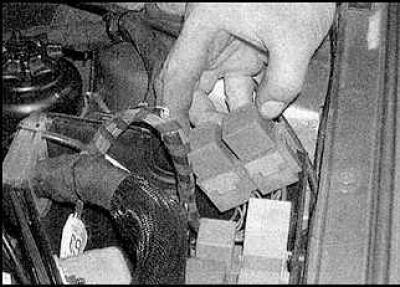
17. Disconnect the wiring harness from the relay box.
18. Disconnect the wiring harness connectors located behind the battery.

19. If the engine harness is connected to the fuse box, remove the fuse box.
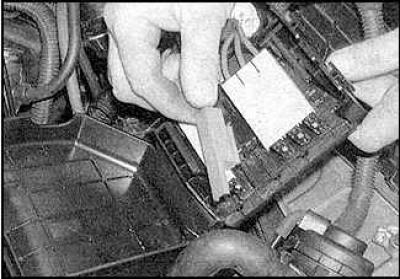
20. Disconnect the harness from the block.
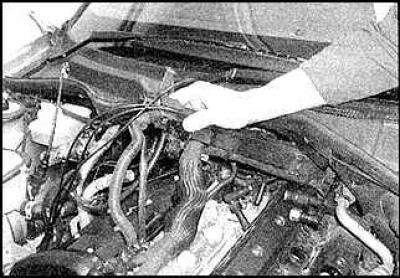
21. After you have disconnected all the wires, position the wire harness away from the cylinder head.
22. Remove the left front engine exhaust pipe.
23. Remove the power steering pump.
24. Disconnect the upper radiator hose from the tube located at the front of the left head.
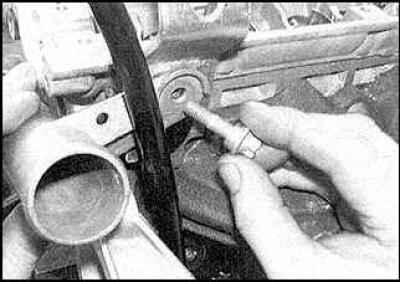
25. Remove the bolt that secures the coolant pipe and the lug to lift the engine to the head.
26. Disconnect the ear and tube from the thermostat housing.
27. Remove the dipstick and dipstick tube from the cylinder block.
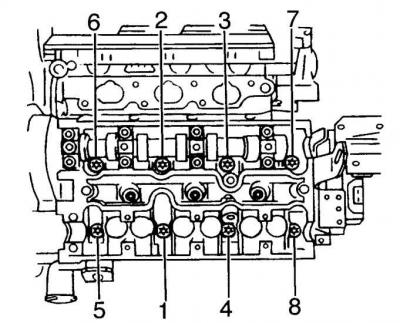
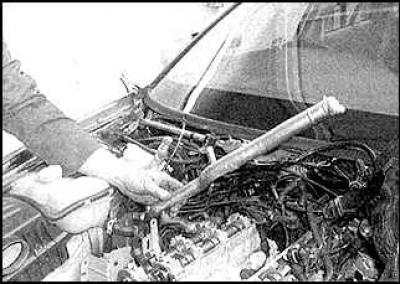
28. Remove the exhaust camshaft.
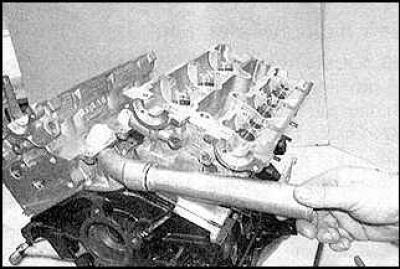
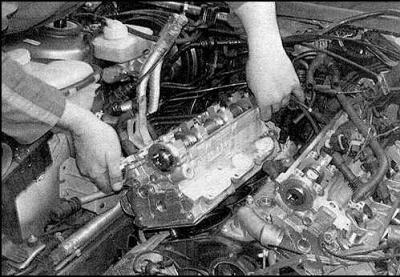
29. Remove head bolts in reverse tightening sequence (see fig. Cylinder head bolt tightening sequence).
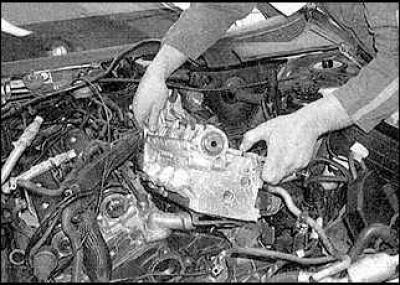
30. Remove the cylinder head.
31. Remove the head gasket.
Right cylinder head
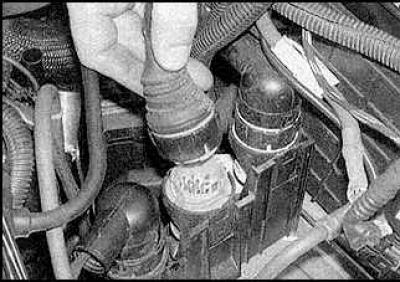
32. Remove the oil filter. Replace if necessary.
33. Tighten nuts (indicated by arrows), that secure the oil cooler tubes to the cylinder block.
34. Unscrew the bolts securing the pipes to the oil cooler, remove the sealing washers (indicated by arrows) and disconnect the pipes from the oil cooler.
35. Disconnect the lower engine radiator hose and expansion tank hose.
36. Disconnect the heater hose (indicated by an arrow) from the coolant pipe located on the right side of the engine.
37. Loosen the screws and remove the tube. Remove the sealing ring.
38. Remove the front right exhaust pipe.
39. Remove the exhaust camshaft.
40. Remove the right cylinder head.
Preparing for installation
1. Thoroughly clean the mating surfaces of the head and cylinder block. Clean the water and oil channels in the head. Clean the piston heads from carbon deposits.
2. Inspect the mating surfaces for deep scratches, dents, or other damage. Small scratches can be cleaned with sandpaper, severe damage must be processed on the machine.
3. Check if the surface on which the gasket is being installed is not deformed.
4. Clean the threads of the bolts in the cylinder head. Prepare new bolts.
Installation
Left cylinder head
1. Check that the crankshaft is still rotated about 60°back.
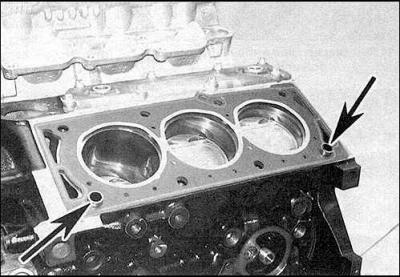
2. Install the head gasket on the dowel pins (indicated by arrows).
3. Check that the label on the gasket is facing up.
4. Install the head.
5. Lubricate the threads of the new head bolts with oil and install the bolts.
6. Tighten the head bolts in the sequence shown (see fig. Cylinder head bolt tightening sequence).
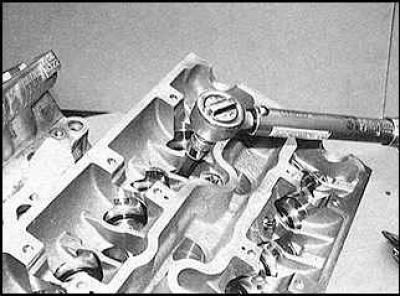
7. Tighten the head bolts to the specified torque.
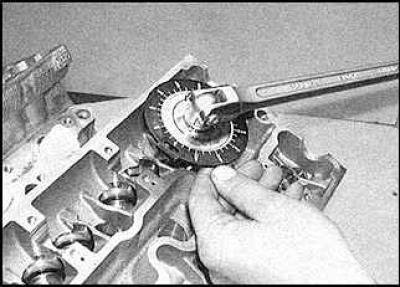
8. Tighten the head bolts to the required angle.
9. Install the remaining parts.
Right cylinder head
10. Installation of the right cylinder head is carried out similarly to the installation of the left head.
Visitor comments