


Removal
1. Remove the camshaft cover.
2. Remove the camshaft sprockets. If you are removing the camshafts from the right cylinder head, rotate them approximately 60° back. This reduces the chance of the valves touching the pistons.
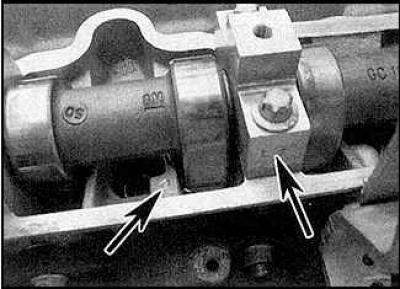
3. Loosen and remove the intake camshaft bearing cap bolts. Loosen the bolts one at a time, one-half turn at a time. Remove the bolts and caps. All caps are numbered to ensure proper installation during assembly (indicated by arrows).
4. Remove the camshaft and seal. Mark the intake camshaft to avoid confusion with the exhaust camshaft.
5. Remove the exhaust valve shaft.
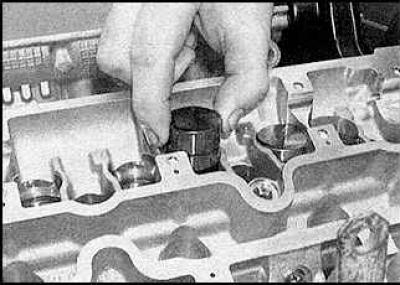
6. Remove the pushers and place them in separate numbered boxes.
Examination
1. Inspect the cams and journals of the shaft bearings for wear and damage; if necessary, replace the shaft. Inspect the shaft bearings in the cylinder head. If they are also worn, replace the cylinder head.
2. Inspect the tappets for wear or damage. Replace if necessary.
Installation
1. Lubricate the tappets and tappet bores with clean engine oil and install the tappets in their positions.
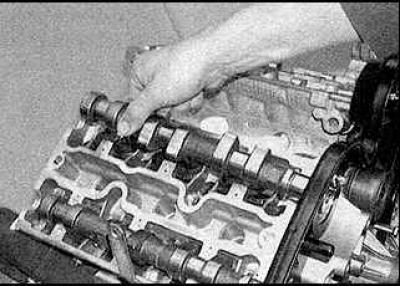
2. Lubricate the cams and bearing journals of the shafts with clean engine oil. Install the camshafts into the cylinder head.
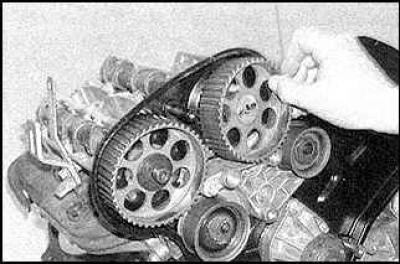
3. Temporarily install the sprockets. The sprocket marks on the left head should be aligned with the slots in the cover, and the sprocket marks on the right head should be rotated approximately 60° back relative to the slots in the cover.
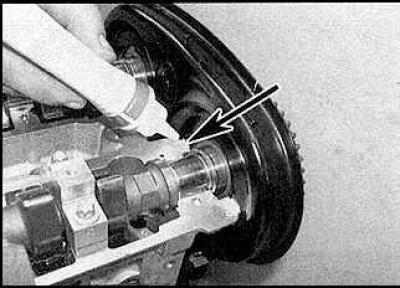
4. Apply sealant N15 03 170 to the cylinder head surface around the front camshaft bearing caps (indicated by the arrow).
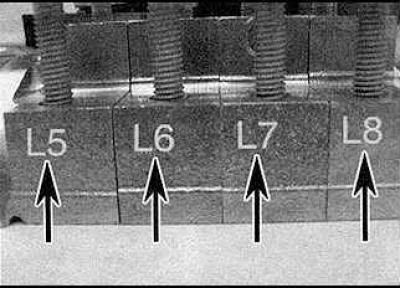
5. Install the bearing caps according to their numbers (indicated by arrows).
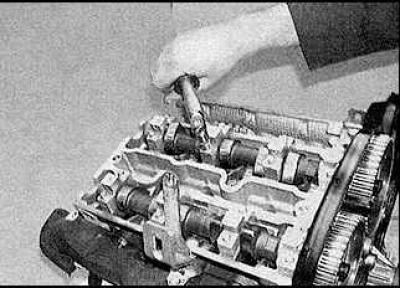
6. Tighten the exhaust camshaft cap nuts in a spiral pattern, starting with the center cap. Tighten the caps very carefully, about a half turn at a time.
7. Tighten the exhaust camshaft cover nuts in the same manner.
8. Install new shaft seals.
9. Install the shaft sprockets and remaining parts.
Visitor comments