


Removal
1. Remove the ground cable from the battery and the cylinder head cover.
2. Remove the brake vacuum pump.
3. Set the piston of the first cylinder at the top dead center in the compression stroke and fix the crankshaft.
4. To improve access to the fuel pump sprocket cover, follow these steps:
- remove the air filter housing and front exhaust pipe;
- remove the auxiliary drive belt;
- unscrew the mounting nut from the powertrain suspension frame and lift the engine just enough to avoid deforming the hoses and pipes.
5. Remove the upper chain tensioner.
6. Remove the drive belt tensioner mechanism.
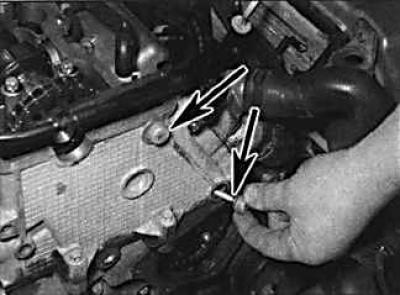
7. Remove the bolts and remove the fuel pump sprocket cover.
8. Make alignment marks between the top chain and sprockets, and between the camshaft sprocket and camshaft.
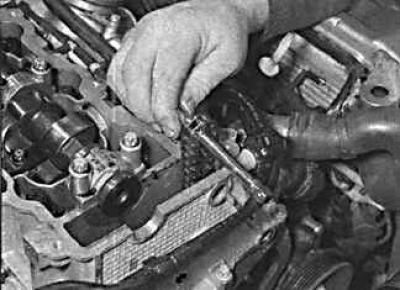
9. Unscrew the bolts and remove the upper chain guide.
10. Before unscrewing the upper chain guide mounting bolts, the bolts must be heated to soften the compound that prevents the bolts from unscrewing.
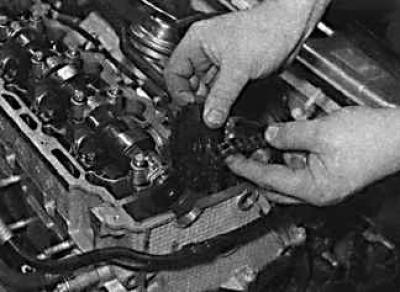
11. Using a wrench, secure the camshaft from turning and unscrew the camshaft sprocket mounting bolts. Before unscrewing the bolt, remove the crankshaft locking pin and after unscrewing the bolt, install the pin in place.
(Material copied from this website www.opelbook.ru)
12. Remove the chain from the camshaft sprocket and remove the sprocket from the engine. Place a screwdriver or steel rod under the chain to prevent it from falling into the cylinder head.
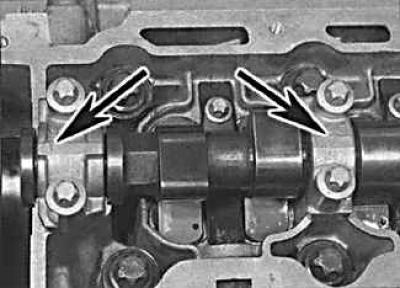
13. Note the identification marks on the camshaft bearing caps. The caps are numbered 1 through 5 from the front of the engine.
14. Working in a spiral from the outside in, loosen the camshaft bearing caps a half turn at each pass until the bolts are completely loose. This is necessary to gradually and evenly relieve the valve spring pressure. Remove the camshaft bearing caps.
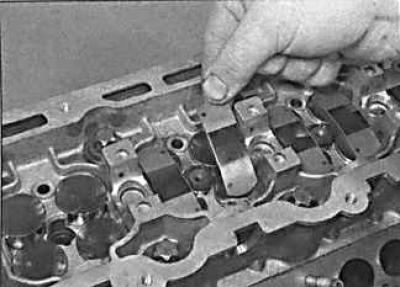
15. Remove the levers from the top of the cylinder head and store them in separate numbered bags.
16. To remove the hydraulic tappets, remove the fuel cross pipe and, using a rubber suction cup or magnet, remove the hydraulic tappets and place them in a suitable container.
Examination
1. Check the camshaft bearing surfaces and cam lobe contours for signs of wear. If any wear is present, the camshaft must be replaced.
2. Check the crankshaft axial play. If the axial play exceeds the permissible limits, the camshaft must be replaced.
3. Check the condition of the hydraulic tappets and tappet seats in the cylinder head.
Installation
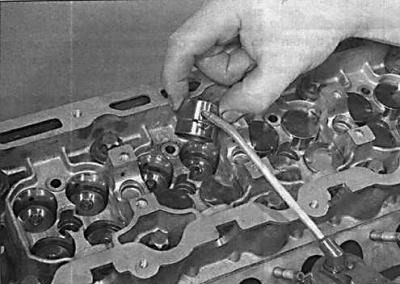
1. Lubricate the hydraulic tappets with clean engine oil and install them in their places. Install the injector cross pipe.
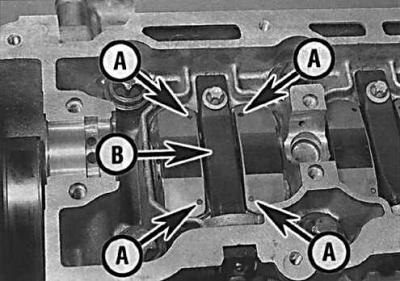
2. Install the camshaft levers with marks (A) to the cross fuel supply pipe (B) in the cylinder head.
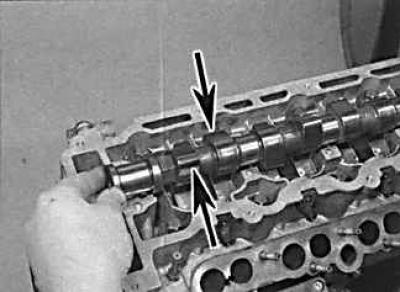
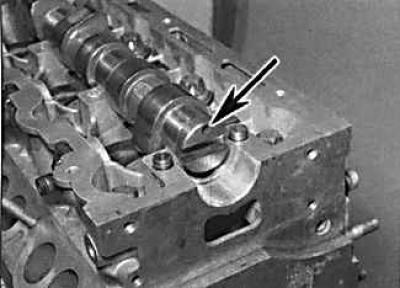
3. Lubricate the camshaft levers with clean engine oil and install the camshaft into the cylinder head. The cams of the first cylinder should be facing upwards, and the groove on the left end of the camshaft should be parallel to the surface of the cylinder head.
4. Check that the mating surfaces of the bearing caps and cylinder head are clean and dry and lubricate the camshaft journals and cams with clean engine oil.
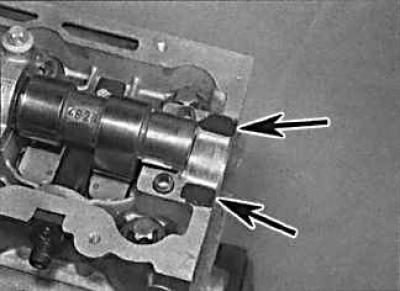
5. Apply a thin layer of sealant to the top surface of the cylinder head that mates with the left camshaft bearing cap and install the cap.
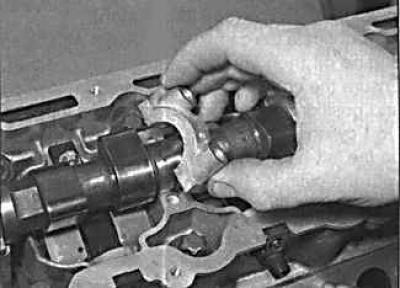
6. Install the camshaft bearing caps according to the identification marks.
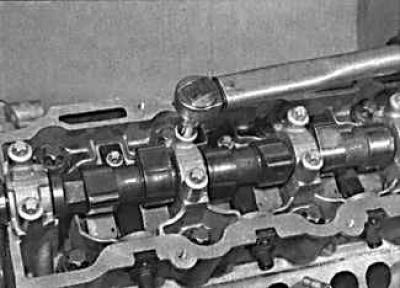
7. Tighten the bearing cap bolts gradually and in a specific sequence, turning each bolt one-half turn at a time until each cap contacts the cylinder head. Then tighten the bolts in the same sequence in several stages to the specified torque. Gradual and uniform tightening of the bolts is necessary to uniformly compress the valve springs.
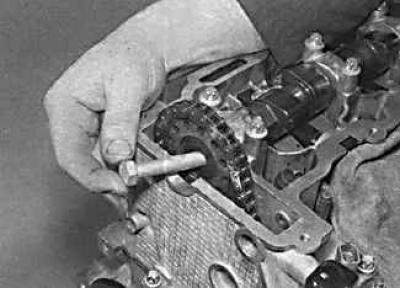
8. Using the marks previously made, check that the top chain is correctly positioned on the fuel pump sprocket and slide the chain onto the camshaft sprocket. Position the sprocket on the end of the camshaft and install a new mounting bolt.
9. Install the upper chain guide.
10. Using the locking pins, check that the valve timing mechanism is installed correctly. Remove the locking pins.
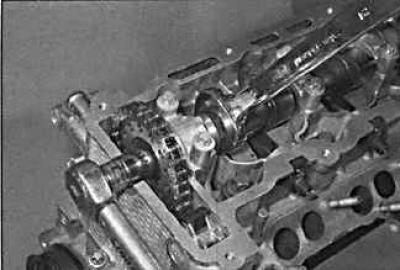
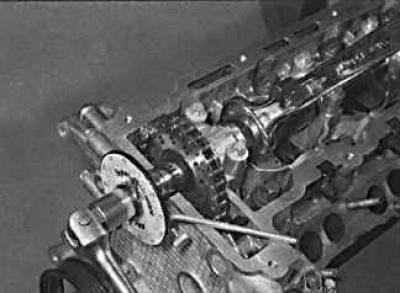
11. Secure the camshaft from turning and tighten the camshaft sprocket mounting bolt in several stages (on the left – tightening the bolt to the required torque, on the right – tightening the bolt by turning it further to a certain angle).
12. Install the upper chain tensioner.
13. Check that the mating surfaces of the fuel pump sprocket cover and chain cover are clean and dry. Install the fuel pump sprocket cover with a new gasket or a thin coat of sealant and tighten the cover mounting bolts to the specified torque.
14. Install the drive belt tensioner mechanism.
15. Install the right powertrain support and lower the engine.
16. Install the cylinder head cover.
17. Install the front exhaust pipe, air cleaner housing and crankshaft sensor.
18. Install the brake system vacuum pump.
Visitor comments