
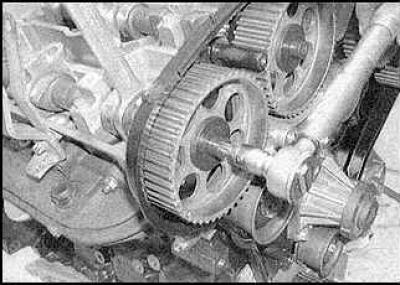
Camshaft sprockets
Camshaft sprocket right cylinder head
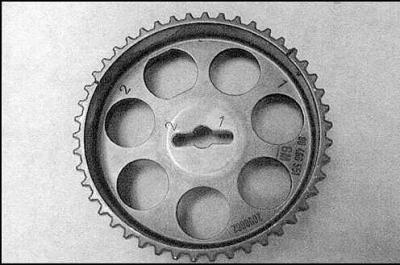
The exhaust valve shaft locating pin must fit into slot 1, and the intake valve shaft stud into slot 2.
Camshaft sprocket, left cylinder head
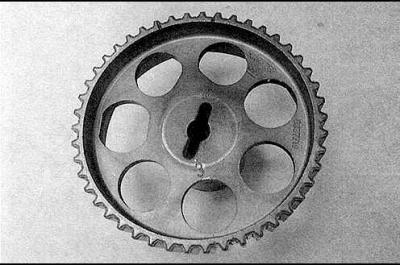
The locating pin of the exhaust valve shaft must fit into slot 4, and the pin of the intake valve shaft into slot 3.
Removing
1. Remove the timing belt. Rotate the crankshaft approximately 60°back. Thus, the likelihood of contact between valves and pistons is reduced.
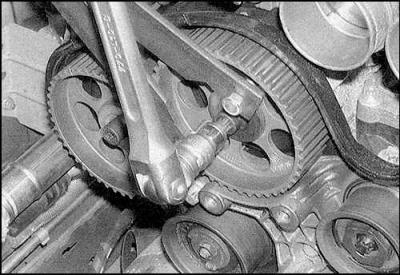
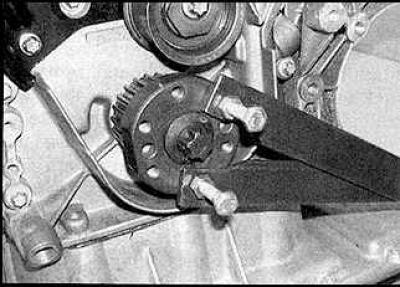
2. Lock the camshaft sprocket with a homemade tool.
3. Lock the camshaft of the sprocket being removed with a wrench.
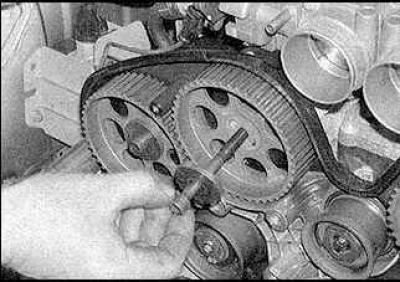
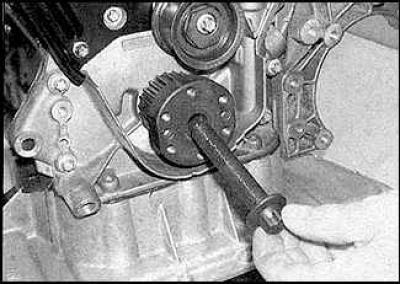
4. Remove the sprocket bolt.
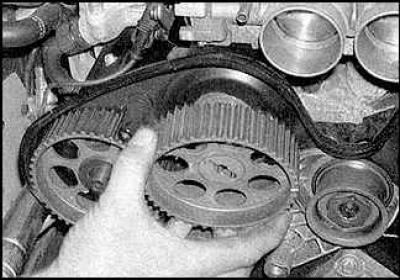
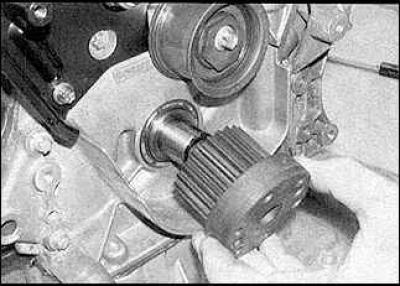
5. Take off the star.
6. Remove the rest of the sprockets in the same way.
Installation
1. Check and, if necessary, replace the camshaft seals.
2. The right cylinder head camshaft sprockets are marked 1 and 2, and the left cylinder head camshaft sprockets are marked 3 and 4 (see fig. Camshaft sprocket right cylinder head and fig. Camshaft sprocket, left cylinder head). The sprockets of both shafts on each head are the same. Each sprocket has two marks. A table on the use of these labels is given below.
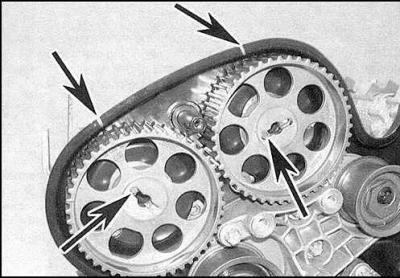
3. Install stars. The dowel pins must be inserted into the appropriate slots (indicated by arrows).
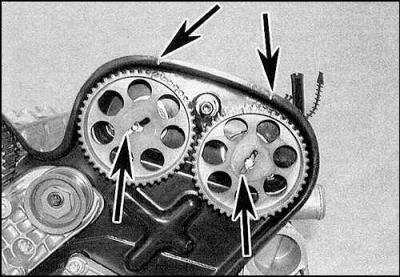
4. Insert bolts. The corresponding timing marks must be aligned with the slots in the cover (indicated by arrows).
5. Tighten the bolts to the required torque.

6. Tighten the bolts to the required angle.
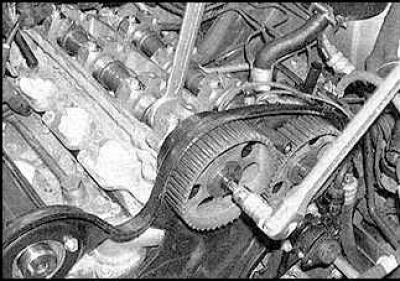
7. Install the timing belt and outer cover.
|
Camshaft sprockets
|
The label to use
|
|
exhaust valves of the right cylinder head
|
1
|
|
inlet valves of the right cylinder head
|
2
|
|
inlet valves of the left cylinder head
|
3
|
|
exhaust valves of the left cylinder head
|
4
|
Crankshaft sprocket
Removing
1. Remove the timing belt.
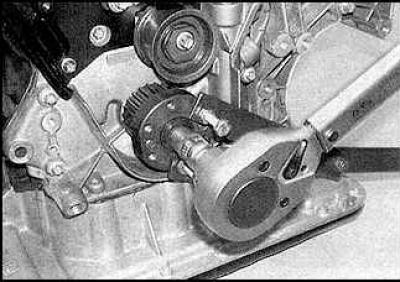
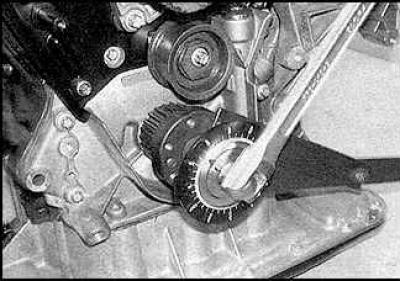
2. Stop the crankshaft.
3. Unscrew the bolt.
4. Take off the star.
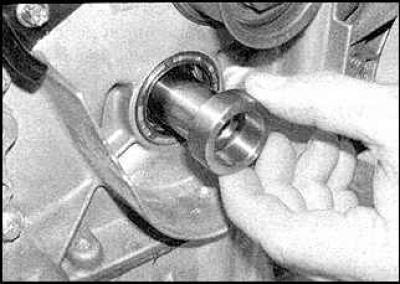
5. Remove bushing.
Installation
1. Inspect the shaft seal and replace if necessary.
2. Insert the key, slide on the sprocket and tighten the bolt to the correct torque.
3. Tighten the bolt to the desired angle.
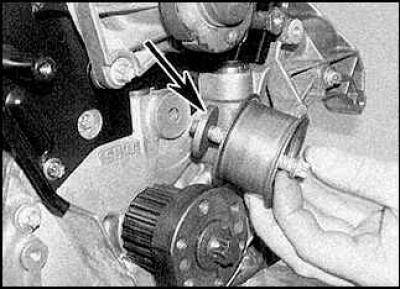
Tensioner pulley and upper guide pulley
Removing
1. Remove the timing belt.
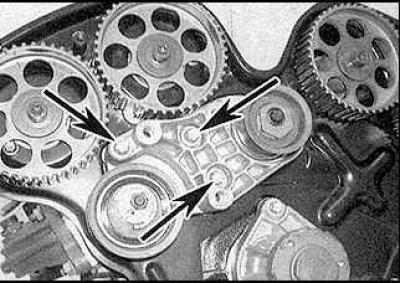
2. Remove the bolts (indicated by arrows) pulley bracket.
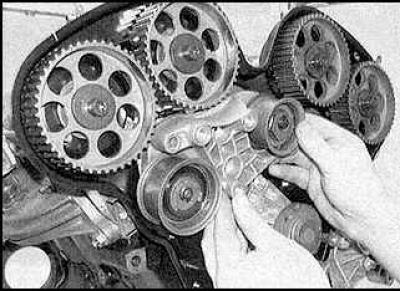
3. Remove the pulley bracket.
Installation
Install pulley bracket and tighten bolts.
Lower guide pulley
Removing
1. Remove the timing belt.
2. Remove the bolt (indicated by an arrow) and remove the pulley.
Installation
Installation is carried out in the reverse order of removal.
Visitor comments